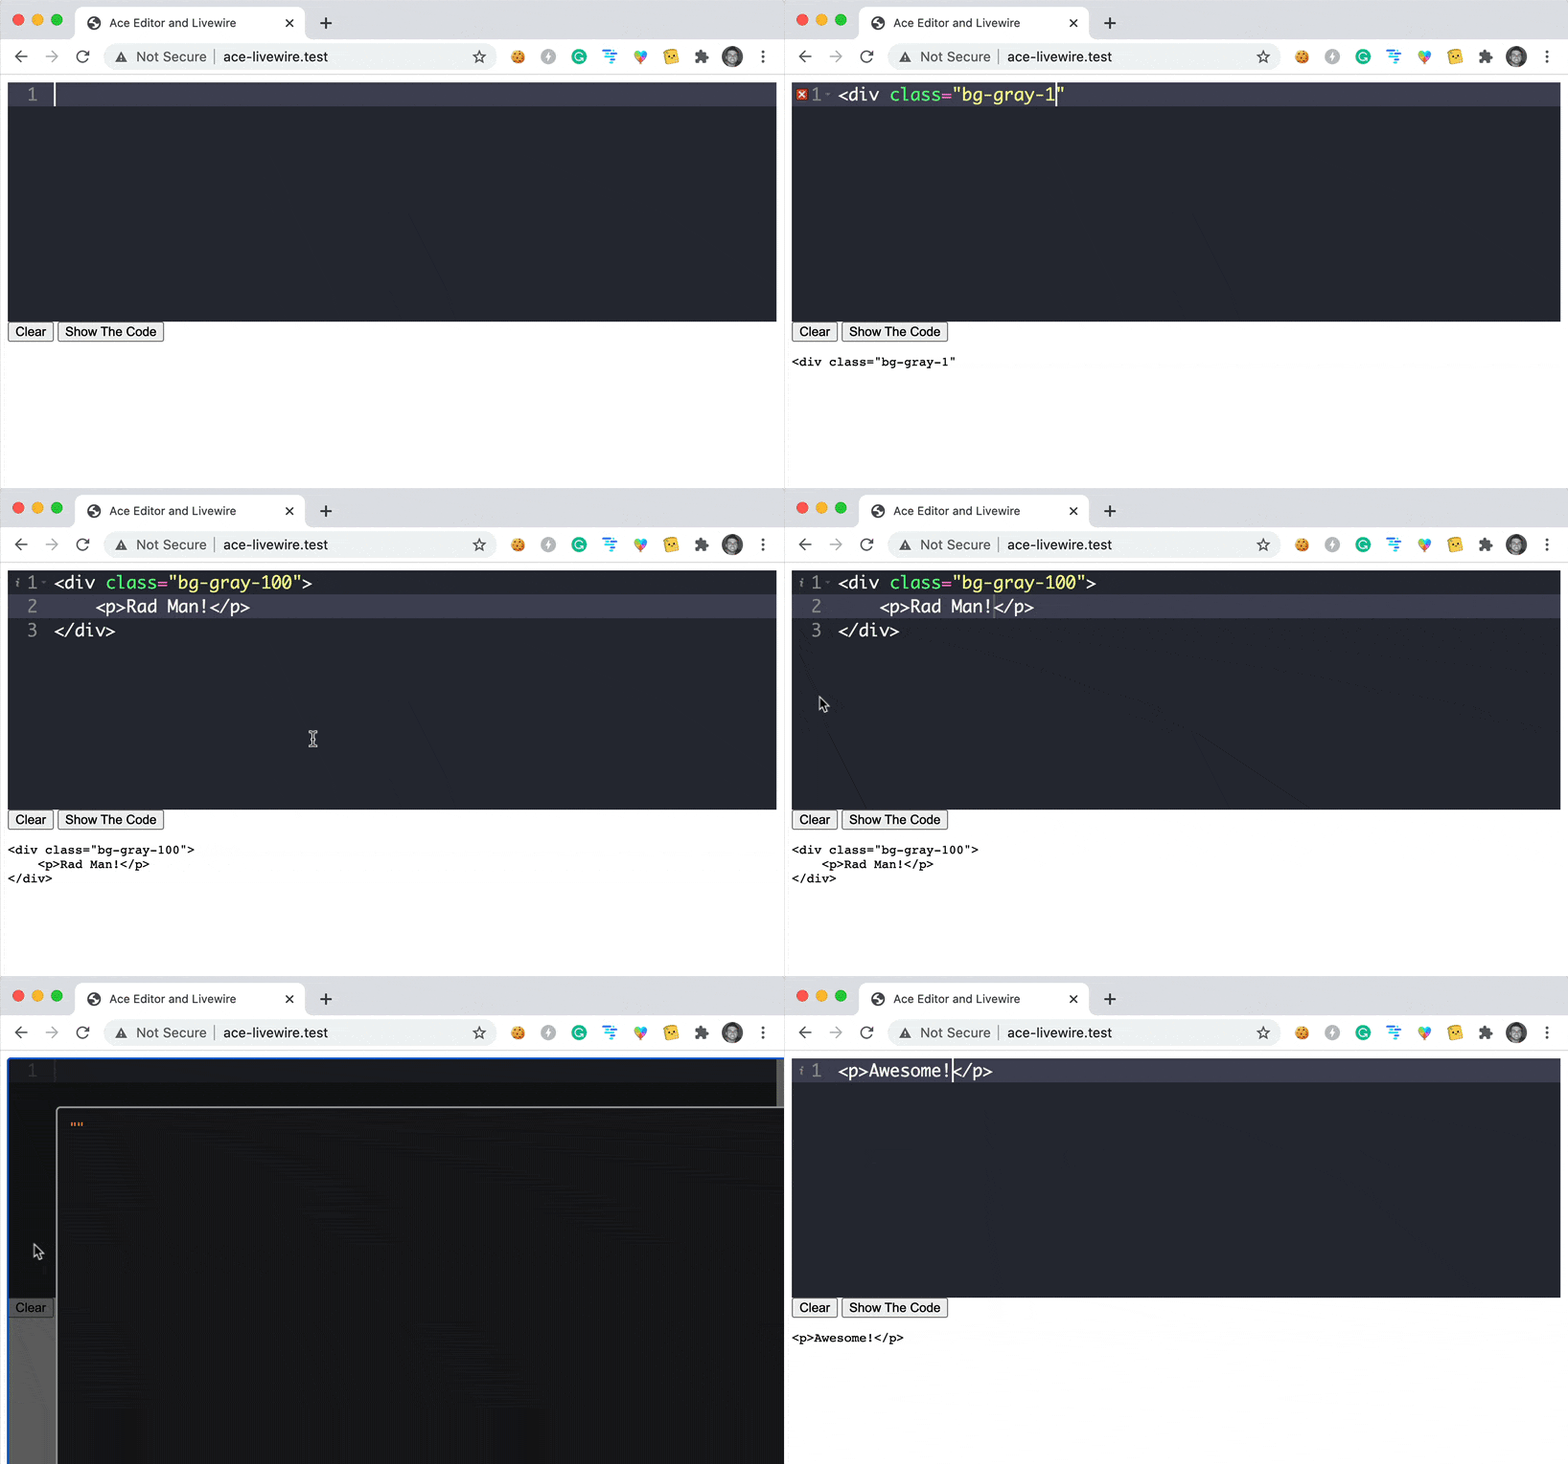
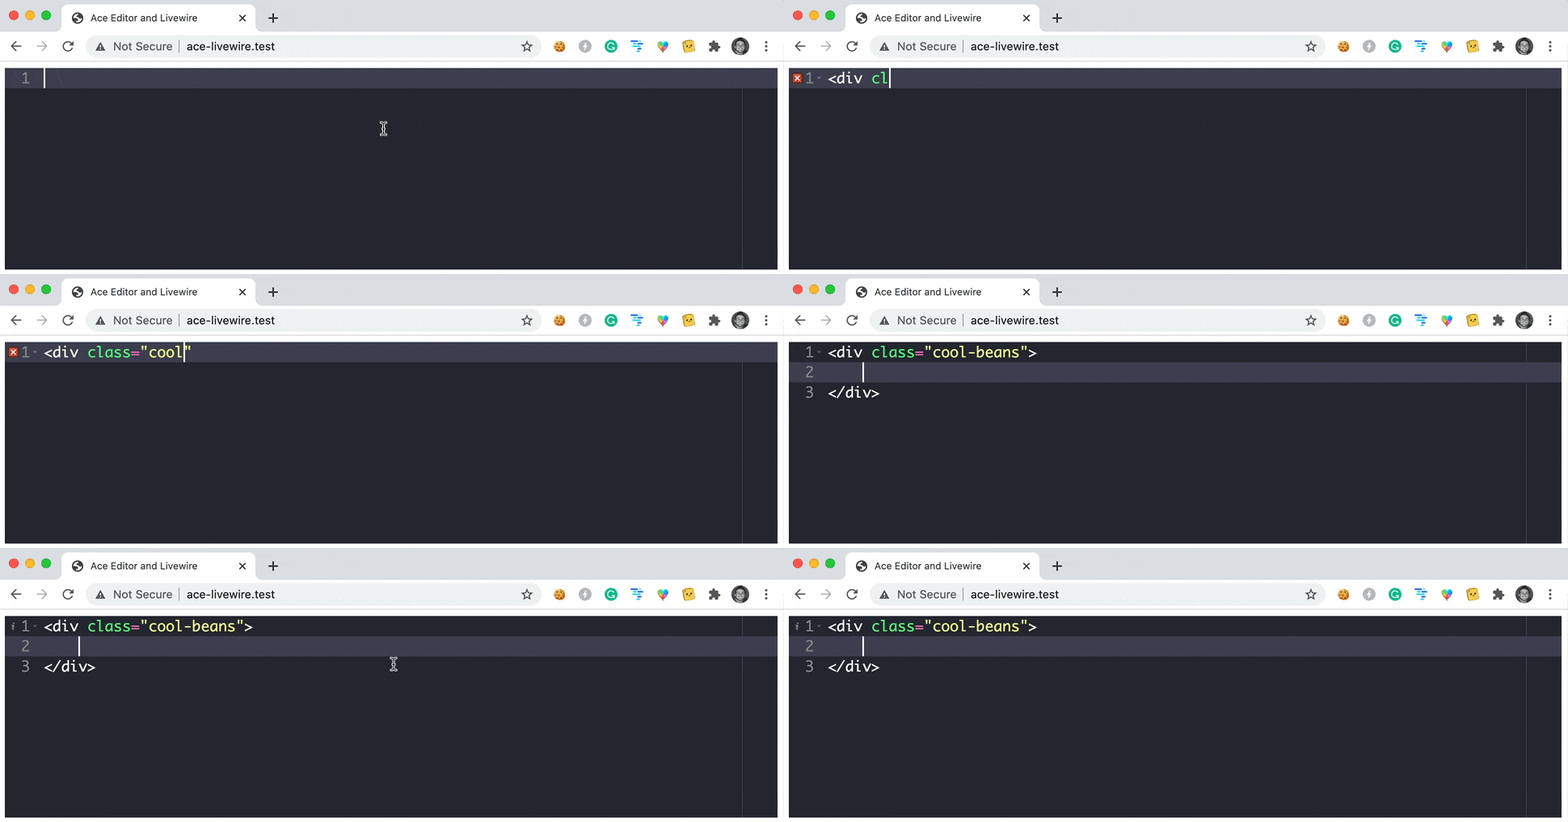
Using the Ace Editor, we can easily add a code editor inside of any application built with Laravel and Livewire.
Here is a quick example of what we'll be creating in this tutorial.

Let's start off from the very beginning and create a new Laravel Livewire application.
Install a new Livewire app
First we'll need to create a new laravel application using the Laravel installer.
laravel new ace-livewire
After installing our new laravel app we will install livewire:
composer require livewire/livewire
Next, we'll add the Livewire styles and scripts to the default welcome.blade.php file with the following contents:
<!DOCTYPE html>
<html lang="{{ str_replace('_', '-', app()->getLocale()) }}">
    <head>
        <meta charset="utf-8">
        <meta name="viewport" content="width=device-width, initial-scale=1">

        <title>Ace Editor and Livewire</title>

        @livewireStyles
    </head>
    <body class="antialiased">

        <script src="js/app.js"></script>
        @livewireScripts
    </body>
</html>
Great! Now, that we have our new livewire application installed we can add the Ace Editor to our project.
Installing Ace Editor
We can install the Ace Editor via NPM with the following command:
npm i ace-builds
Next, we'll want to include the ace-editor library inside of our resources/js/app.js file, and we'll also want to create an editor instance if we have an element with an id="editor":
import 'ace-builds';
import 'ace-builds/webpack-resolver';

let editorElement = document.getElementById('editor');

// If we have an editor element
if(editorElement){
    // pass options to ace.edit
    let editor = ace.edit(document.getElementById('editor'), {
        mode: "ace/mode/html",
        theme: "ace/theme/dracula",
        maxLines: 50,
        minLines: 10,
        fontSize: 18
    })
    // use setOptions method to set several options at once
    editor.setOptions({
        autoScrollEditorIntoView: true,
        copyWithEmptySelection: true,
    });
}
Because we are creating this from a blank Laravel application we will also need to install all the default NPM packages.
npm install
Next, we can add a new <div id="editor"></div> element to our welcome.blade.php file:
<!DOCTYPE html>
<html lang="{{ str_replace('_', '-', app()->getLocale()) }}">
    <head>
        <meta charset="utf-8">
        <meta name="viewport" content="width=device-width, initial-scale=1">

        <title>Ace Editor and Livewire</title>

        @livewireStyles
    </head>
    <body class="antialiased">

        <script src="js/app.js"></script>
        @livewireScripts
    </body>
</html>
And, if we load our application we'll see a Code Editor in front of us.

Creating our Livewire Editor Component
Finally we'll want to create a new livewire component that utilizes our code editor. We'll start off by creating a new component:
php artisan make:livewire editor
This will create our livewire component inside of app/Http/Livewire/Editor.php, and our component view located at resources/views/livewire/editor.blade.php.
Inside of our Component class we will add the following code, which contains 2 event listeners codeUpdate and showCode:
<?php

namespace App\Http\Livewire;

use Livewire\Component;

class Editor extends Component
{
    public $code = '';

    protected $listeners = [
        'codeUpdated',
        'showCode'
    ];

    public function codeUpdated($payload)
    {
        $this->code = $payload['code'];
    }

    public function showCode(){
        dd($this->code);
    }

    public function render()
    {
        return view('livewire.editor');
    }
}
The codeUpdated function will update our $code variable in our component, and the showCode function is just used for debugging purposes and will die and dump the value of $code.
Next, inside of our component view, we can add the following code:
<div>
    <div wire:ignore id="editor"></div>
    <button onclick="window.clear()">Clear</button>
    <button onclick="window.livewire.emit('showCode')">Show The Code</button>
    <pre><code>{{ $code }}</code></pre>
</div>
Inside our component view we have 2 buttons. One button to Clear the contents of the editor and the other to Show The Code. We'll also output the value of $code inside of some <pre><code> tags.
In our app.js, we'll need to add our javascript function to call our codeUpdated function and to clear the contents of the editor:
editor.on("change", function(e){
    window.livewire.emit('codeUpdated', { code : editor.getValue() });
});

window.clear = function(){
    editor.session.setValue('');
}
Here is our full app.js file:
import 'ace-builds';
import 'ace-builds/webpack-resolver';

let editorElement = document.getElementById('editor');

// If we have an editor element
if(editorElement){
    // pass options to ace.edit
    let editor = ace.edit(document.getElementById('editor'), {
        mode: "ace/mode/html",
        theme: "ace/theme/dracula",
        maxLines: 50,
        minLines: 10,
        fontSize: 18
    })
    // use setOptions method to set several options at once
    editor.setOptions({
        autoScrollEditorIntoView: true,
        copyWithEmptySelection: true,
    });

    editor.on("change", function(e){
        window.livewire.emit('codeUpdated', { code : editor.getValue() });
    });

    window.clear = function(){
        editor.session.setValue('');
    }
}
Lastly, we need to add our component to our welcome.blade.php file:
<!DOCTYPE html>
<html lang="{{ str_replace('_', '-', app()->getLocale()) }}">
    <head>
        <meta charset="utf-8">
        <meta name="viewport" content="width=device-width, initial-scale=1">

        <title>Ace Editor and Livewire</title>

        @livewireStyles
    </head>
    <body class="antialiased">

        <livewire:editor></livewire:editor>

        <script src="js/app.js"></script>

        @livewireScripts
    </body>
</html>
If we load our application we can now see that we have a code editor that updates our Livewire component as the code is changed.
Here is the final demo output of our application.

I hope this helps you out when you need to implement a code editor in your Laravel Livewire application 🤘
