I've been getting good at designing and painting elements on the page using TailwindCSS. I decided to use a flat laptop image 🖼️ and design it with TailwindCSS. It was actually pretty simple after I figured out the best way to trace elements.
Let me share my process.
Finding our design
First, you'll need to find a design that you want to trace. In my case, I am going to try and trace this Macbook Pro image.

Setting this image inside of a flex container, we can easily center it and prepare to draw some shapes onto the screen as we trace out the design.
Designing the basic layout
Typically, you will want to create a base container and add a few blocks to the screen.

This is just the starting point for tracing our object. Take a look at this codepen example here.
Flexing the layout
Using flexbox, we can easily stretch elements as needed and specify fixed heights for other elements (in my case, the fixed height was the bottom of the laptop).
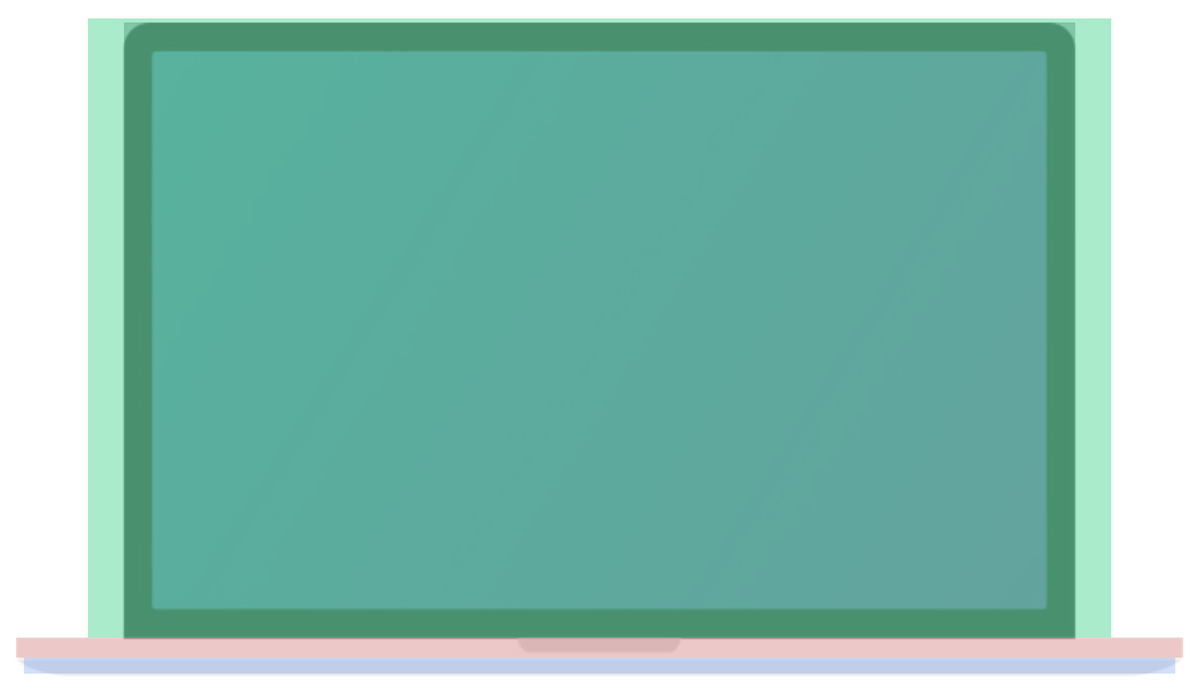
Notice how we also use the opacity utility classes to keep the image's visibility. Take a look at this example codepen here
Adding and rotating shapes
A few curves may require a little bit more trickery to get the shape you are happy with. In my case, the bottom of the laptop had some angles I created by rotating a few ovals on each side.
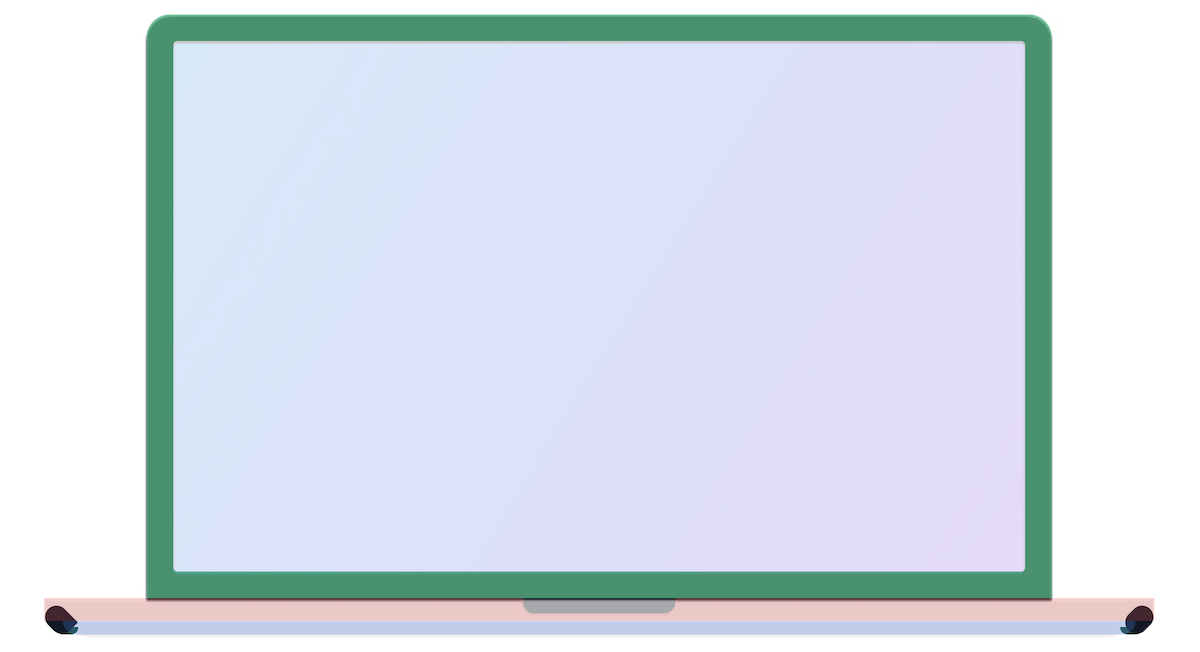
Utilizing some absolute positioning and transforms, I created the basic shape for my laptop mockup. Here is an example codepen of our layout so far.
Coloring in our design
The final step is pretty easy. We are going to remove our opacity classes and add the correct color to each element. Take a look at the final result below.

As you can tell, it looks very much like the original image (except it's all built with Tailwind classes 🎉).
Take a look at the final codepen layout example here.
Conclusion
Using Tailwind, we can create some pretty awesome designs, shapes, and objects. Be sure to check out many of the other tutorials on DevDojo written about Tailwind.
I hope this tutorial will help you the next time you want to design an object by leveraging only the Tailwind utility classes.
