In this tutorial I'm going to show you how easy it is to launch a Laravel application on a Cloudways server, via their API.
We are going to launch the Laravel application via an API inside of a Laravel application, so it will be kind of a Laravel inception 😁
Ok, let's jump into it and deploy a new server and Laravel app via the Cloudways API.
Get Your API Key 🔑
First you'll need to get your API key in order to use the API.
Don't have a Cloudways account? Signup and use promo code DEVDOJO to get a free $50 credit 💸.
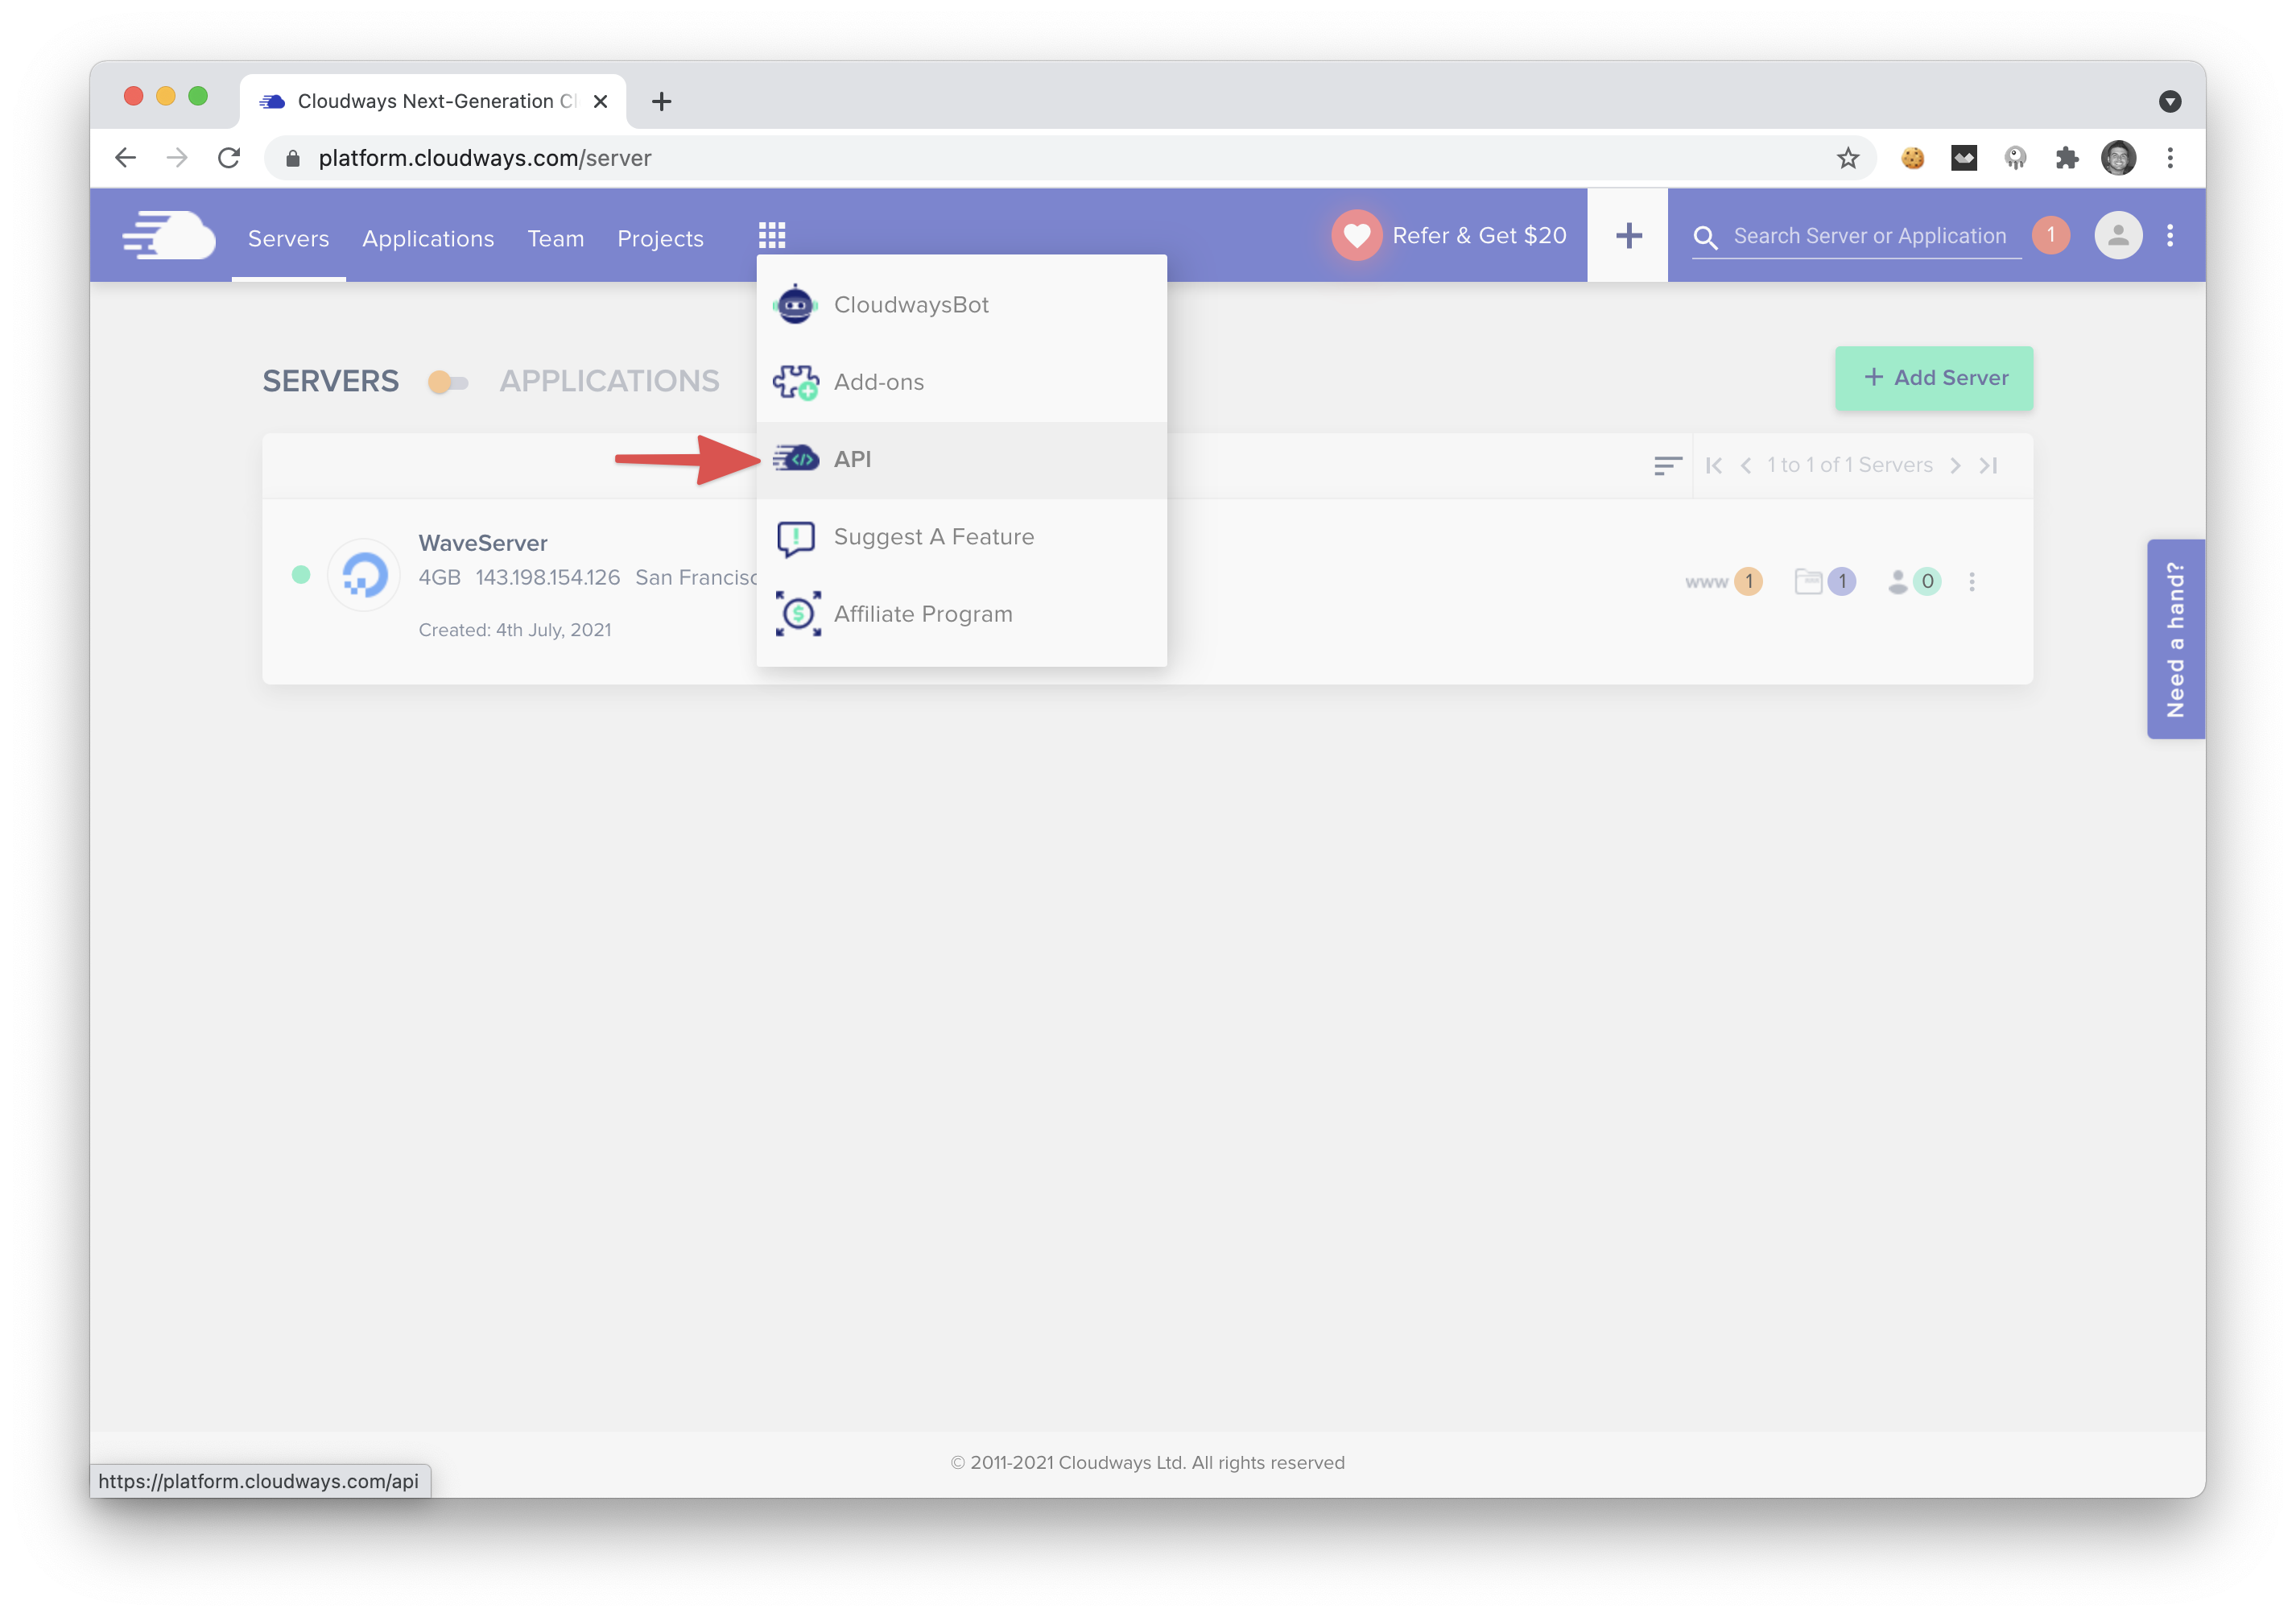
When you are logged into the Cloudways dashboard you can click on the Menu Dropdown and select the API button.
If you do not have an API key setup yet, you'll see a new screen with a button to Create Your API key. After creating your API key you will see a screen that looks like the following:
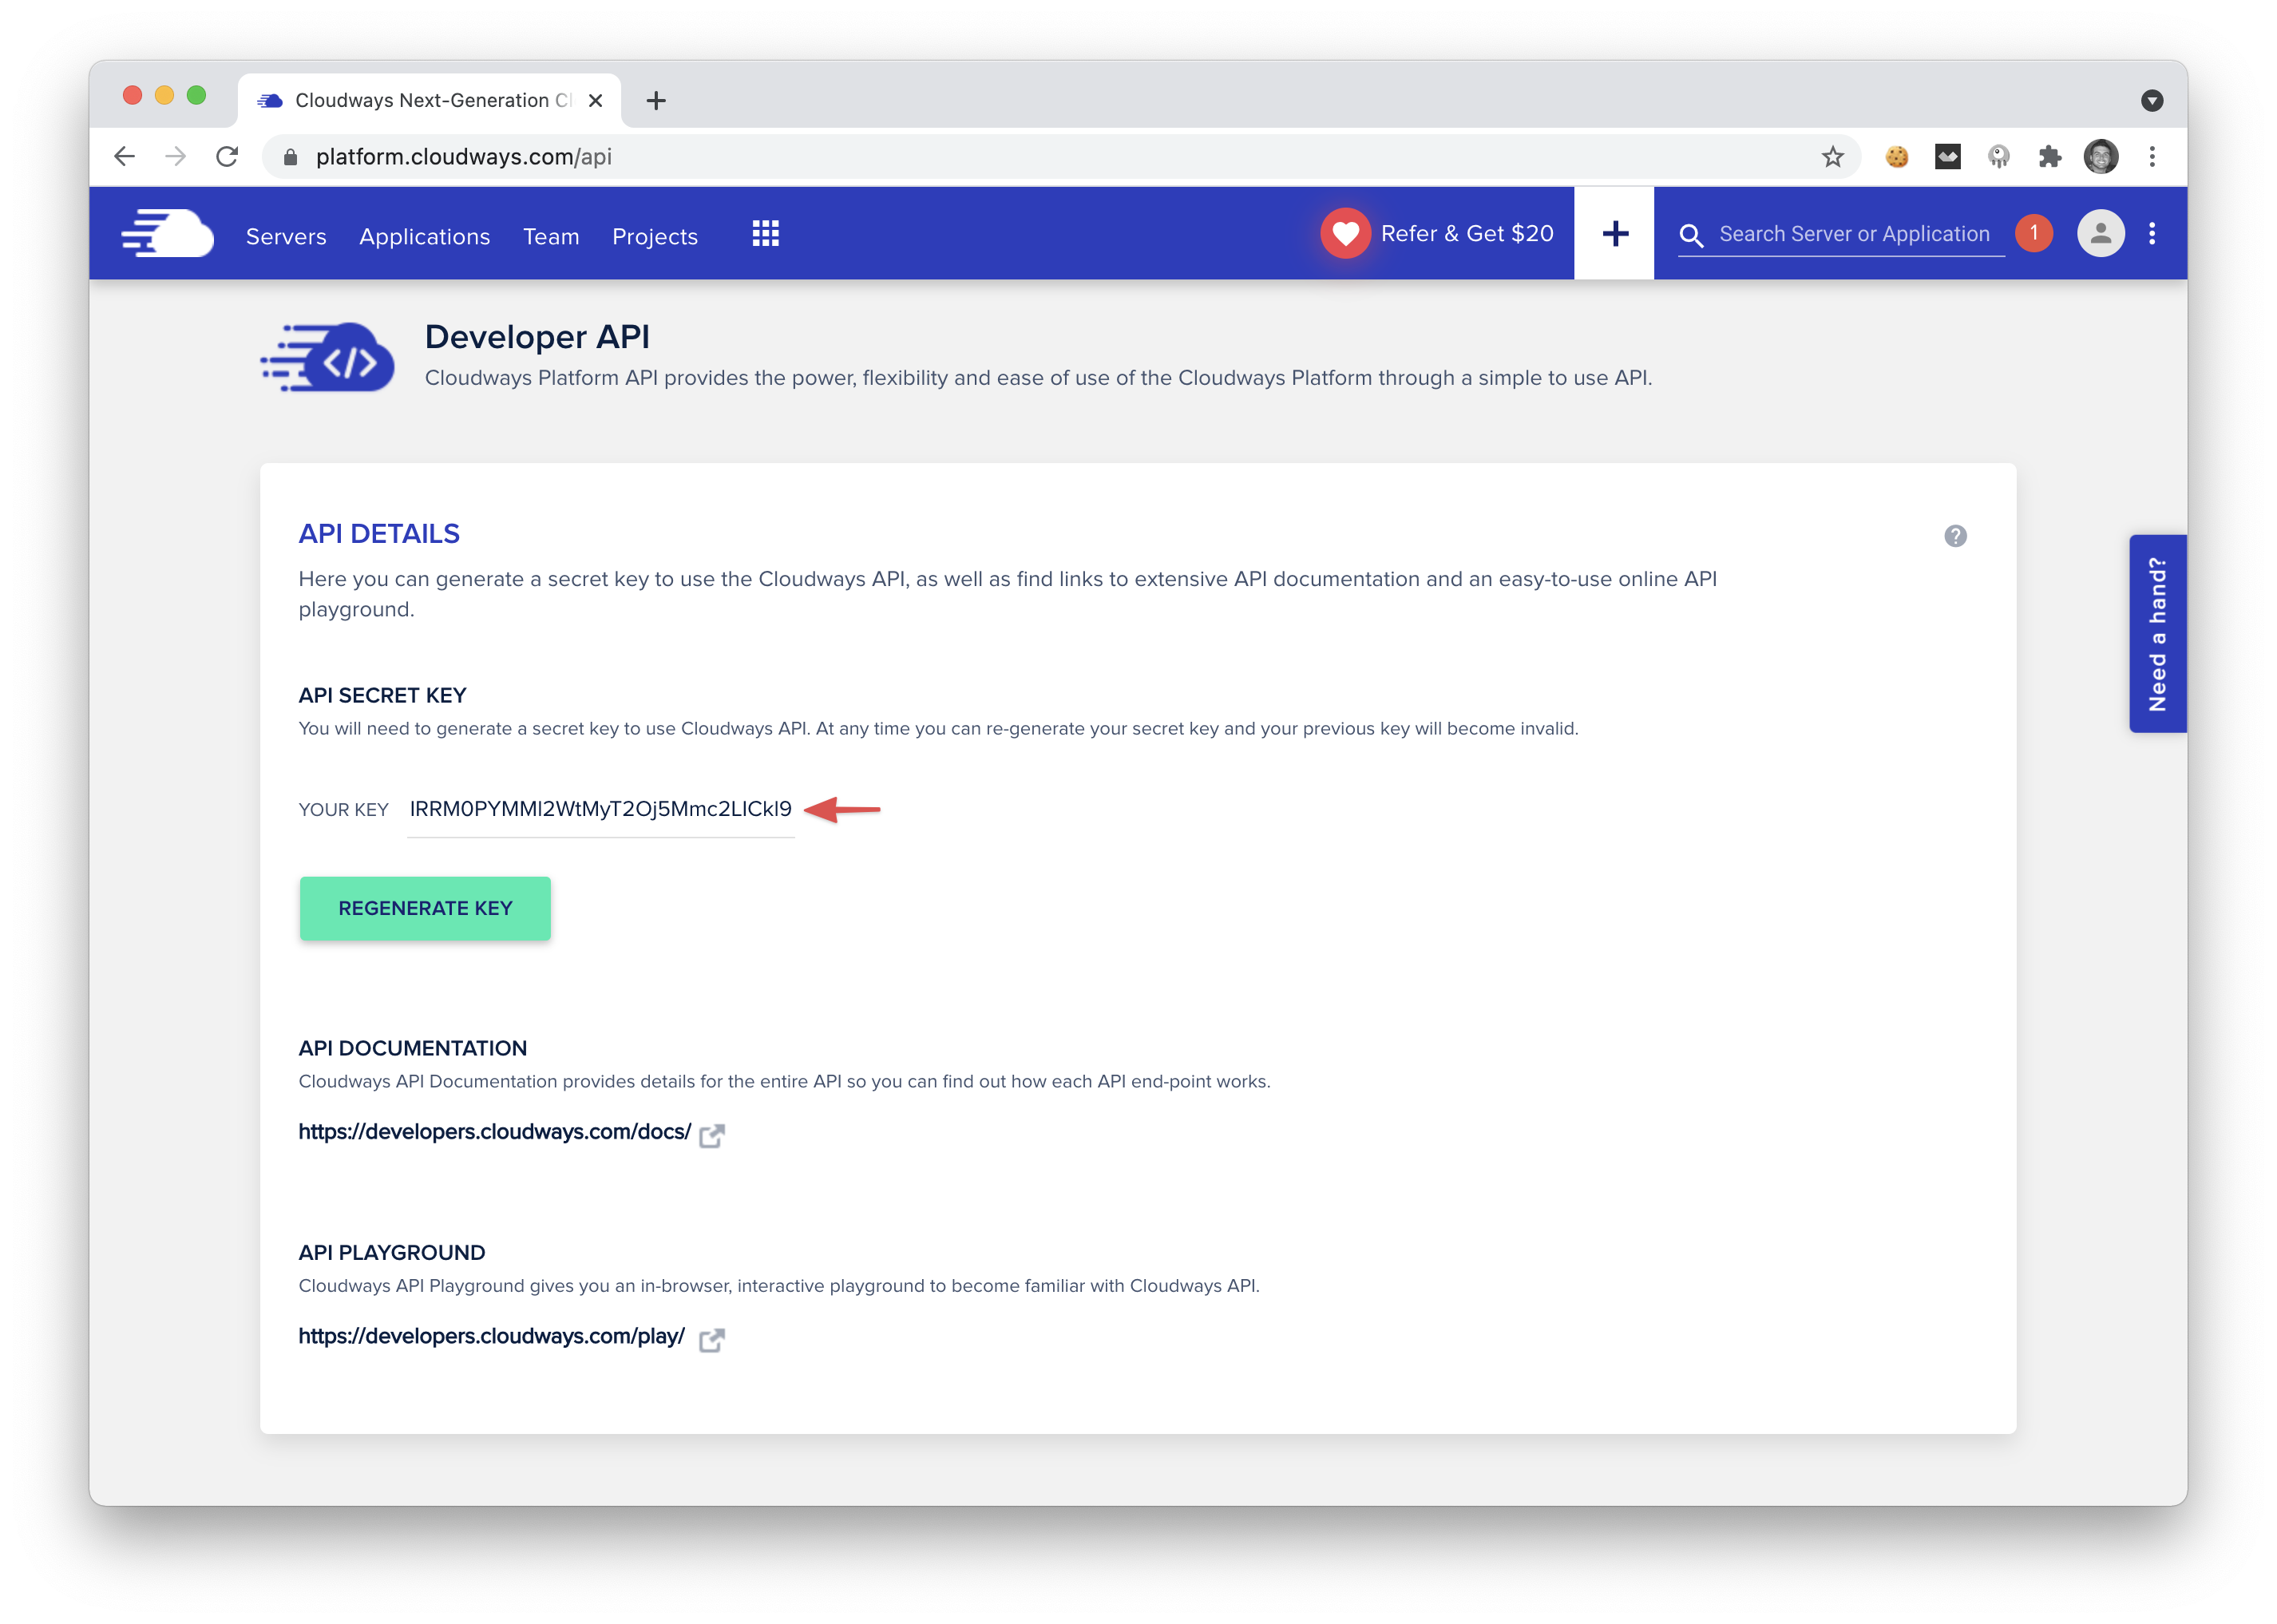
On this page you will see an API key that you can copy and paste. This is the API key that you can use for the rest of the tutorial.
Create our local Laravel application ⚙️
Next, let's create a quick Laravel application so that way we can call the Cloudway API from our local application.
First, we'll use the Laravel installer command to create a new application:
laravel new cloudways-api
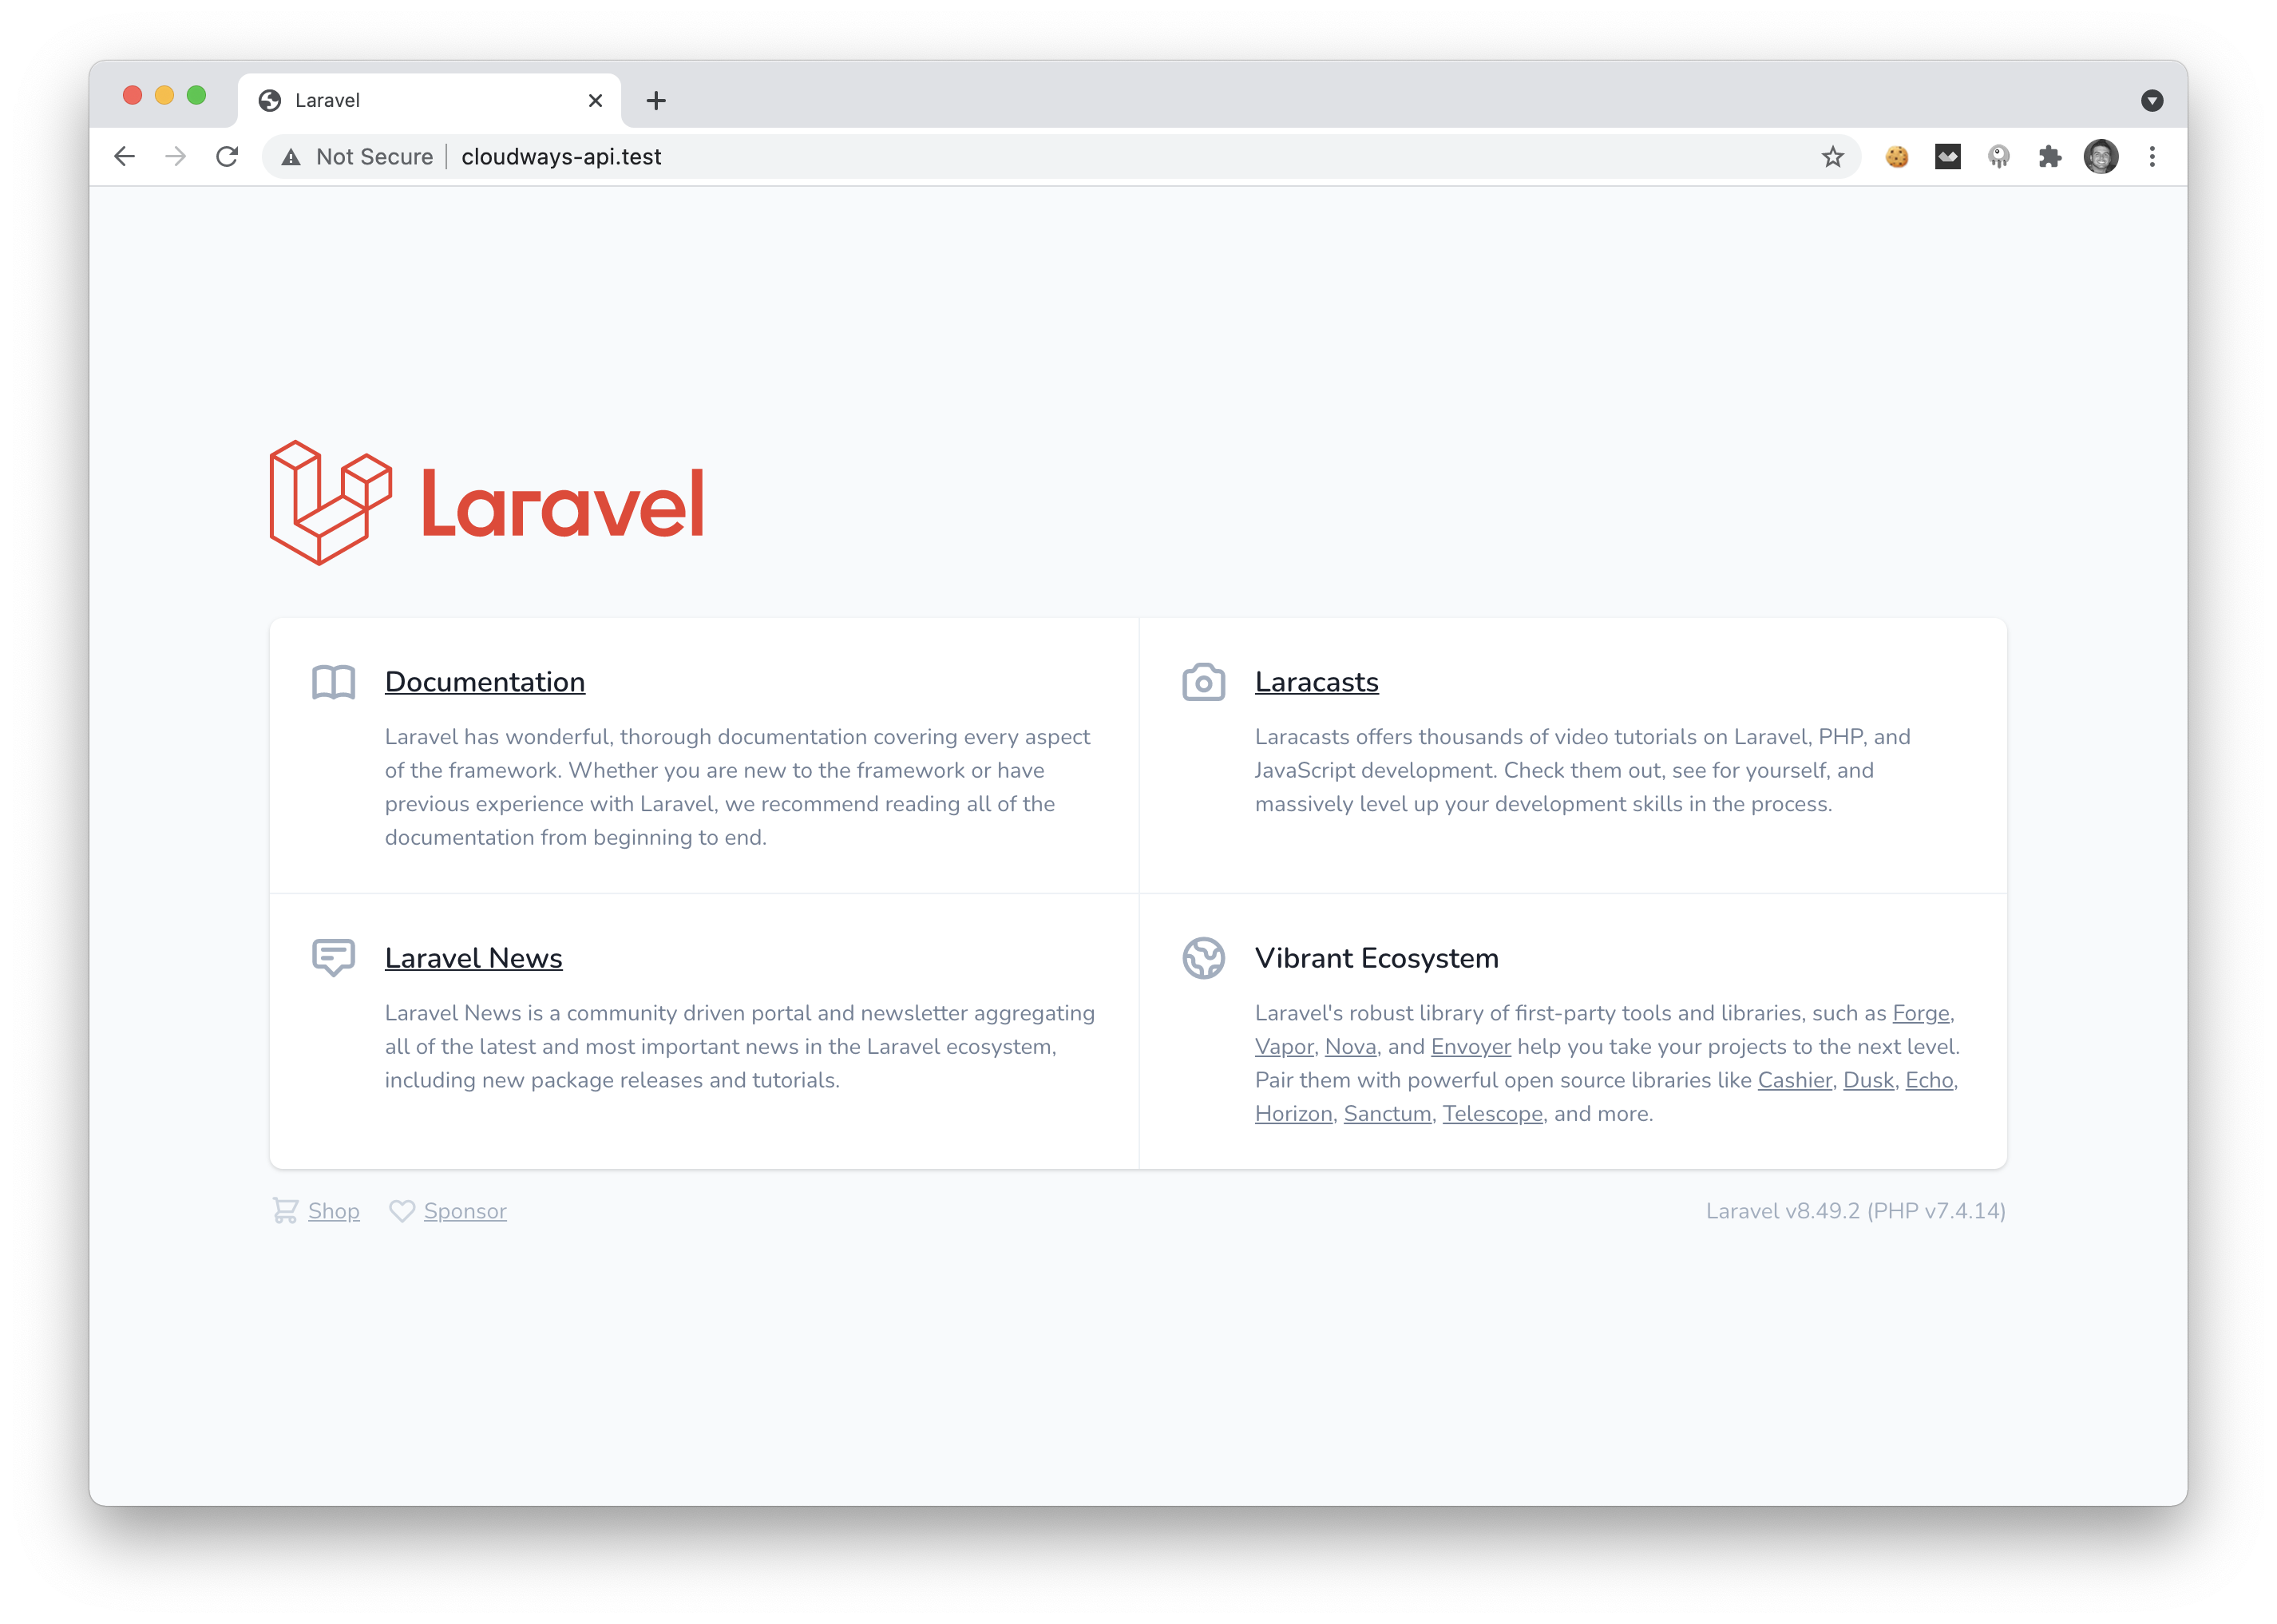
I am running Laravel Valet on my machine so I can easily visit my local copy of that Laravel install by visiting cloudways-api.test:
Now that we have our local Laravel application we need to dig into the Cloudways API and learn how to create a new server from the API.
The API Endpoint 👨💻
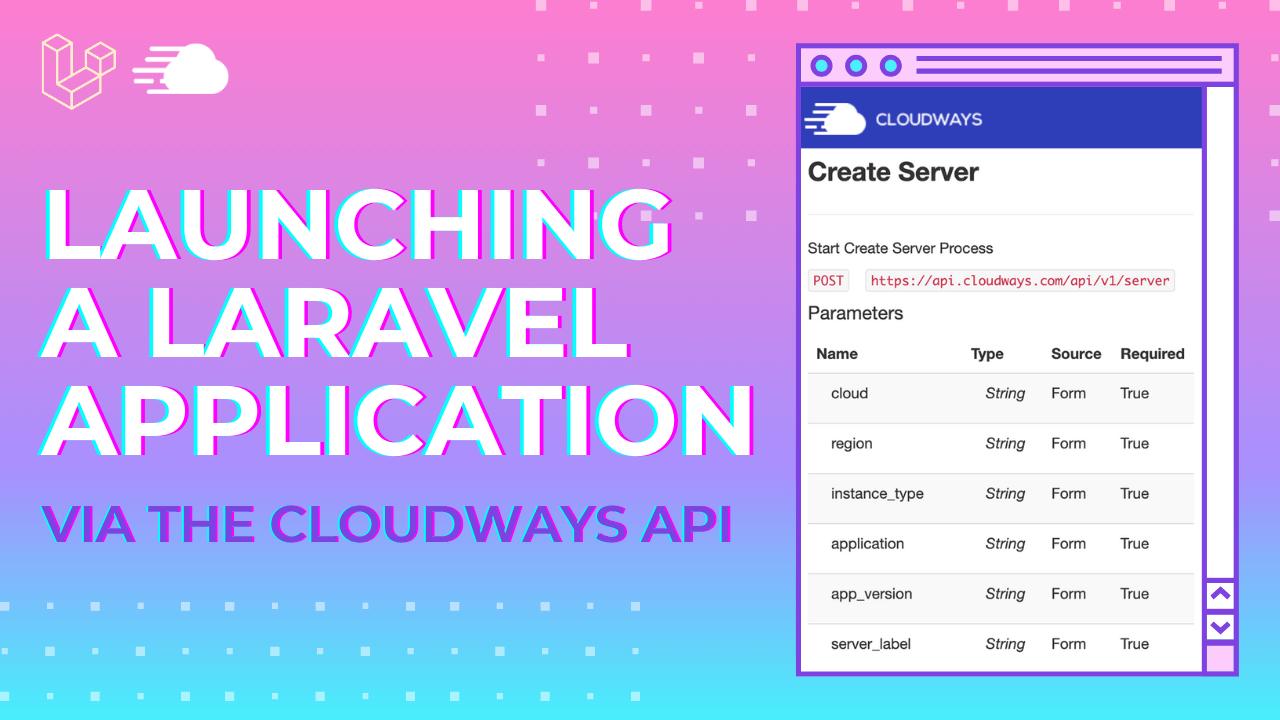
If we visit the Cloudways API docs at https://developers.cloudways.com/docs/, we do a quick search for Create, and we'll see the second option is create server.
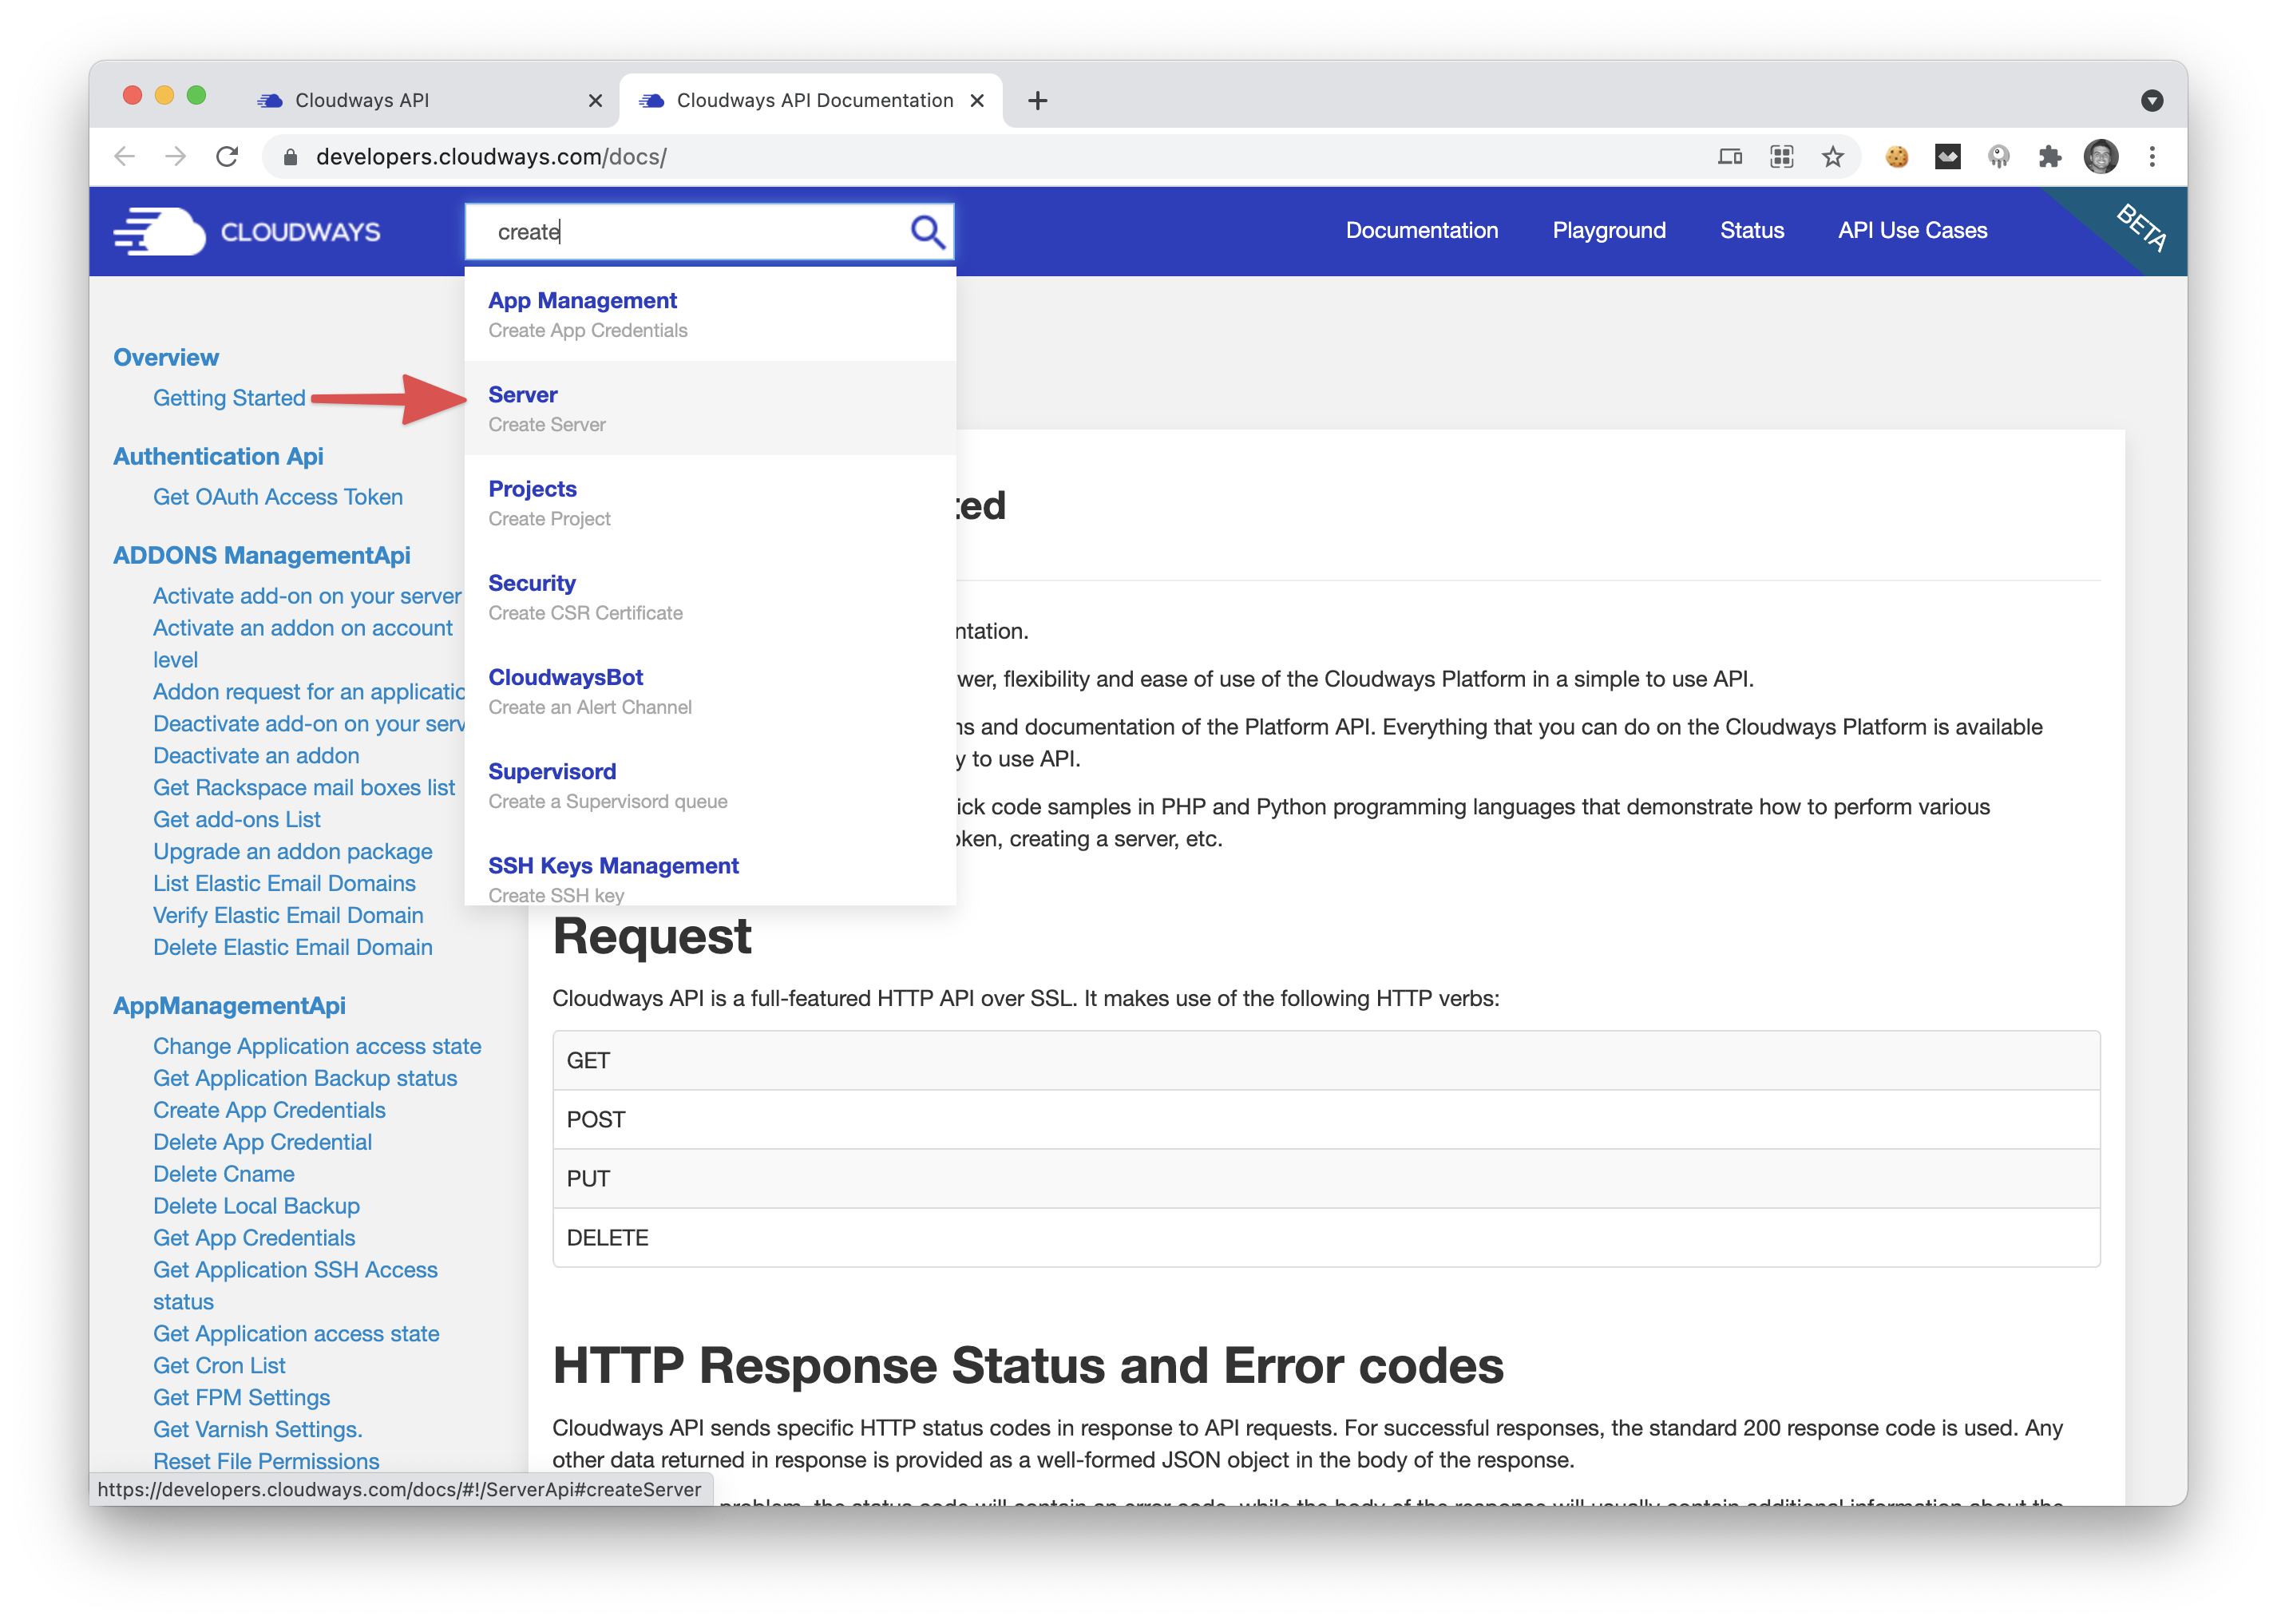
If we click on the Server button dropdown we'll see the following screen with instructions on how to create a server via the API.
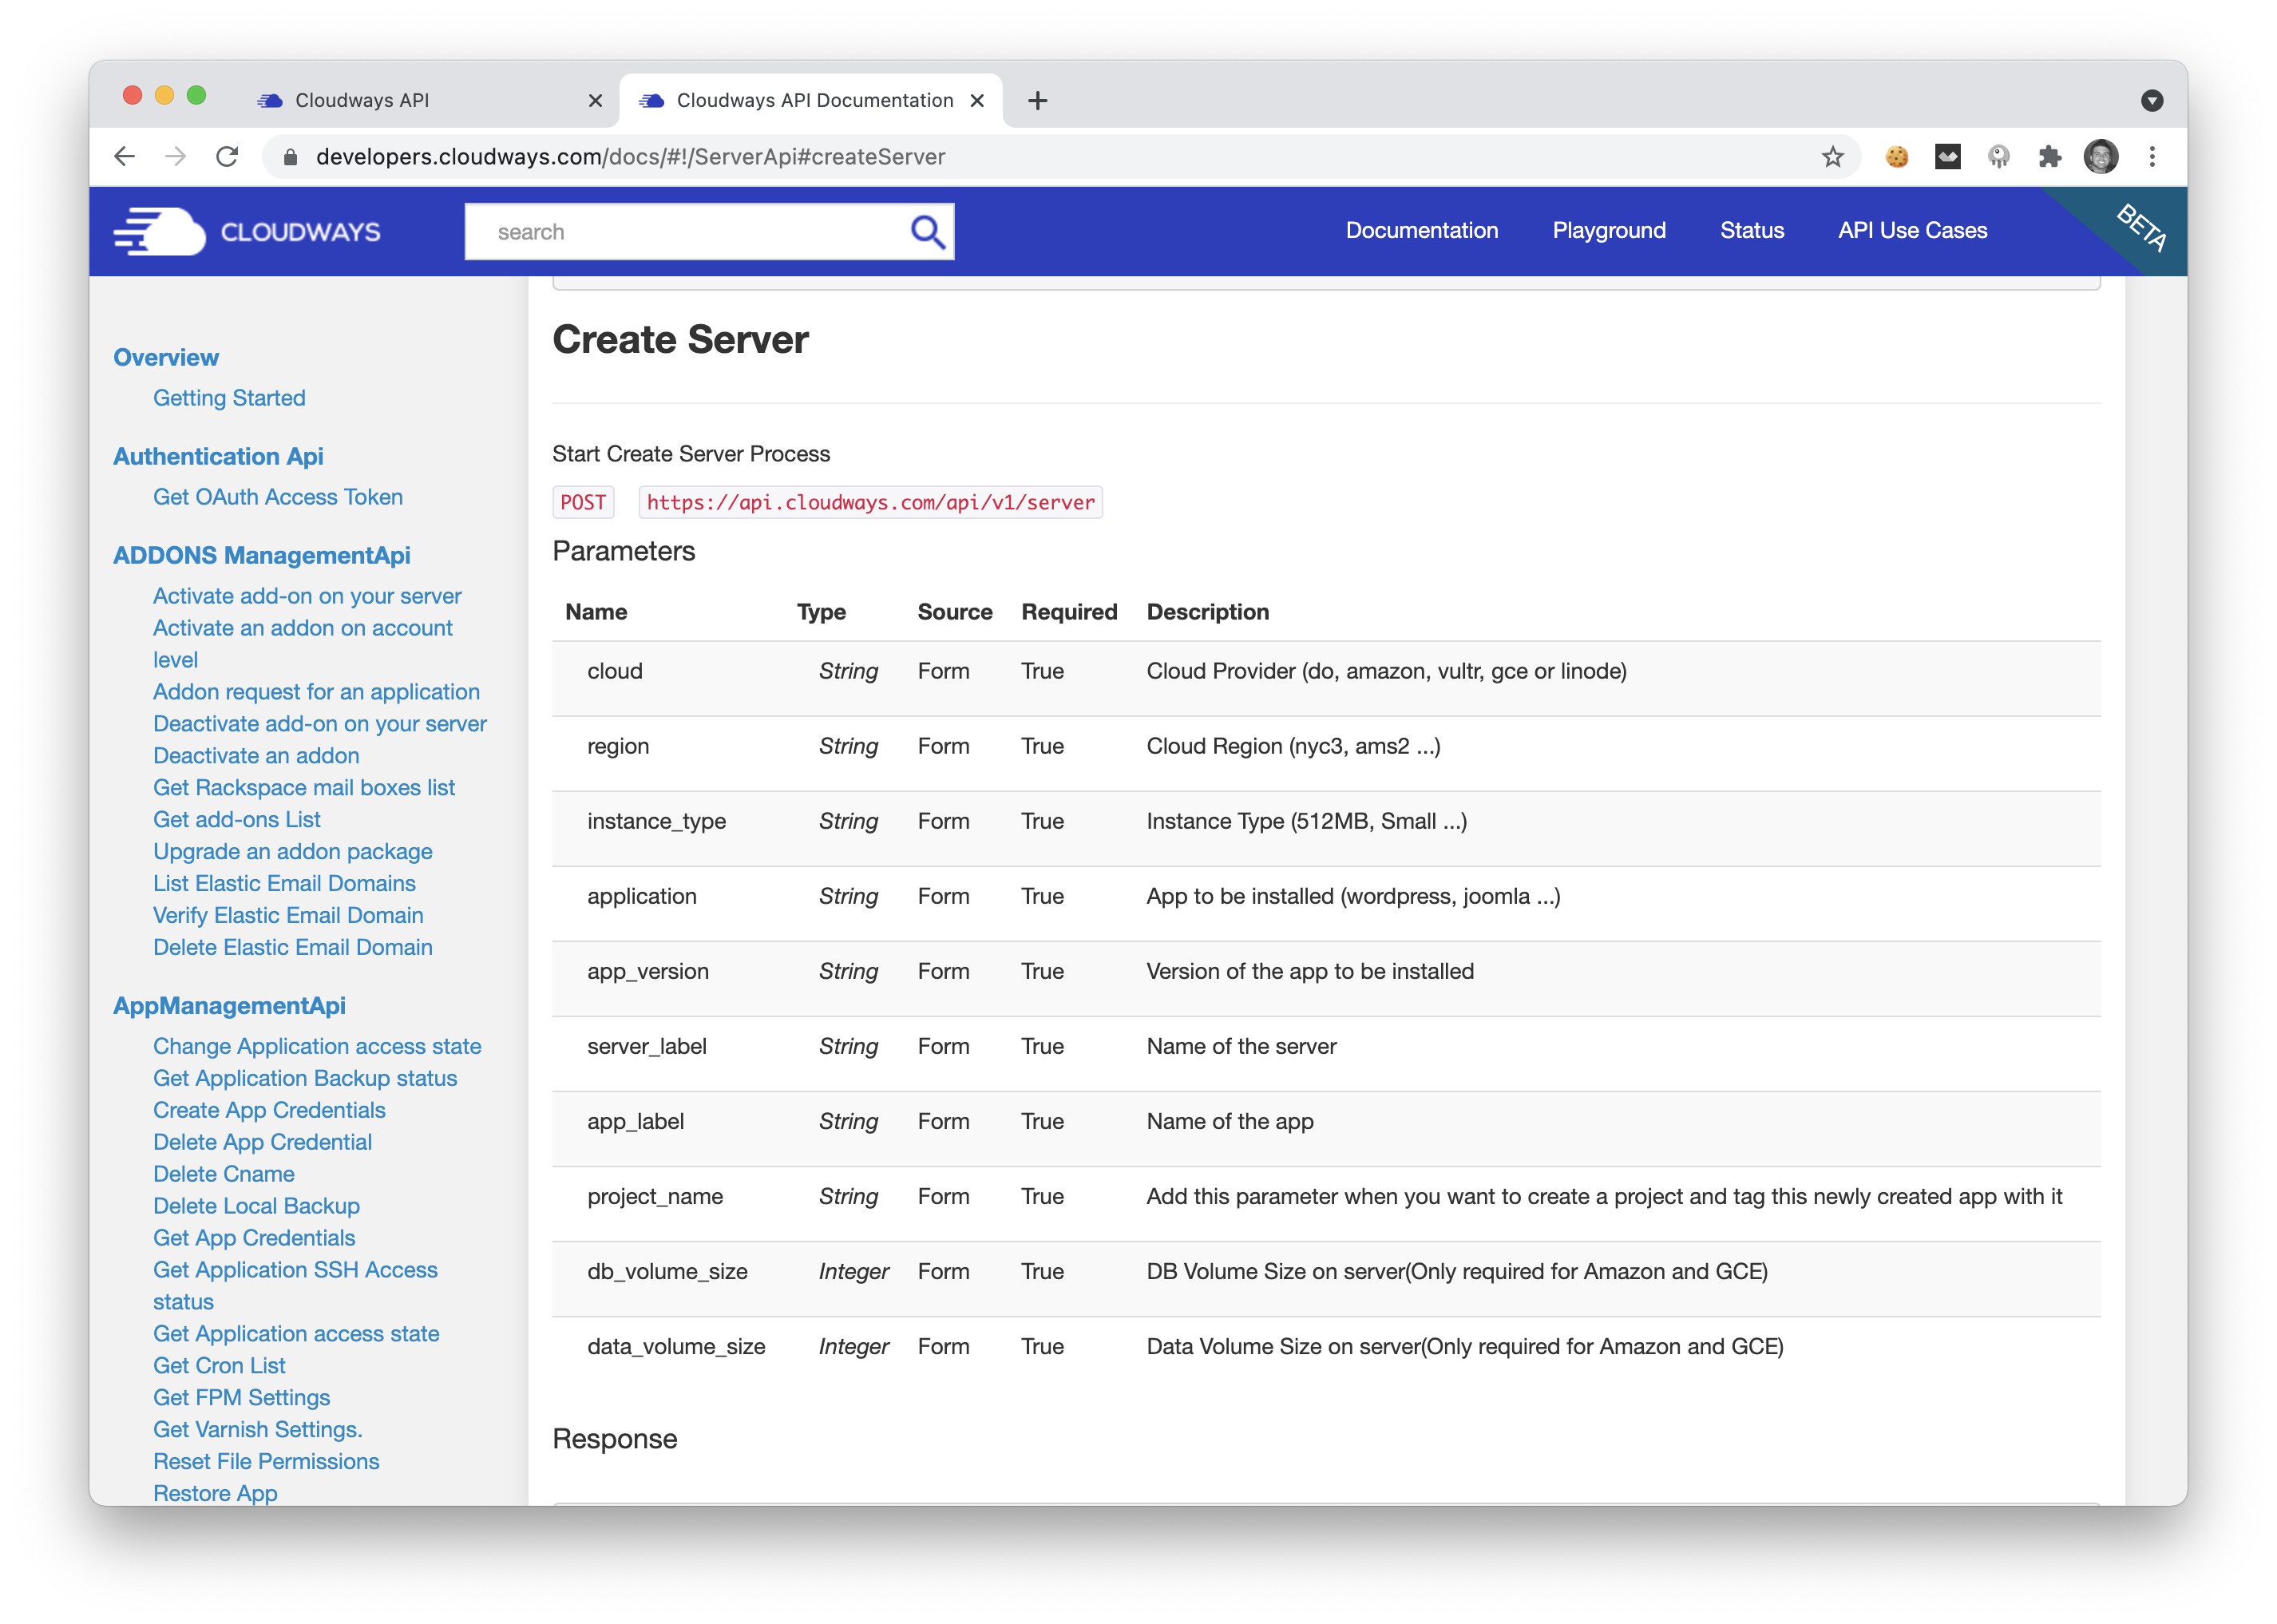
You can see that we can create a new server by submitting a POST request to the following URL: https://api.cloudways.com/api/v1/server, let's use this API endpoint along with our key to create a new server from our local Laravel application.
Launching a Server 🚀
Jumping back over to our Laravel application we are going to open up the code and go to our routes/web.php. For this use-case we will be adding our code directly into our routes file, but you will probably want to add this to a Controller for your application.
Inside our routes/web.php, we are going to include the namespace for the Http facade and we are going to create a new route at /create:
use Illuminate\Support\Facades\Http;

Route::get('create', function(){

    $apiKey = 'IRRM0PYMMl2WtMyT2Oj5Mmc2LICkl9';
    $accessTokenAPI = 'https://api.cloudways.com/api/v1/oauth/access_token';

    $response = Http::post($accessTokenAPI, [
        'email' => '[email protected]',
        'api_key' => $apiKey,
    ]);

    // print out the response body to make sure we get the access token
    dd($response->body());

});
Above we are using the Laravel Http Client to request an access token. This access token is then used to authorize any call we make to a Cloudways endpoint.
Here is an example of the output we will receive when we visit our route:
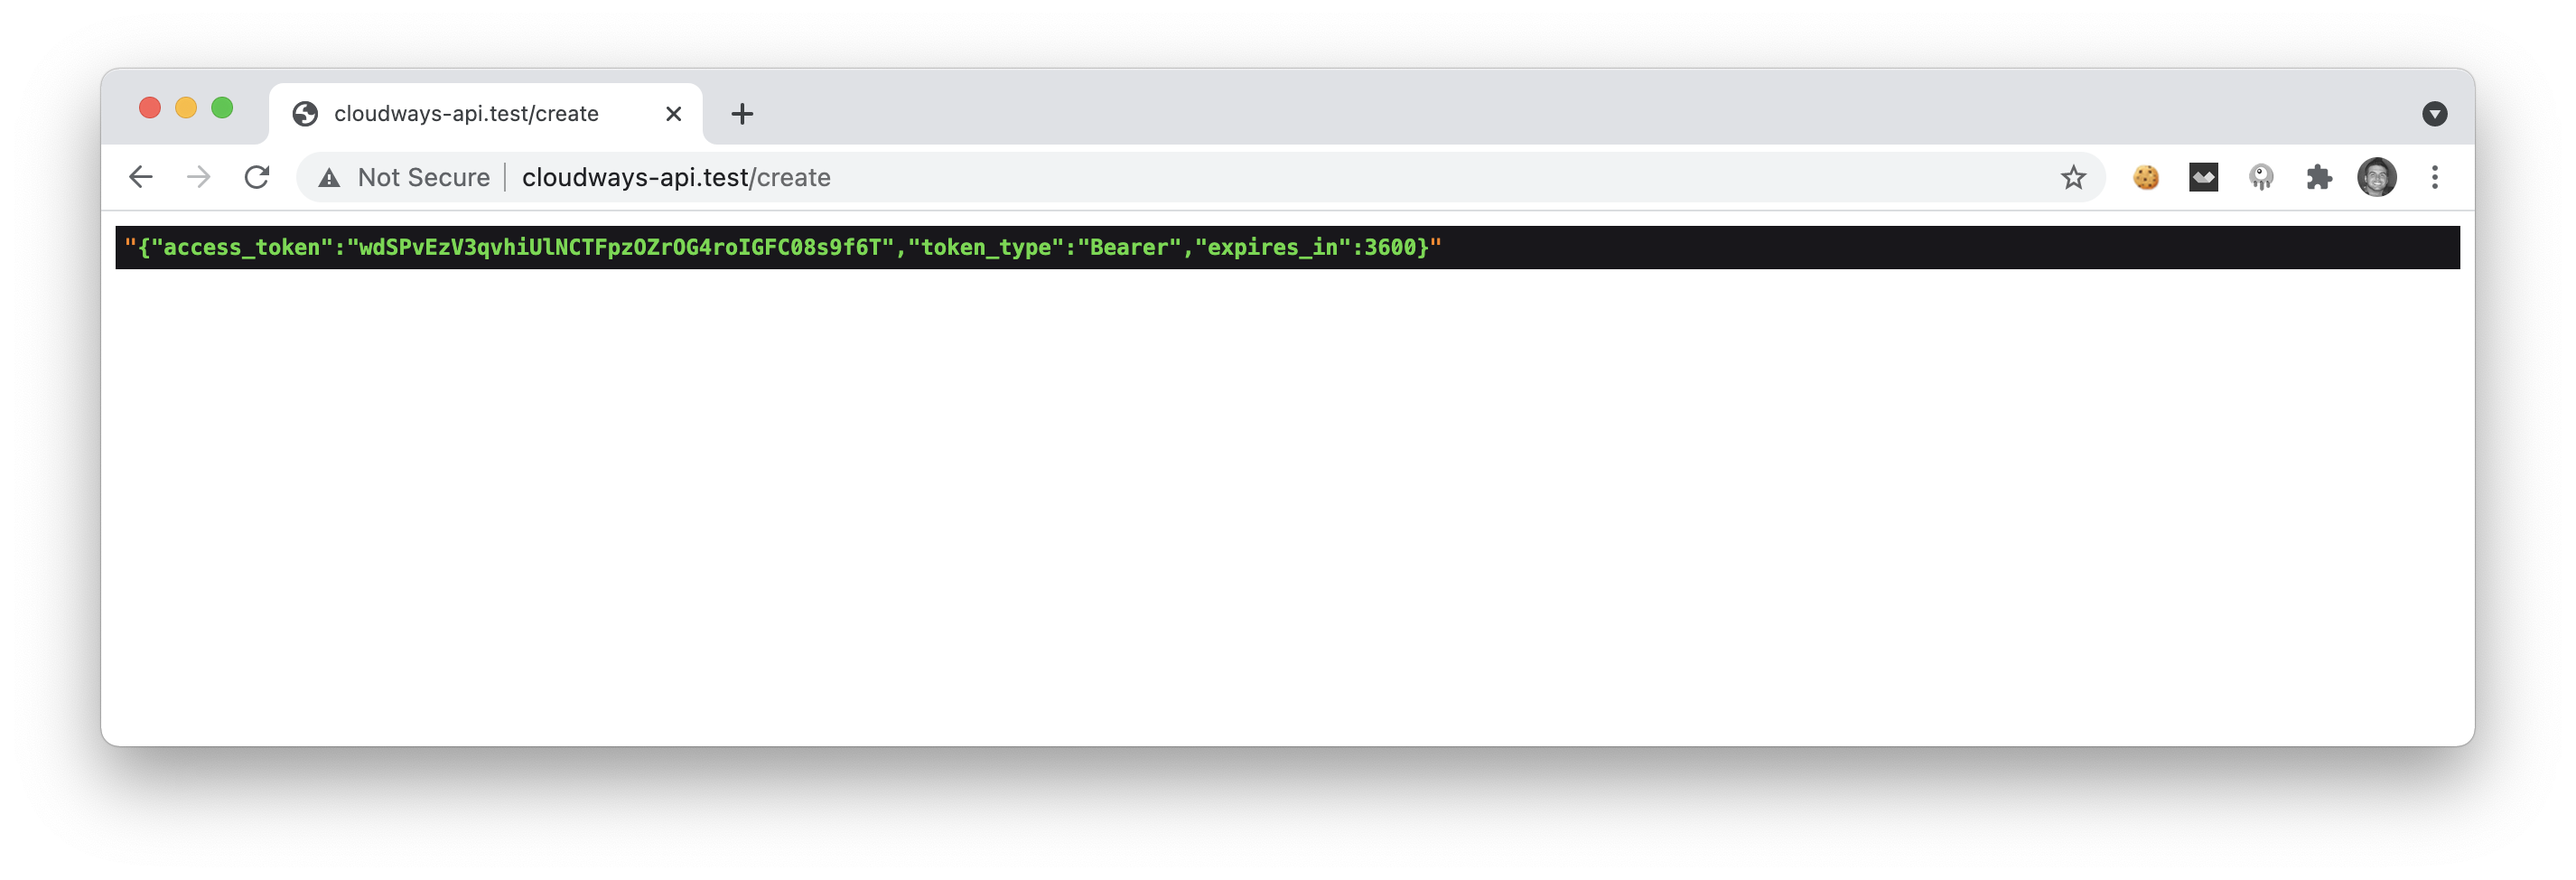
A simple json decode from that string and boom! 💥 We've got our Access Token 👌.
Note that above you will also need to include your
[email protected]address that you use to login to your cloudways account.
Now that we have our access token we can elaborate on that code to create a new server:
use Illuminate\Support\Facades\Http;

Route::get('create', function(){

    $apiKey = 'IRRM0PYMMl2WtMyT2Oj5Mmc2LICkl9';
    $accessTokenAPI = 'https://api.cloudways.com/api/v1/oauth/access_token';

    $response = Http::post($accessTokenAPI, [
        'email' => '[email protected]',
        'api_key' => $apiKey,
    ]);

    // print out the response body to make sure we get the access token
    $json = json_decode($response->body(), true);


    if(isset($json['access_token'])){
        $token = $json['access_token'];

        $response = Http::withToken($token)->post('https://api.cloudways.com/api/v1/server', [
            'cloud' => 'do',
            'region' => 'sfo3',
            'instance_type' => '2GB',
            'application' => 'phplaravel',
            'app_version' => '8.26.1',
            'server_label' => 'My New Laravel Server',
            'app_label' => 'My New Laravel App',
            'project_name' => 'My New Project'
        ]);

        dd($response->body());

    } else {
        echo 'Could not get access token';
    }

});
Now, if we were to visit this route, you can see that we will get an output like the following:
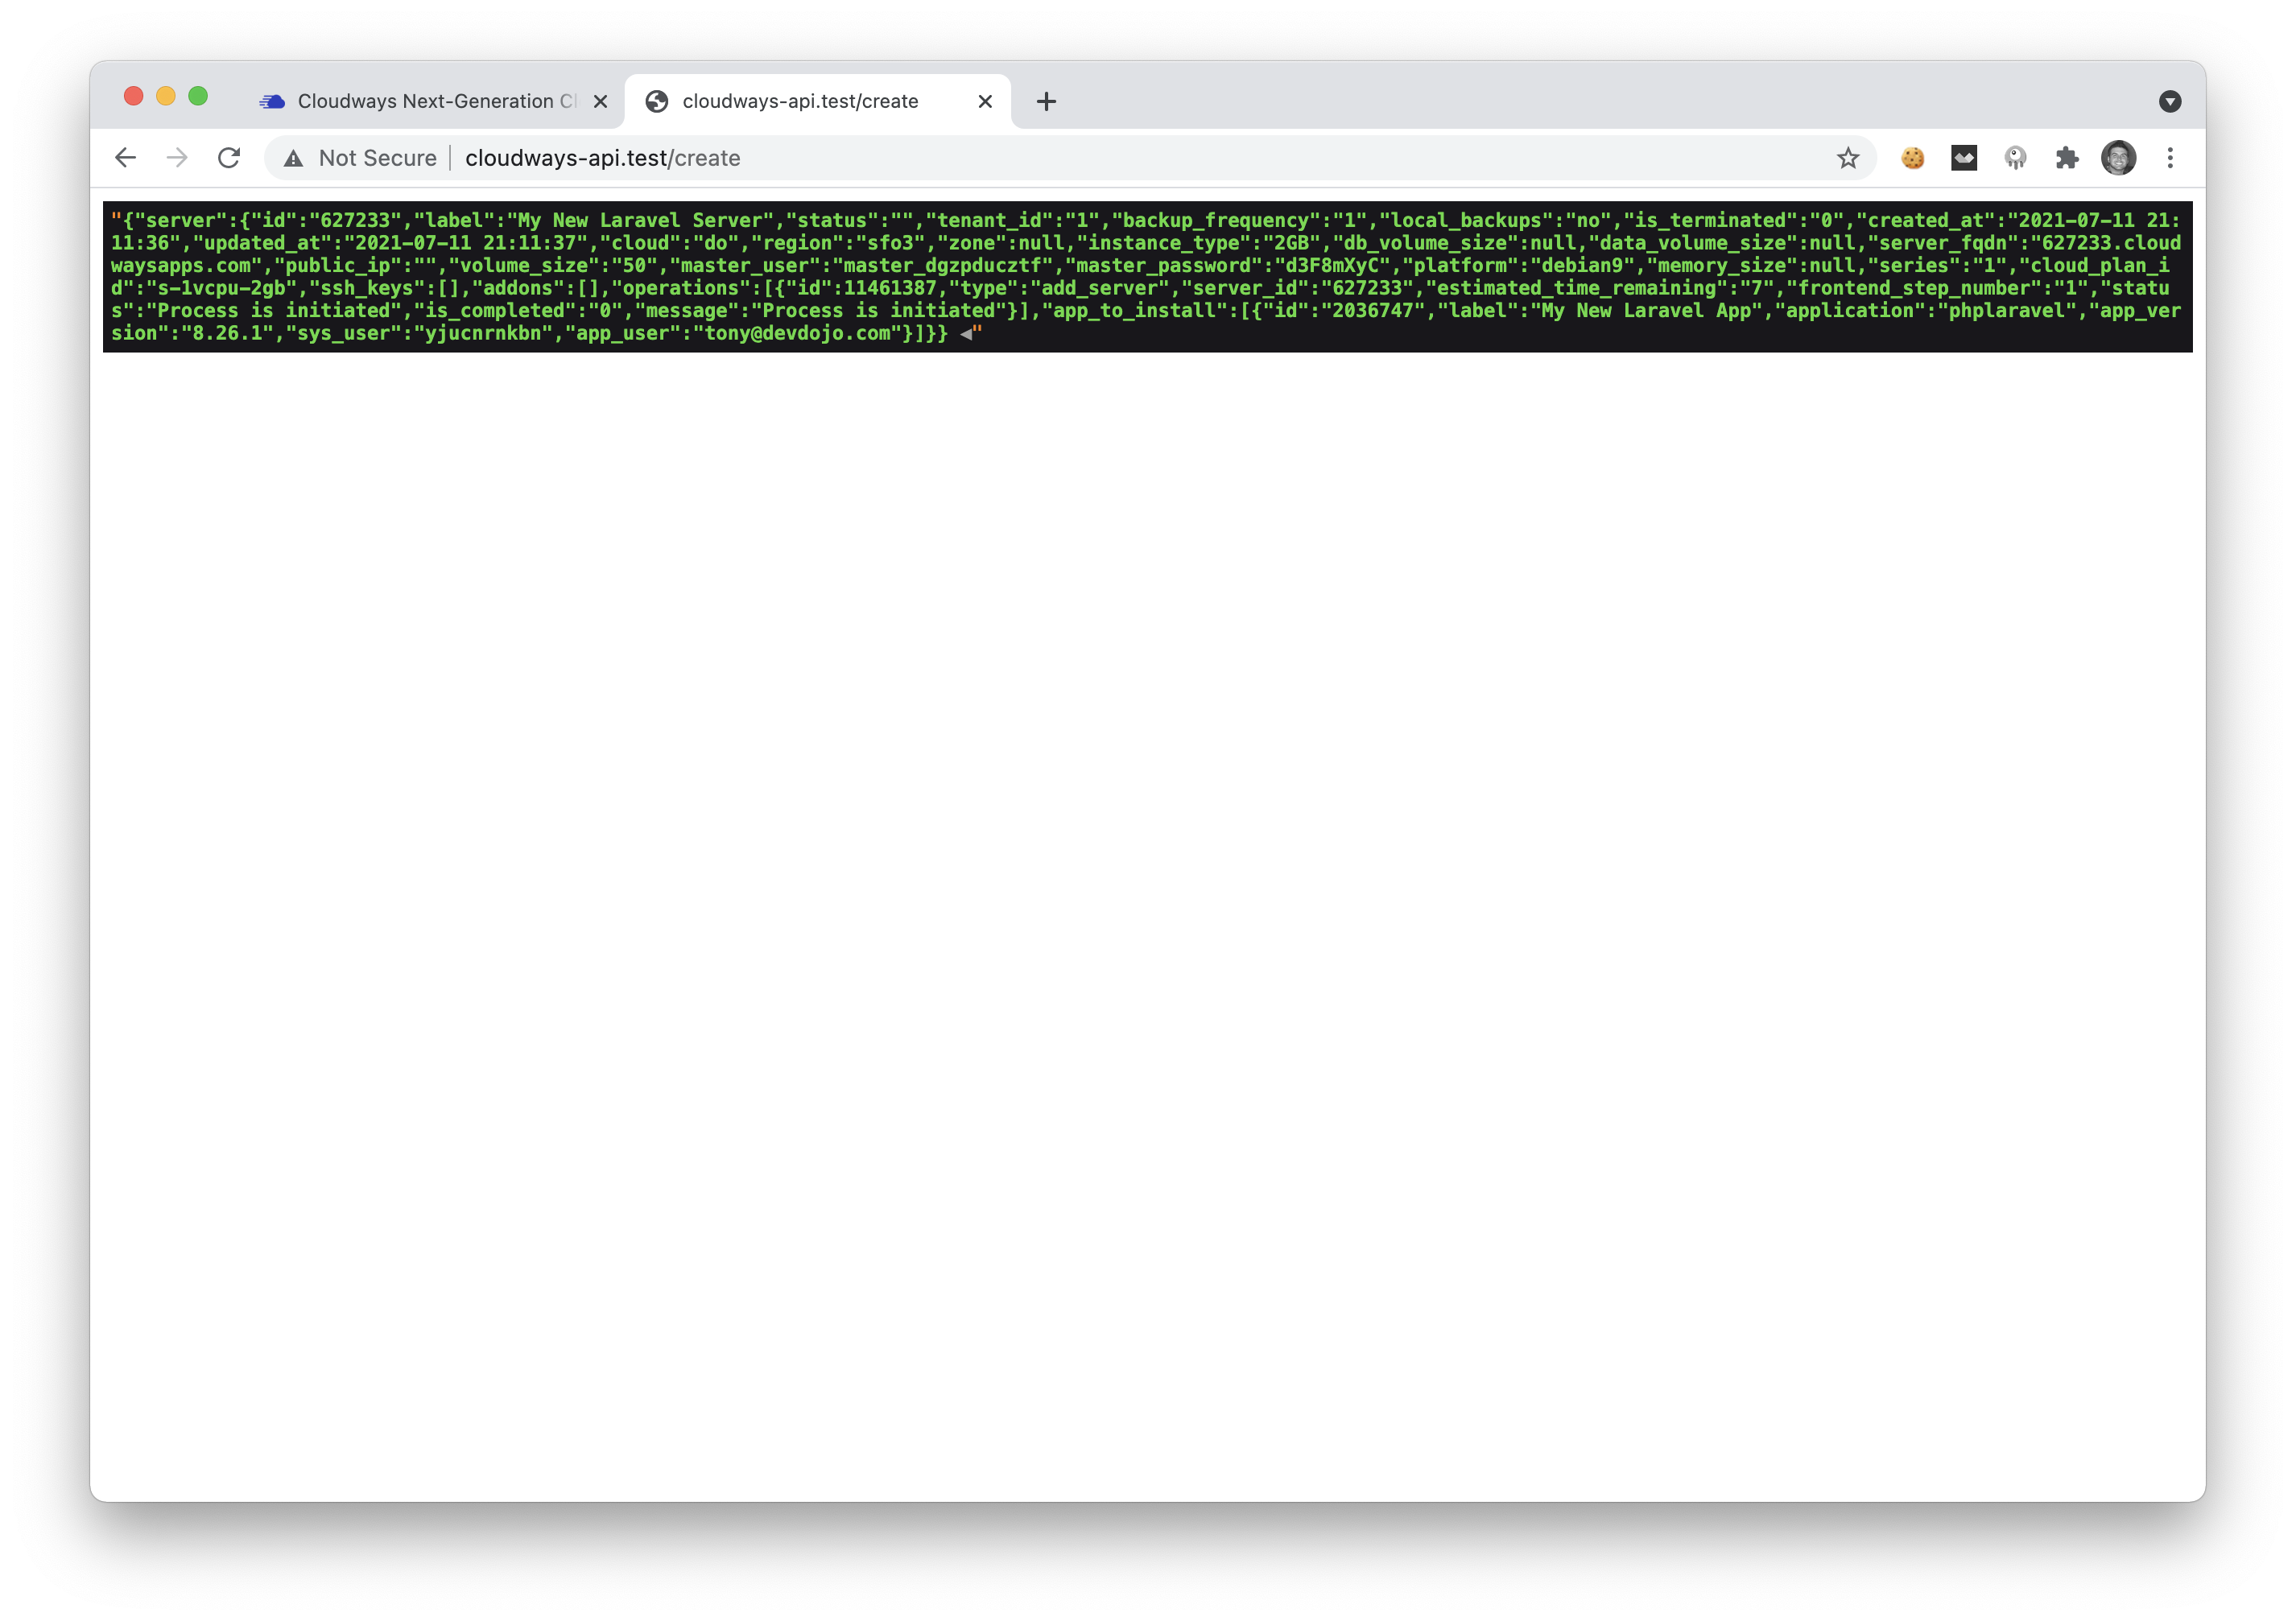
If you are seeing this output it means that you have successfully launched a new Laravel Application Server 🎉 Hazah! Now, if you visit your Cloudways Dashboard you will see a new server being built.

After you wait for your server to launch, you can jump over to the Applications tab and you'll see a new Laravel application.
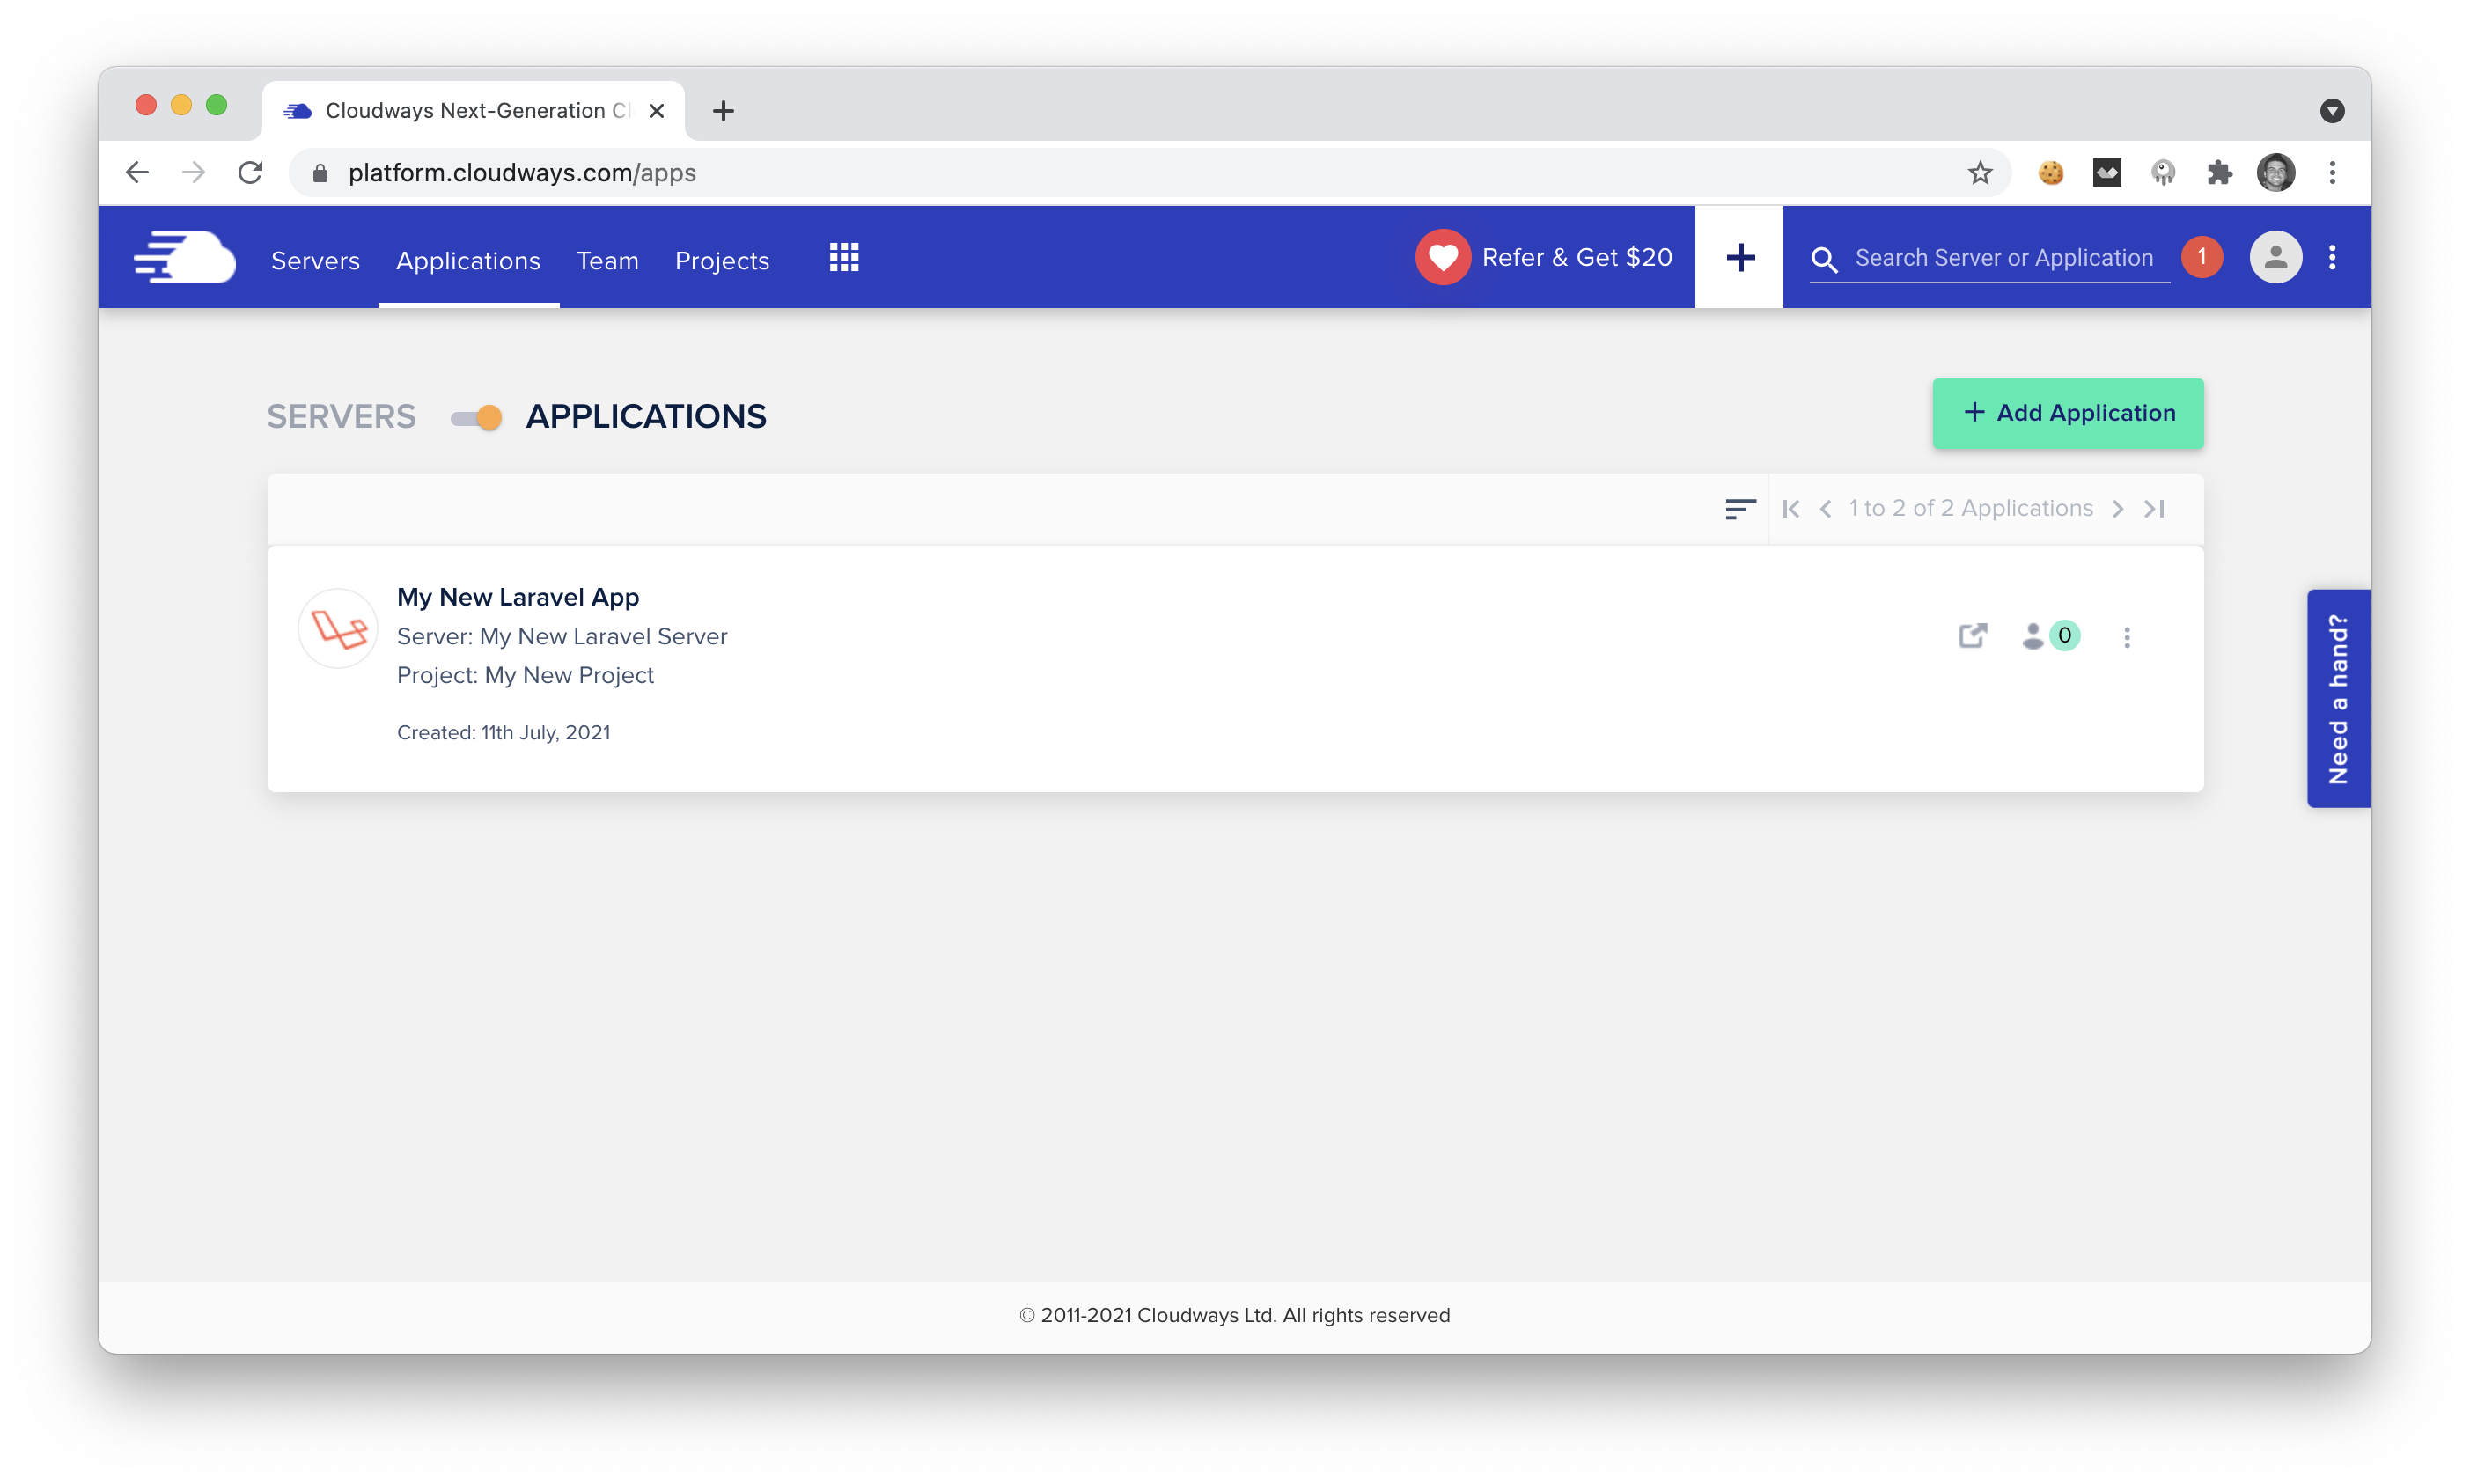
Click on that application to see the application details.
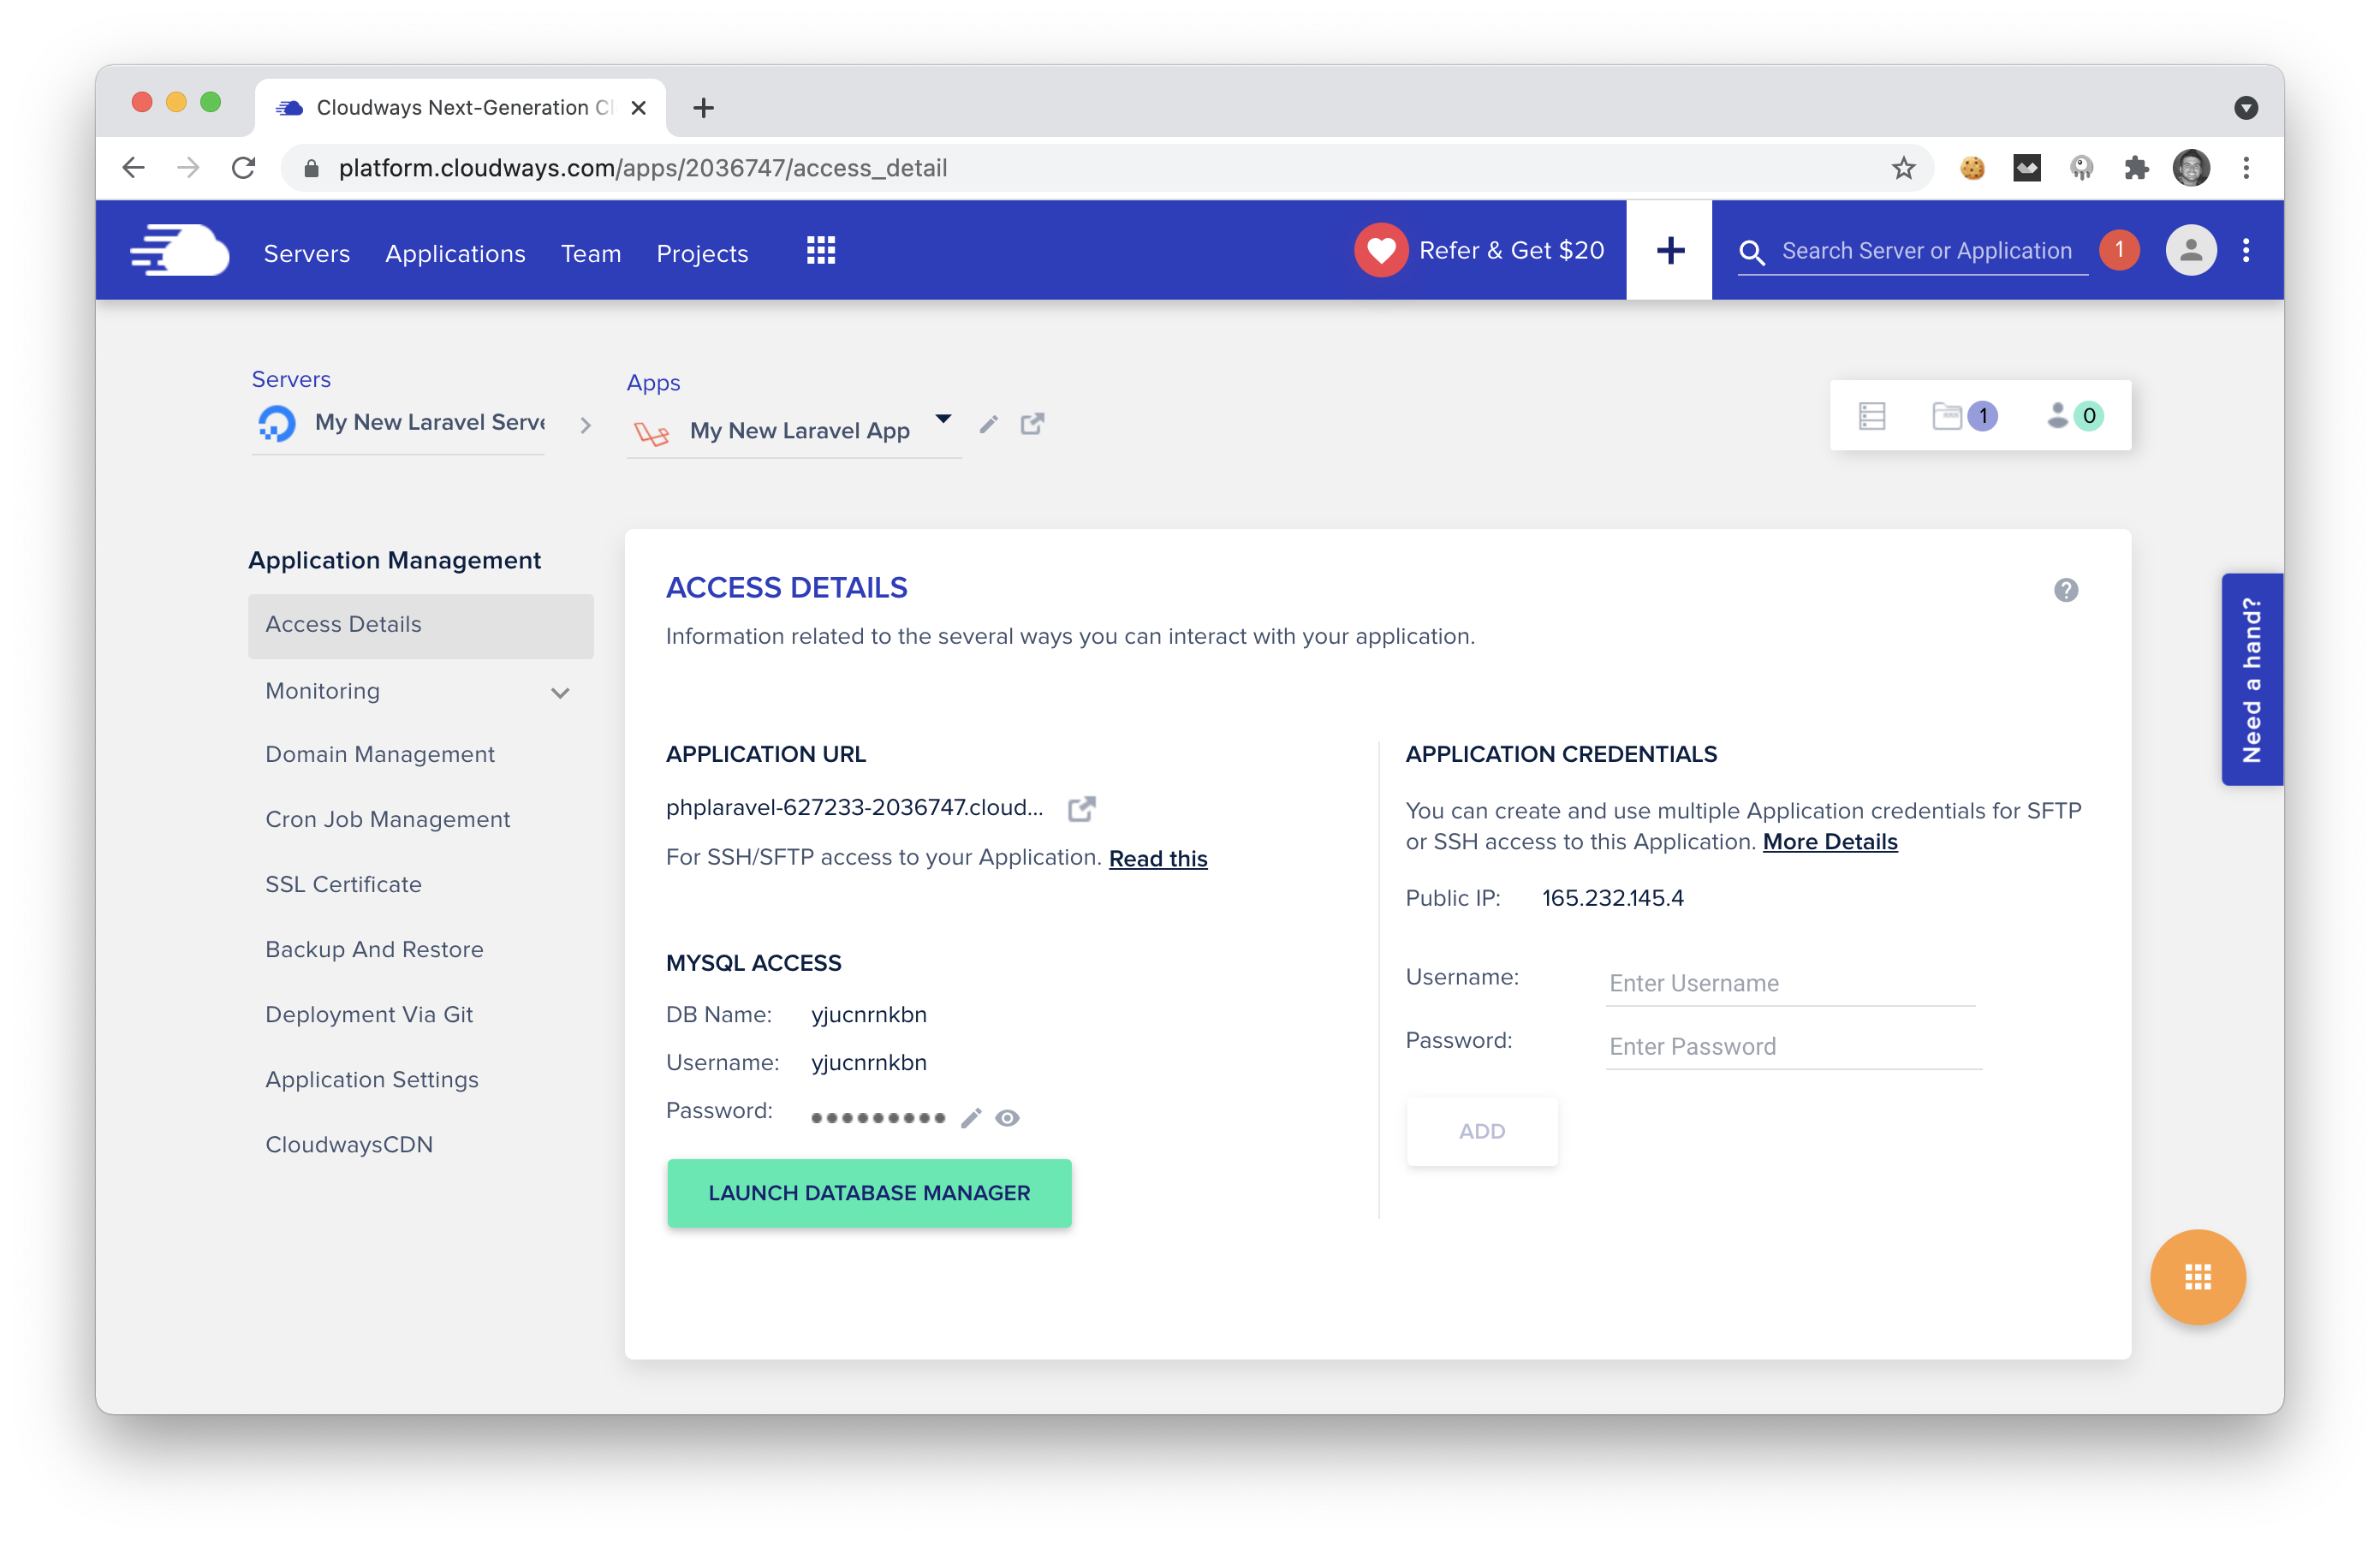
You can see that you now have a Live URL to visit your new Laravel application, Mysql Access, SSH access, and much more. Super duper cool 😎
Watch the Video 🍿
I've also created a short 15 minute video on how you can implement this functionality. If you would rather watch a video instead of reading the post, here you go:
That's a Wrap 🎁
We've just successfully launched a new Laravel server from the Cloudways API. You can use their API to build a lot of cool stuff and integrations.
You may also want to visit the Cloudways API Playground if you need information on server sizes, locations, application names, and any other info.
Hope you enjoyed this post and I hope you enjoy creating some cool stuff with the Cloudways API 😉.