
ThreeJS is one of the most popular libraries for displaying 3D content on a webpage. You can see a lot of examples of the cool stuff you can create, by checking out their homepage.
In this quick tutorial, I'll show you how to get started using and loading 3D content on your website. The best way to learn is to just jump into the code, so let's start by showing you how to render a rotating cube.
📦 Rendering a rotating Cube
It's always nice to see what we are going to create before diving directly into the code. Take a look at this Codepen Example, this is what we'll be creating.
Let's learn how simple it is to create this rotating cube. Inside the <body> of any HTML file, we are going to load three.js from a CDN, like so:
<script type="module">
    // Find the latest version by visiting https://cdn.skypack.dev/three.
    import * as THREE from 'https://cdn.skypack.dev/three';
</script>
Next we want to create two constants, our scene, and our camera:
const scene = new THREE.Scene();
const camera = new THREE.PerspectiveCamera( 75, window.innerWidth / window.innerHeight, 0.1, 1000 );
Then we need to create our renderer and our cube. We also add our cube to the scene, set the size of our renderer, set the camera position, and append the rendered output to our document:
const renderer = new THREE.WebGLRenderer();
const geometry = new THREE.BoxGeometry();
const material = new THREE.MeshBasicMaterial( { color: 0x00ff00 } );
const cube = new THREE.Mesh( geometry, material );

scene.add( cube );
renderer.setSize( window.innerWidth, window.innerHeight );
camera.position.z = 5;
document.body.appendChild( renderer.domElement );
This will only add the cube to the page, but nothing will be animating yet. We can add some simple animation by adding the following few lines:
function animate() {
    requestAnimationFrame( animate );
    renderer.render( scene, camera );
}
animate();

setInterval(function(){
    cube.rotation.x += 0.01;
    cube.rotation.y += 0.01;
}, 5);
Below is the contents of our HTML file that renders this 3D Cube 🕺
<!DOCTYPE html>
<html lang="en">
<head>
    <meta charset="UTF-8">
    <meta http-equiv="X-UA-Compatible" content="IE=edge">
    <meta name="viewport" content="width=device-width, initial-scale=1.0">
    <title>ThreeJS Fun</title>
    <style>
        body{
            background:#000;
            padding:0px;
            margin:0px;
        }
    </style>
</head>
<body>

    <script type="module">
        // Find the latest version by visiting https://cdn.skypack.dev/three.
        import * as THREE from 'https://cdn.skypack.dev/three';

        const scene = new THREE.Scene();
        const camera = new THREE.PerspectiveCamera( 75, window.innerWidth / window.innerHeight, 0.1, 1000 );
        const renderer = new THREE.WebGLRenderer();
        const geometry = new THREE.BoxGeometry();
        const material = new THREE.MeshBasicMaterial( { color: 0x00ff00 } );
        const cube = new THREE.Mesh( geometry, material );

        scene.add( cube );
        renderer.setSize( window.innerWidth, window.innerHeight );
        camera.position.z = 5;
        document.body.appendChild( renderer.domElement );


        function animate() {
            requestAnimationFrame( animate );
            renderer.render( scene, camera );
        }
        animate();

        setInterval(function(){
            cube.rotation.x += 0.01;
            cube.rotation.y += 0.01;
        }, 5);

    </script>
</body>
</html>
Next, we'll learn how we can load a 3D file via a GLTF file, this is a common 3D file format.
💾 Loading a simple 3D model
Here is an example of what we'll be creating in this step. As you can see it's a simple render of a 3-D Parrot 🦜
This is also very simple to accomplish. First, we need to import our libraries (including a library to import GLTF/GLB file). We will also be creating our scene, camera, renderer, loader, light, and of course our 3d object:
import * as THREE from 'https://cdnjs.cloudflare.com/ajax/libs/three.js/r128/three.module.js';
import {GLTFLoader} from 'https://threejsfundamentals.org/threejs/resources/threejs/r132/examples/jsm/loaders/GLTFLoader.js';

const scene = new THREE.Scene();
const camera = new THREE.PerspectiveCamera( 75, window.innerWidth / window.innerHeight, 0.1, 1000 );
const renderer = new THREE.WebGLRenderer();
const loader = new GLTFLoader();
const light = new THREE.SpotLight();
const flamingo = await loader.loadAsync('//devdojo.com.s3.us-east-1.amazonaws.com/assets/3d/parrot.glb');
Next, we'll set the background color of our scene and reposition the light and camera. Then we add our light and 3d object to our scene.
scene.background = new THREE.Color('#72c0ff');
light.position.set(-20, 15, 120);
camera.position.set( 10, 0, 140 );
scene.add(light);
scene.add(flamingo.scene);
Finally, we append our rendered contents to the screen, render our scene in an animation, and rotate our 3D model.
renderer.setSize( window.innerWidth, window.innerHeight );
document.body.appendChild( renderer.domElement );

function animate() {
    requestAnimationFrame( animate );
    renderer.render( scene, camera );
}
animate();

setInterval(function(){
    flamingo.scene.children[0].rotation.y += 0.001;
}, 5);
Here is the contents of that single file that loads our 3D object 🦜
<!DOCTYPE html>
<html lang="en">
<head>
    <meta charset="UTF-8">
    <meta http-equiv="X-UA-Compatible" content="IE=edge">
    <meta name="viewport" content="width=device-width, initial-scale=1.0">
    <title>ThreeJS Fun</title>
    <style>
        body{
            background:#000;
            padding:0px;
            margin:0px;
        }
    </style>
</head>
<body>
    <script type="module">
        import * as THREE from 'https://cdnjs.cloudflare.com/ajax/libs/three.js/r128/three.module.js';
        import {GLTFLoader} from 'https://threejsfundamentals.org/threejs/resources/threejs/r132/examples/jsm/loaders/GLTFLoader.js';

        const scene = new THREE.Scene();
        const camera = new THREE.PerspectiveCamera( 75, window.innerWidth / window.innerHeight, 0.1, 1000 );
        const renderer = new THREE.WebGLRenderer();
        const loader = new GLTFLoader();

        const light = new THREE.SpotLight()
        light.position.set(-20, 15, 120)
        scene.add(light)


        const flamingo = await loader.loadAsync('https://cdn.devdojo.com/assets/3d/parrot.glb');
        scene.add(flamingo.scene);

        scene.background = new THREE.Color('#72c0ff');


        renderer.setSize( window.innerWidth, window.innerHeight );
        camera.position.set( 10, 0, 140 );
        document.body.appendChild( renderer.domElement );

        function animate() {
            requestAnimationFrame( animate );
            renderer.render( scene, camera );
        }
        animate();

        setInterval(function(){
            flamingo.scene.children[0].rotation.y += 0.001;
        }, 5);

    </script>
</body>
</html>
🪐 Finding 3D Models
There are a few resources where you can find some amazing 3D models to use in your projects. The first one is Free3D, and the second (my favorite) is SketchFab.
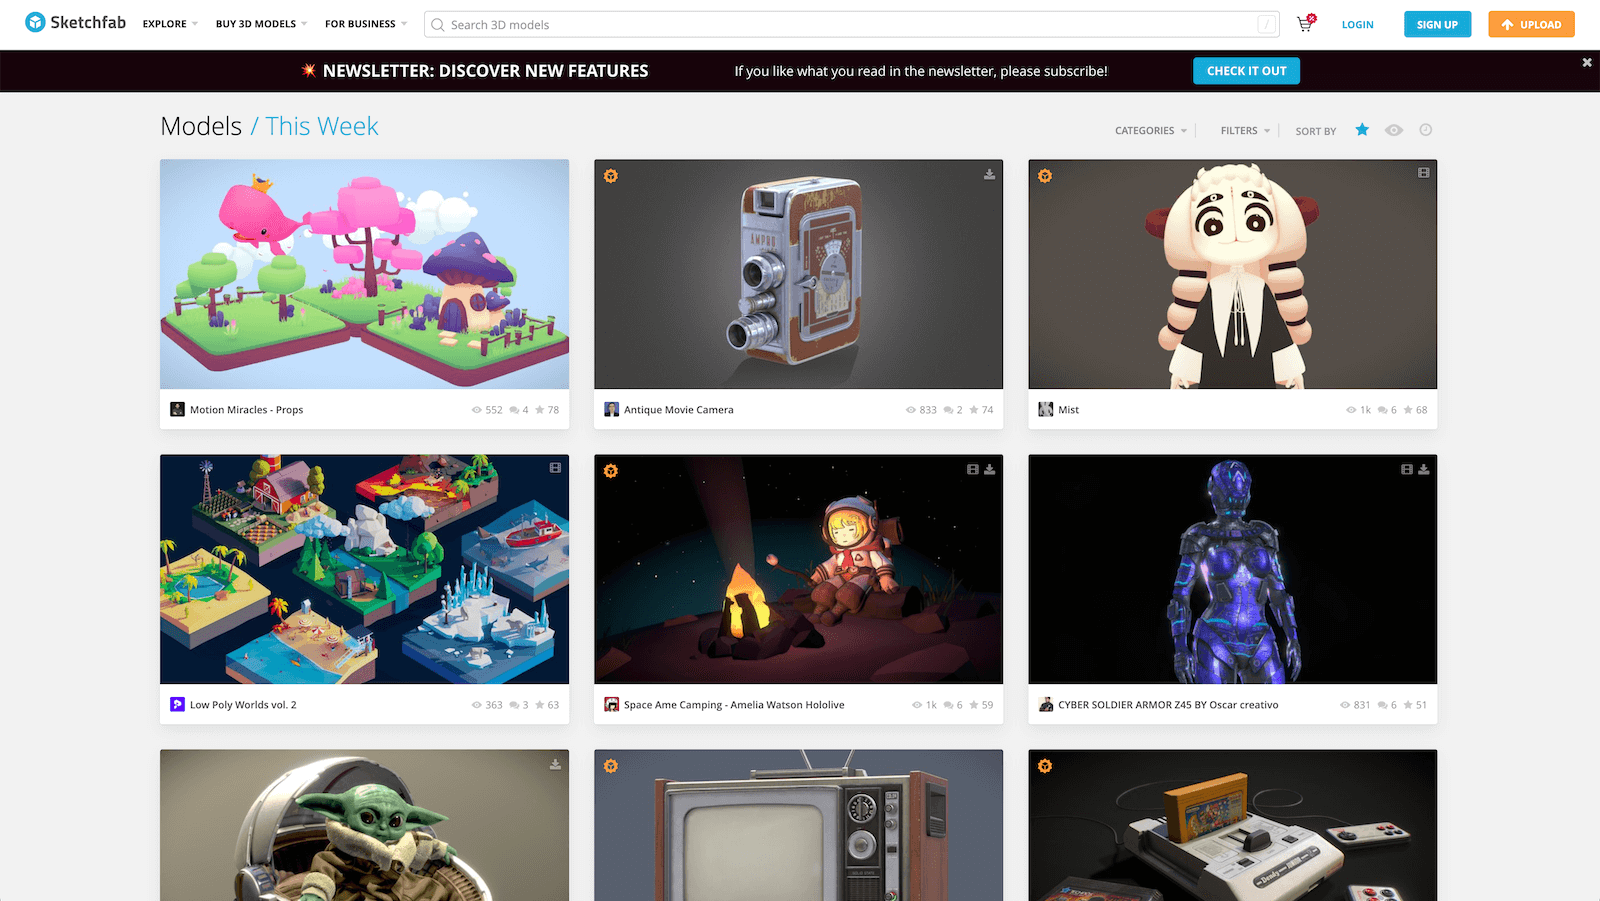
Be sure to search around because there are many other websites out there with some really cool 3D models 🙌
💡 Learning More
If you would like to learn more about Three.js and how you can use it to create some awesome and engaging websites be sure to check out the following resources:
Be sure to follow me here as well because I will be creating more tutorials on how to use Three.js 😉