In this tutorial I will show you how to create simple modals in Laravel Livewire. We are going to make use of an awesome package called LivewireUI Modal. This package allows you to create some re-usable, extendable, and super sleek looking modals in your application.
Are you ready to add some sick looking modals to your Laravel application using Livewire? If so, let's get started 👇:
Create a New Laravel application
I like to start off every tutorial from the very beginning, so the first thing we will do is create a new Laravel application, using the Laravel installer.
laravel new livewire-modals
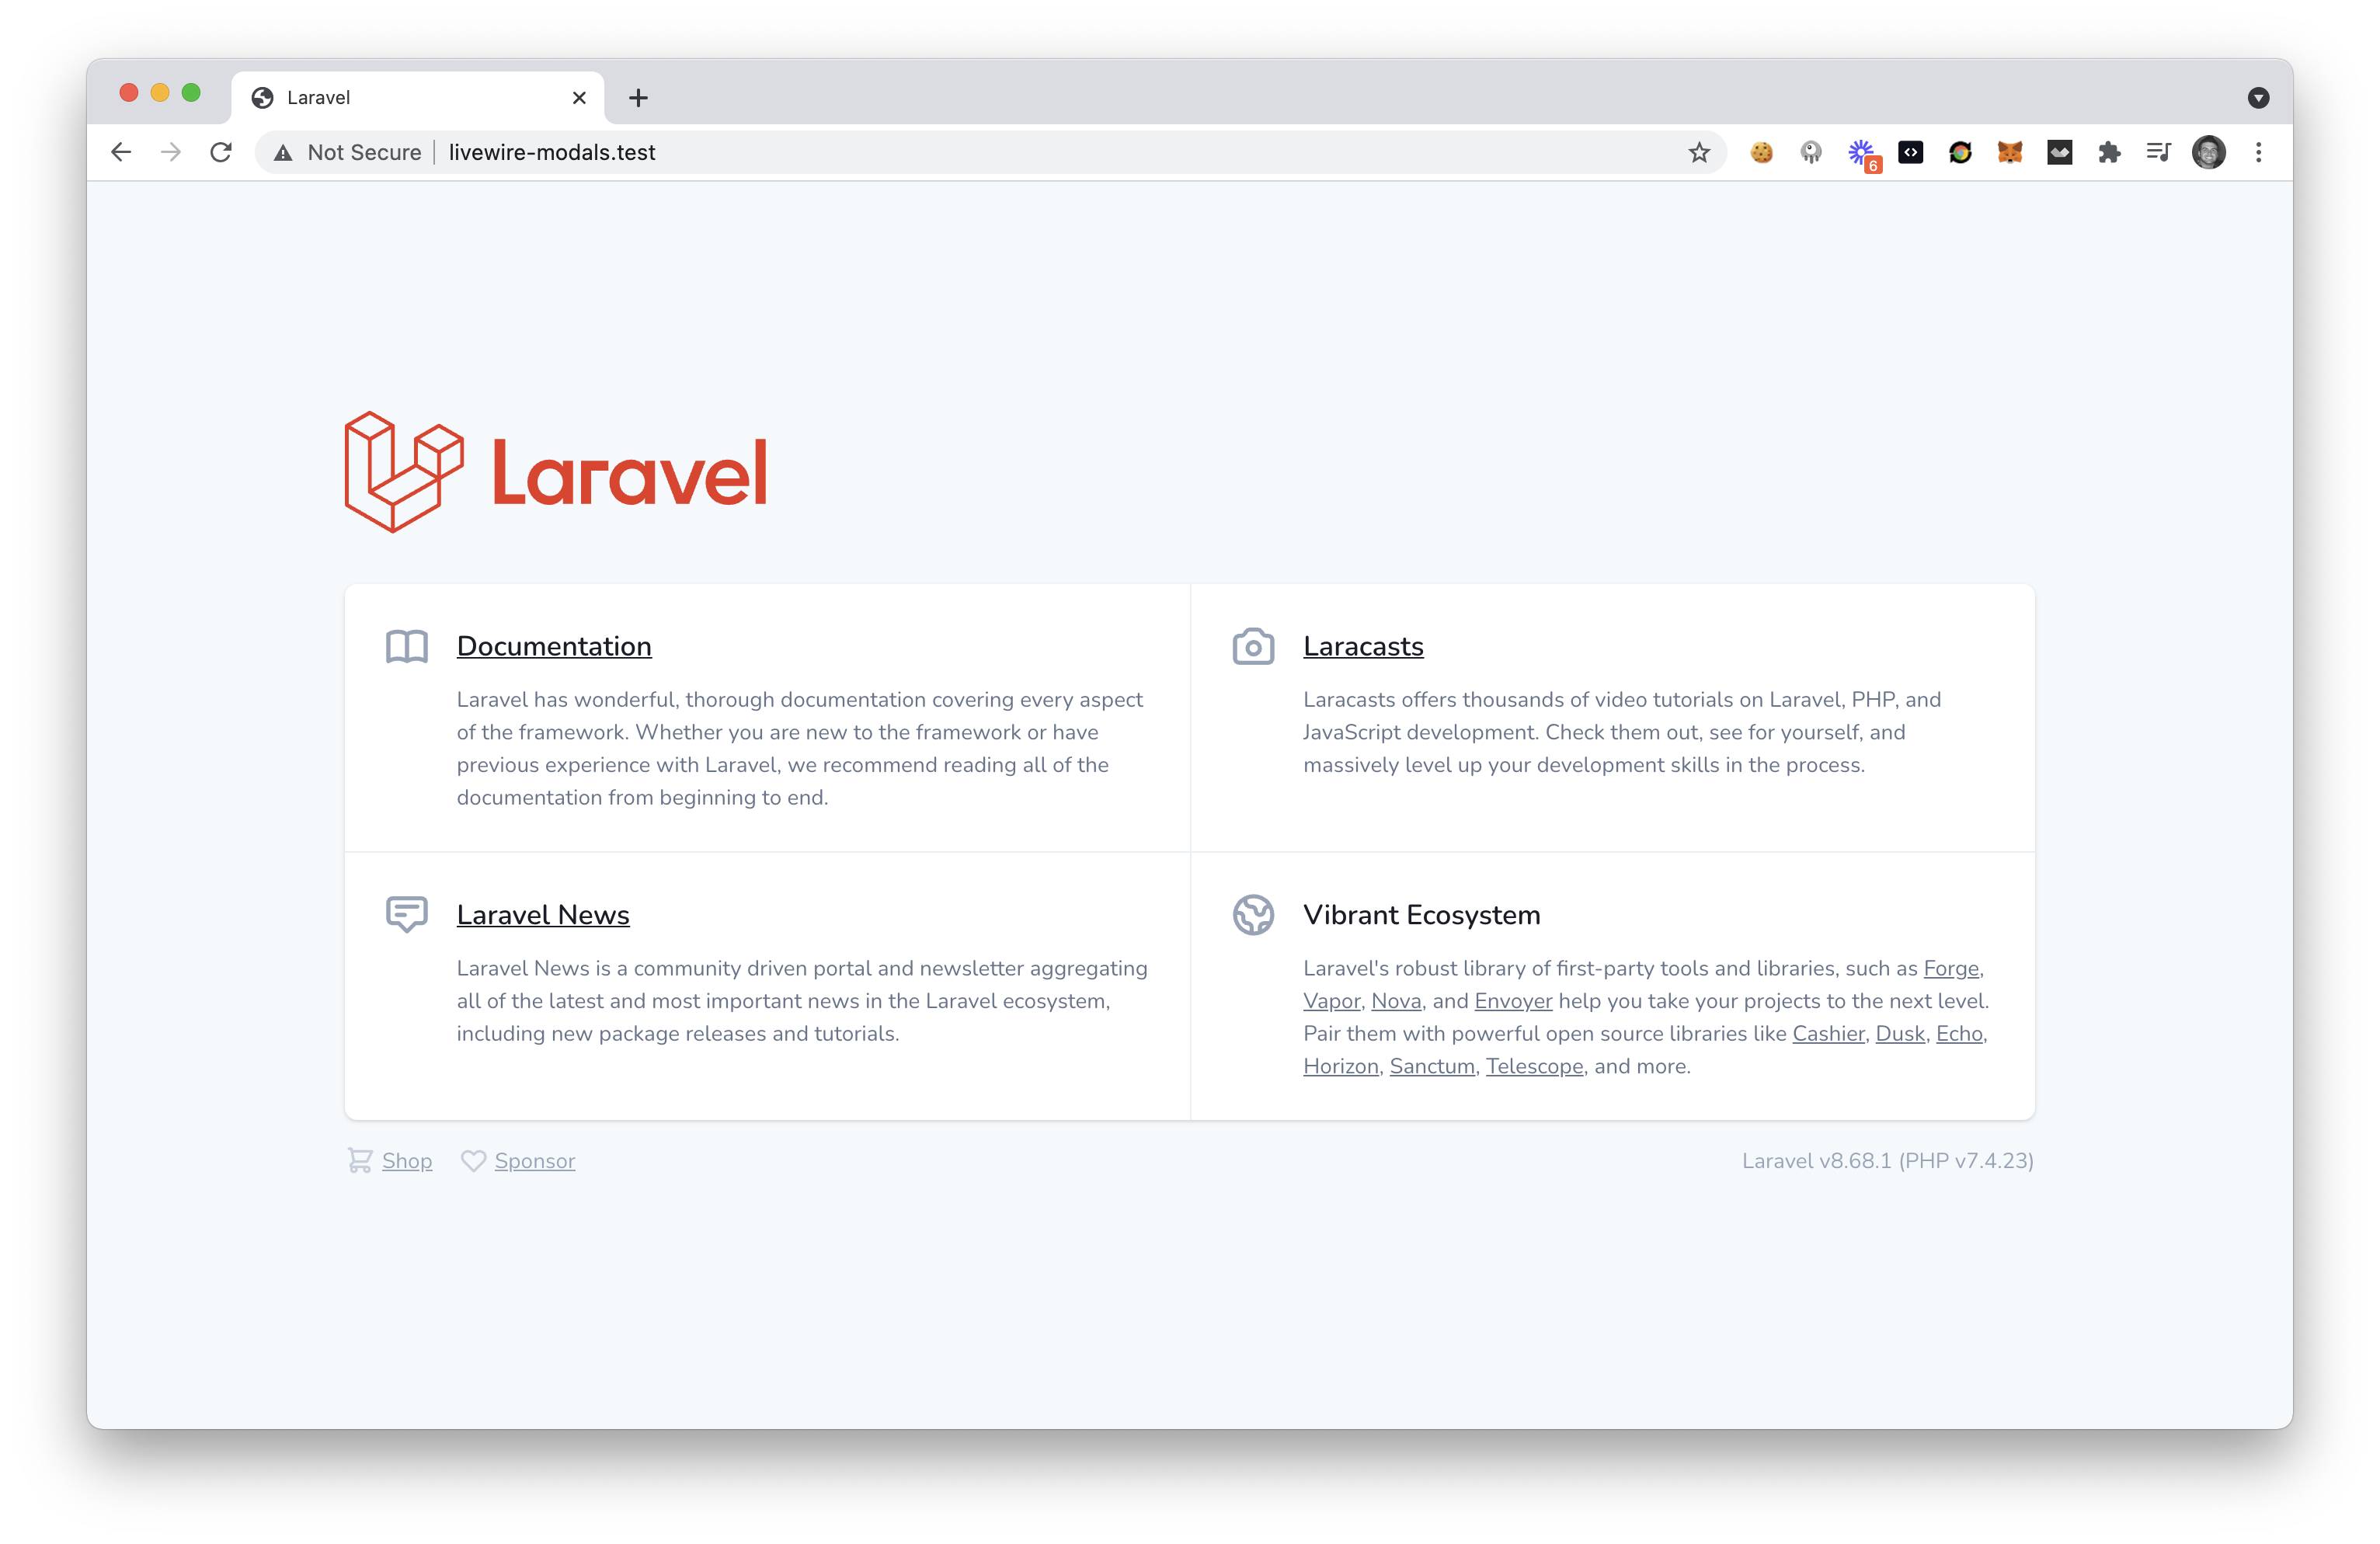
Now, we can cd into our application and if we are running Laravel Valet we can visit http://livewire-modals.test and see our new application.

Adding the Tallstack Preset
Next, we want to add the Laravel Tallstack preset from the following repo: https://github.com/laravel-frontend-presets/tall. We can easily install this preset by running the following commands inside of our livewire-modals folder.
composer require livewire/livewire laravel-frontend-presets/tall
php artisan ui tall
npm install
npm run dev
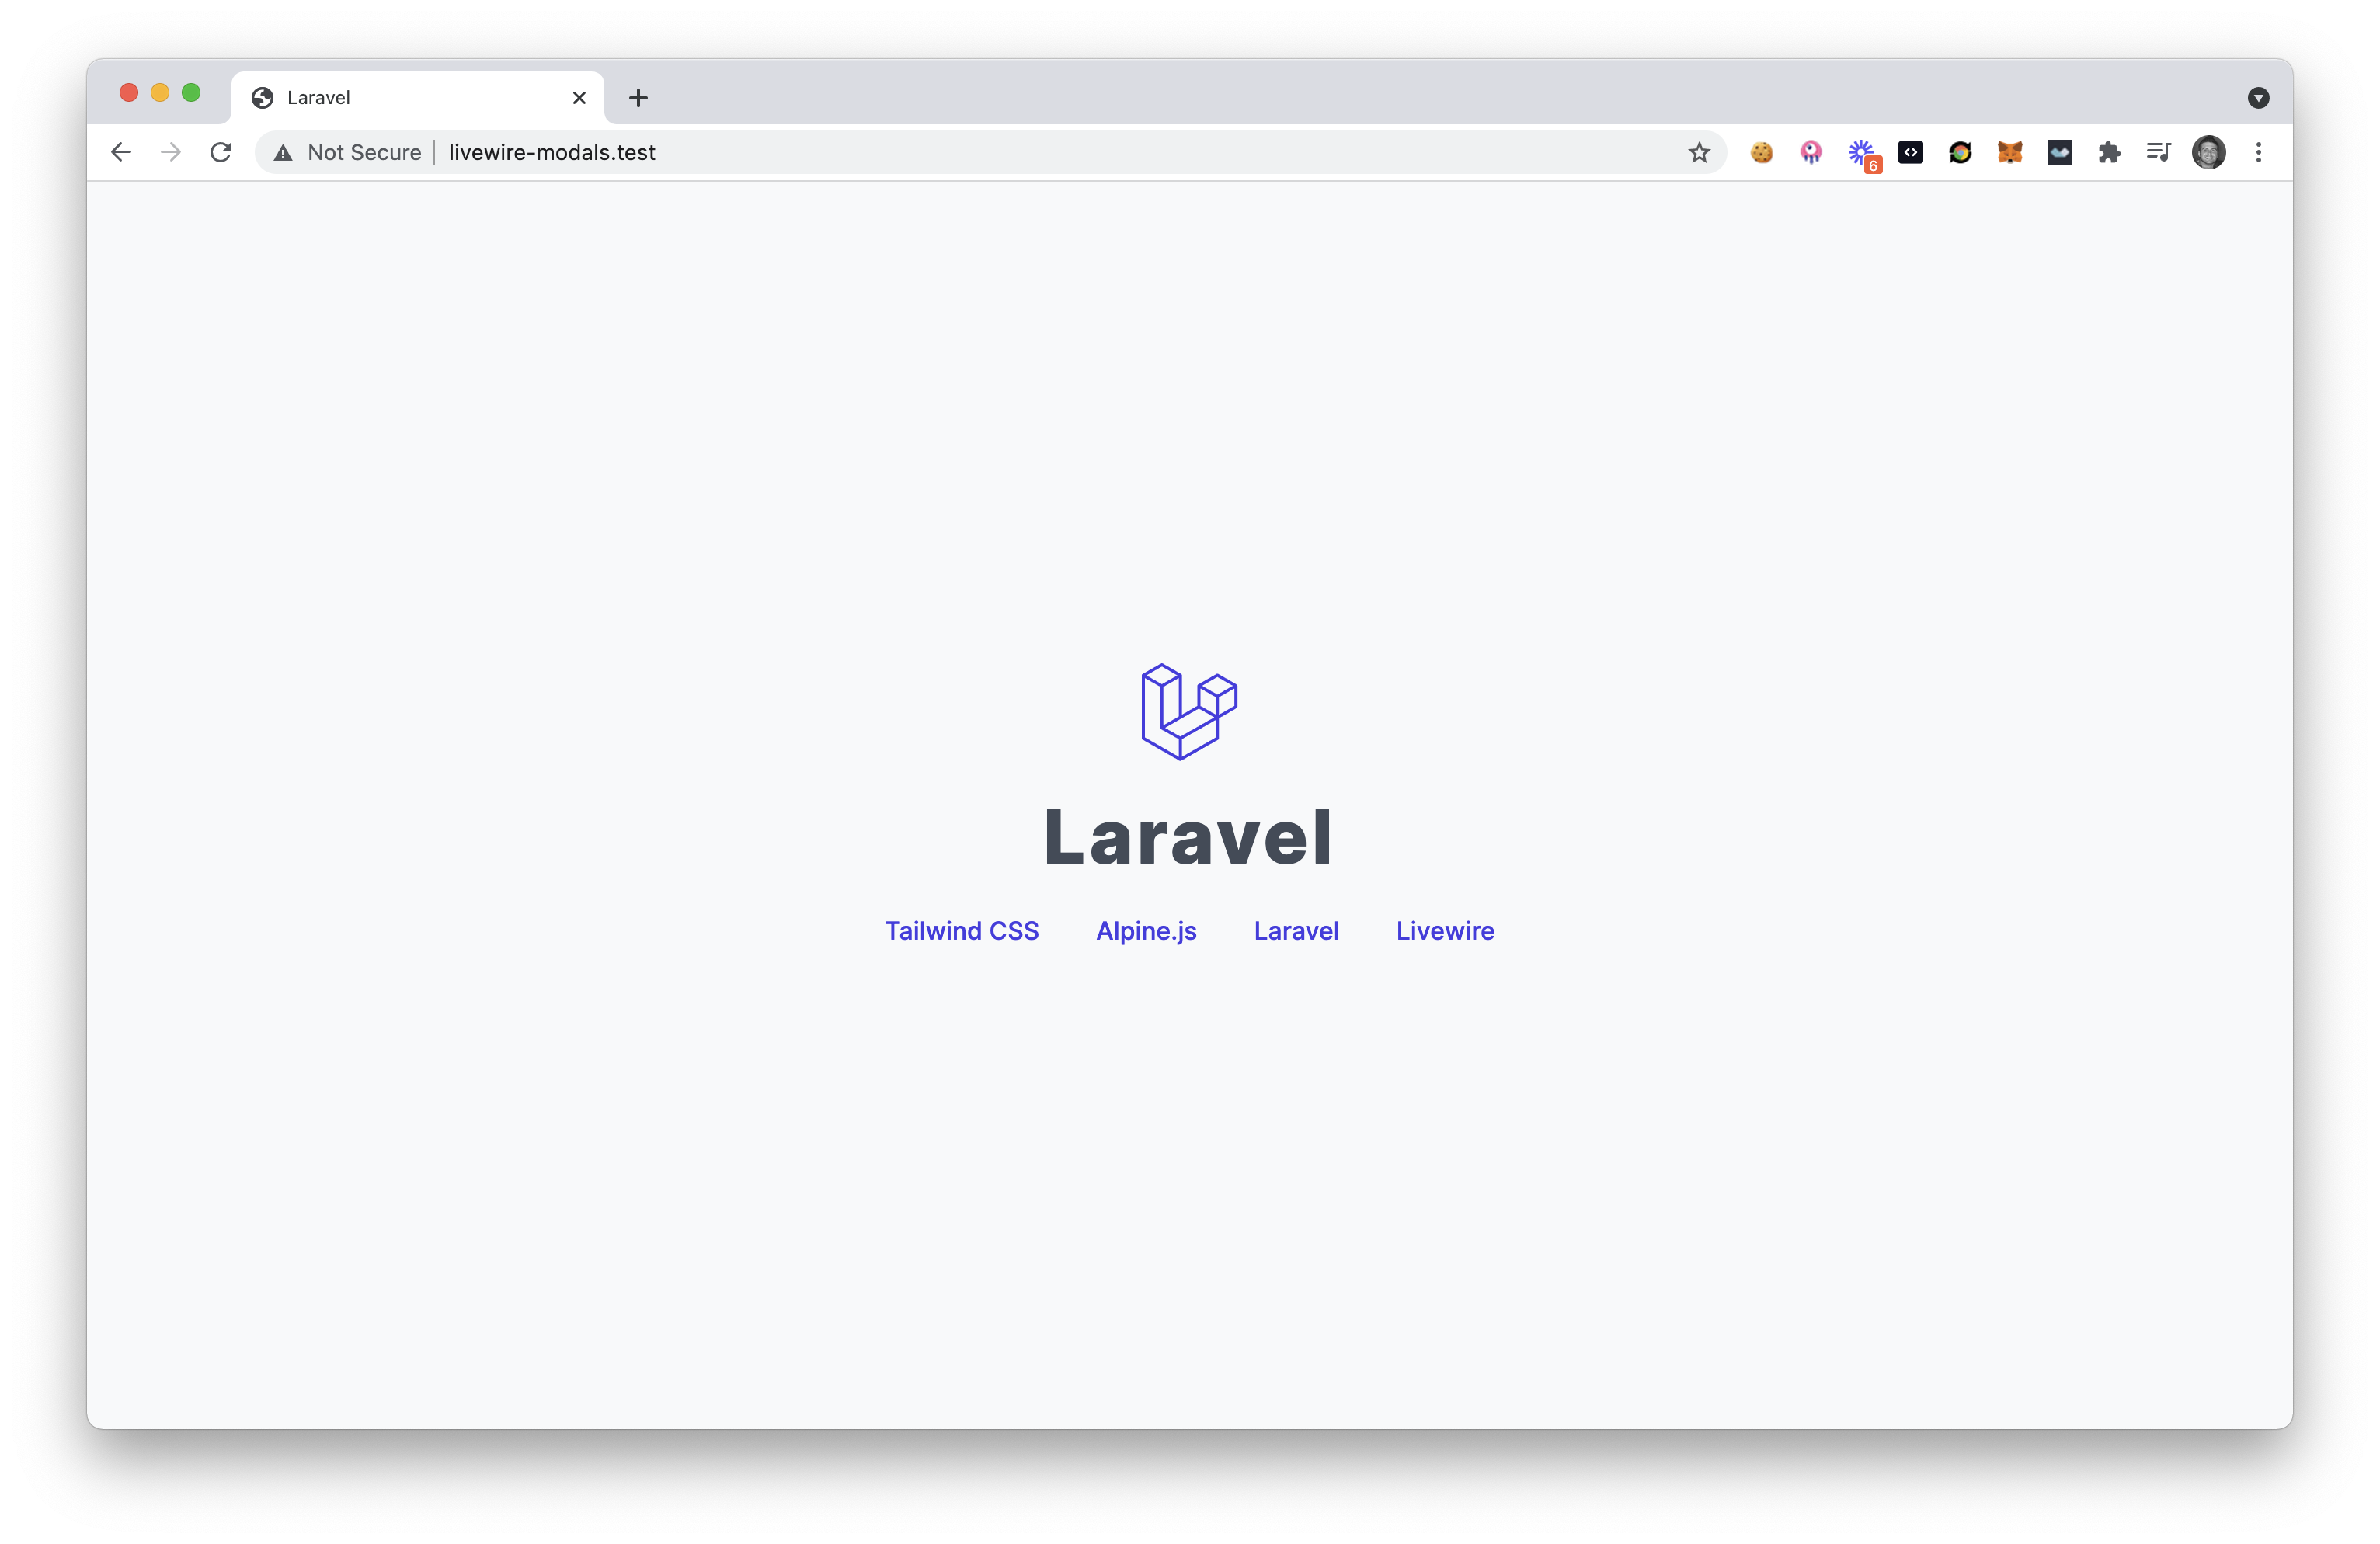
If we visit our application URL we will now see the Laravel Tall stack application in front of us.

Install the LivewireUI Modals Package
Finally, we'll want to install the LivewireUI Modal package into our application with the following command:
composer require livewire-ui/modal
Adding the Livewire Modals Component
After installing this package we'll then want to include the @livewire('livewire-ui-modal') component in our resources/views/layouts/app.blade.php file:
@extends('layouts.base')

@section('body')
    @yield('content')

    @isset($slot)
        {{ $slot }}
    @endisset

    @livewire('livewire-ui-modal')
@endsection
Create our First Modal
Next, we will create our first Livewire Modal Component by running the following command:
php artisan make:livewire helloModal
This will create the following 2 files in our application:
CLASS: app/Http/Livewire/HelloModal.php
VIEW:  resources/views/livewire/hello-modal.blade.php
We want to open up the app/Http/Livewire/HelloModal.php component controller and replace the namespace and extend the class from LivewireUI\Modal\ModalComponent, like the following:
<?php

namespace App\Http\Livewire;

use LivewireUI\Modal\ModalComponent;

class HelloModal extends ModalComponent
{
    public function render()
    {
        return view('livewire.hello-modal');
    }
}
Next, we'll open up our resources/views/livewire/hello-modal.blade.php file and replace it with the following contents:
<div class="p-10">
    <h1 class="text-6xl font-semibold">Hello Modal</h1>
    <p class="text-gray-700">This is a simple modal that has been launched using the awesome LivewireUI Modals package.</p>
</div>
Now that we've created our new modal we need to create a button to launch this new modal.
Opening our New Modal
Inside of the default laravel resources/views/welcome.blade.php file we are going to add the following content:
@extends('layouts.app')

@section('content')
    <div class="flex items-center justify-center w-screen h-screen">
        <button onclick="Livewire.emit('openModal', 'hello-modal')"
                class="px-3 py-2 text-sm border border-gray-200 rounded-md">Open Modal</button>
    </div>
@endsection
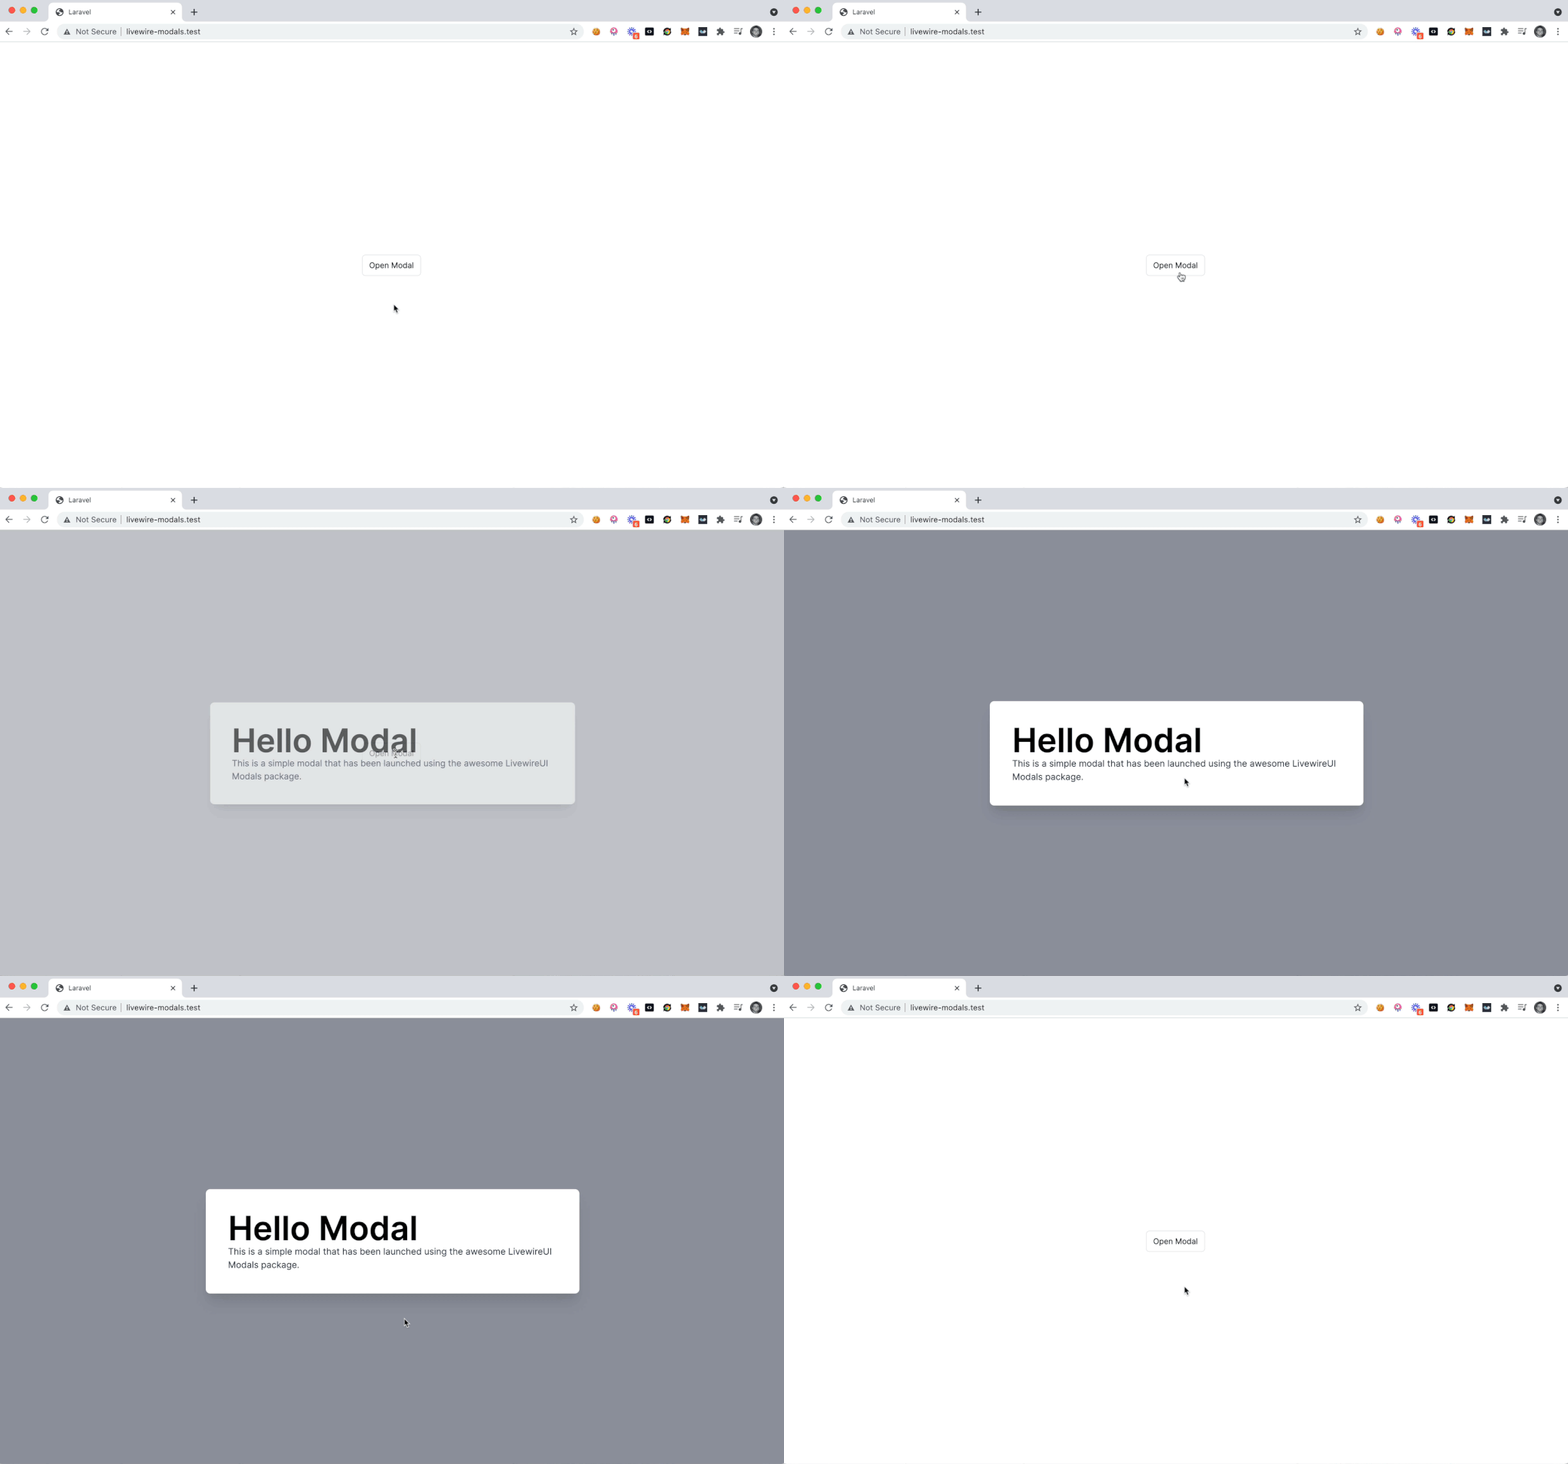
This will create a centered button on our homepage and when we click the button we will see our nicely animated modal appear on the screen.

And that's how easy it is to create Modals in our Livewire application 🙌
Conclusion
Be sure to checkout the official repo readme to learn how you can customize the modals for your application. Be sure to give the creator (Philo Hermans) a follow on twitter at https://twitter.com/Philo01.
Thanks for reading and I hope you've found this tutorial helpful 😉
