
The TailwindCSS library is amazing. We can create some beautiful user interfaces with their utility and component classes. But, what happens when you need to build some custom solutions? Well then, a TailwindCSS plugin is what you'll need to create.
Building a Tailwind plugin will allow you to re-use a custom Tailwind solution and share it with others. If you want to get in-depth on creating a Tailwind plugin, be sure to visit the Tailwind Plugin documentation; however, in this tutorial, we'll create a simple Tailwind plugin just to get your feet wet.
Setting up a Tailwind App
We can create a new Tailwind app using the Tailwind Playground Starter. If you need help setting this up, be sure to check out my previous article, Getting Started with Tailwind.
After setting up our Tailwind app, we'll be able to load up a new application at http://localhost:8080.

Now that we have a tailwind app setup, we can create our first plugin.
The Simplest Plugin
It might be easier to understand how to create plugins if I show you the simplest form of a plugin.
Inside of our application is a file called tailwind.config.js, which is where all our tailwind configs and plugins are located. Here is an example of a blank Tailwind config file:
module.exports = {
  theme: {
    extend: {},
  },
  variants: {},
  plugins: [],
}
To create our simple plugin we're going to create a function() inside of the plugins: [] array, like so:
plugins: [
    function({e, addUtilities}) {
        addUtilities({
            '.lavender': {
                'background': '#b67edc'
            }
        });
    }
],
This plugin will create a new class called .lavender and will give the element a lavender color background. It is only an example plugin because it would be easier just to extend the background utility classes and add your own colors. But, I wanted to keep this simple to show you how a plugin works.
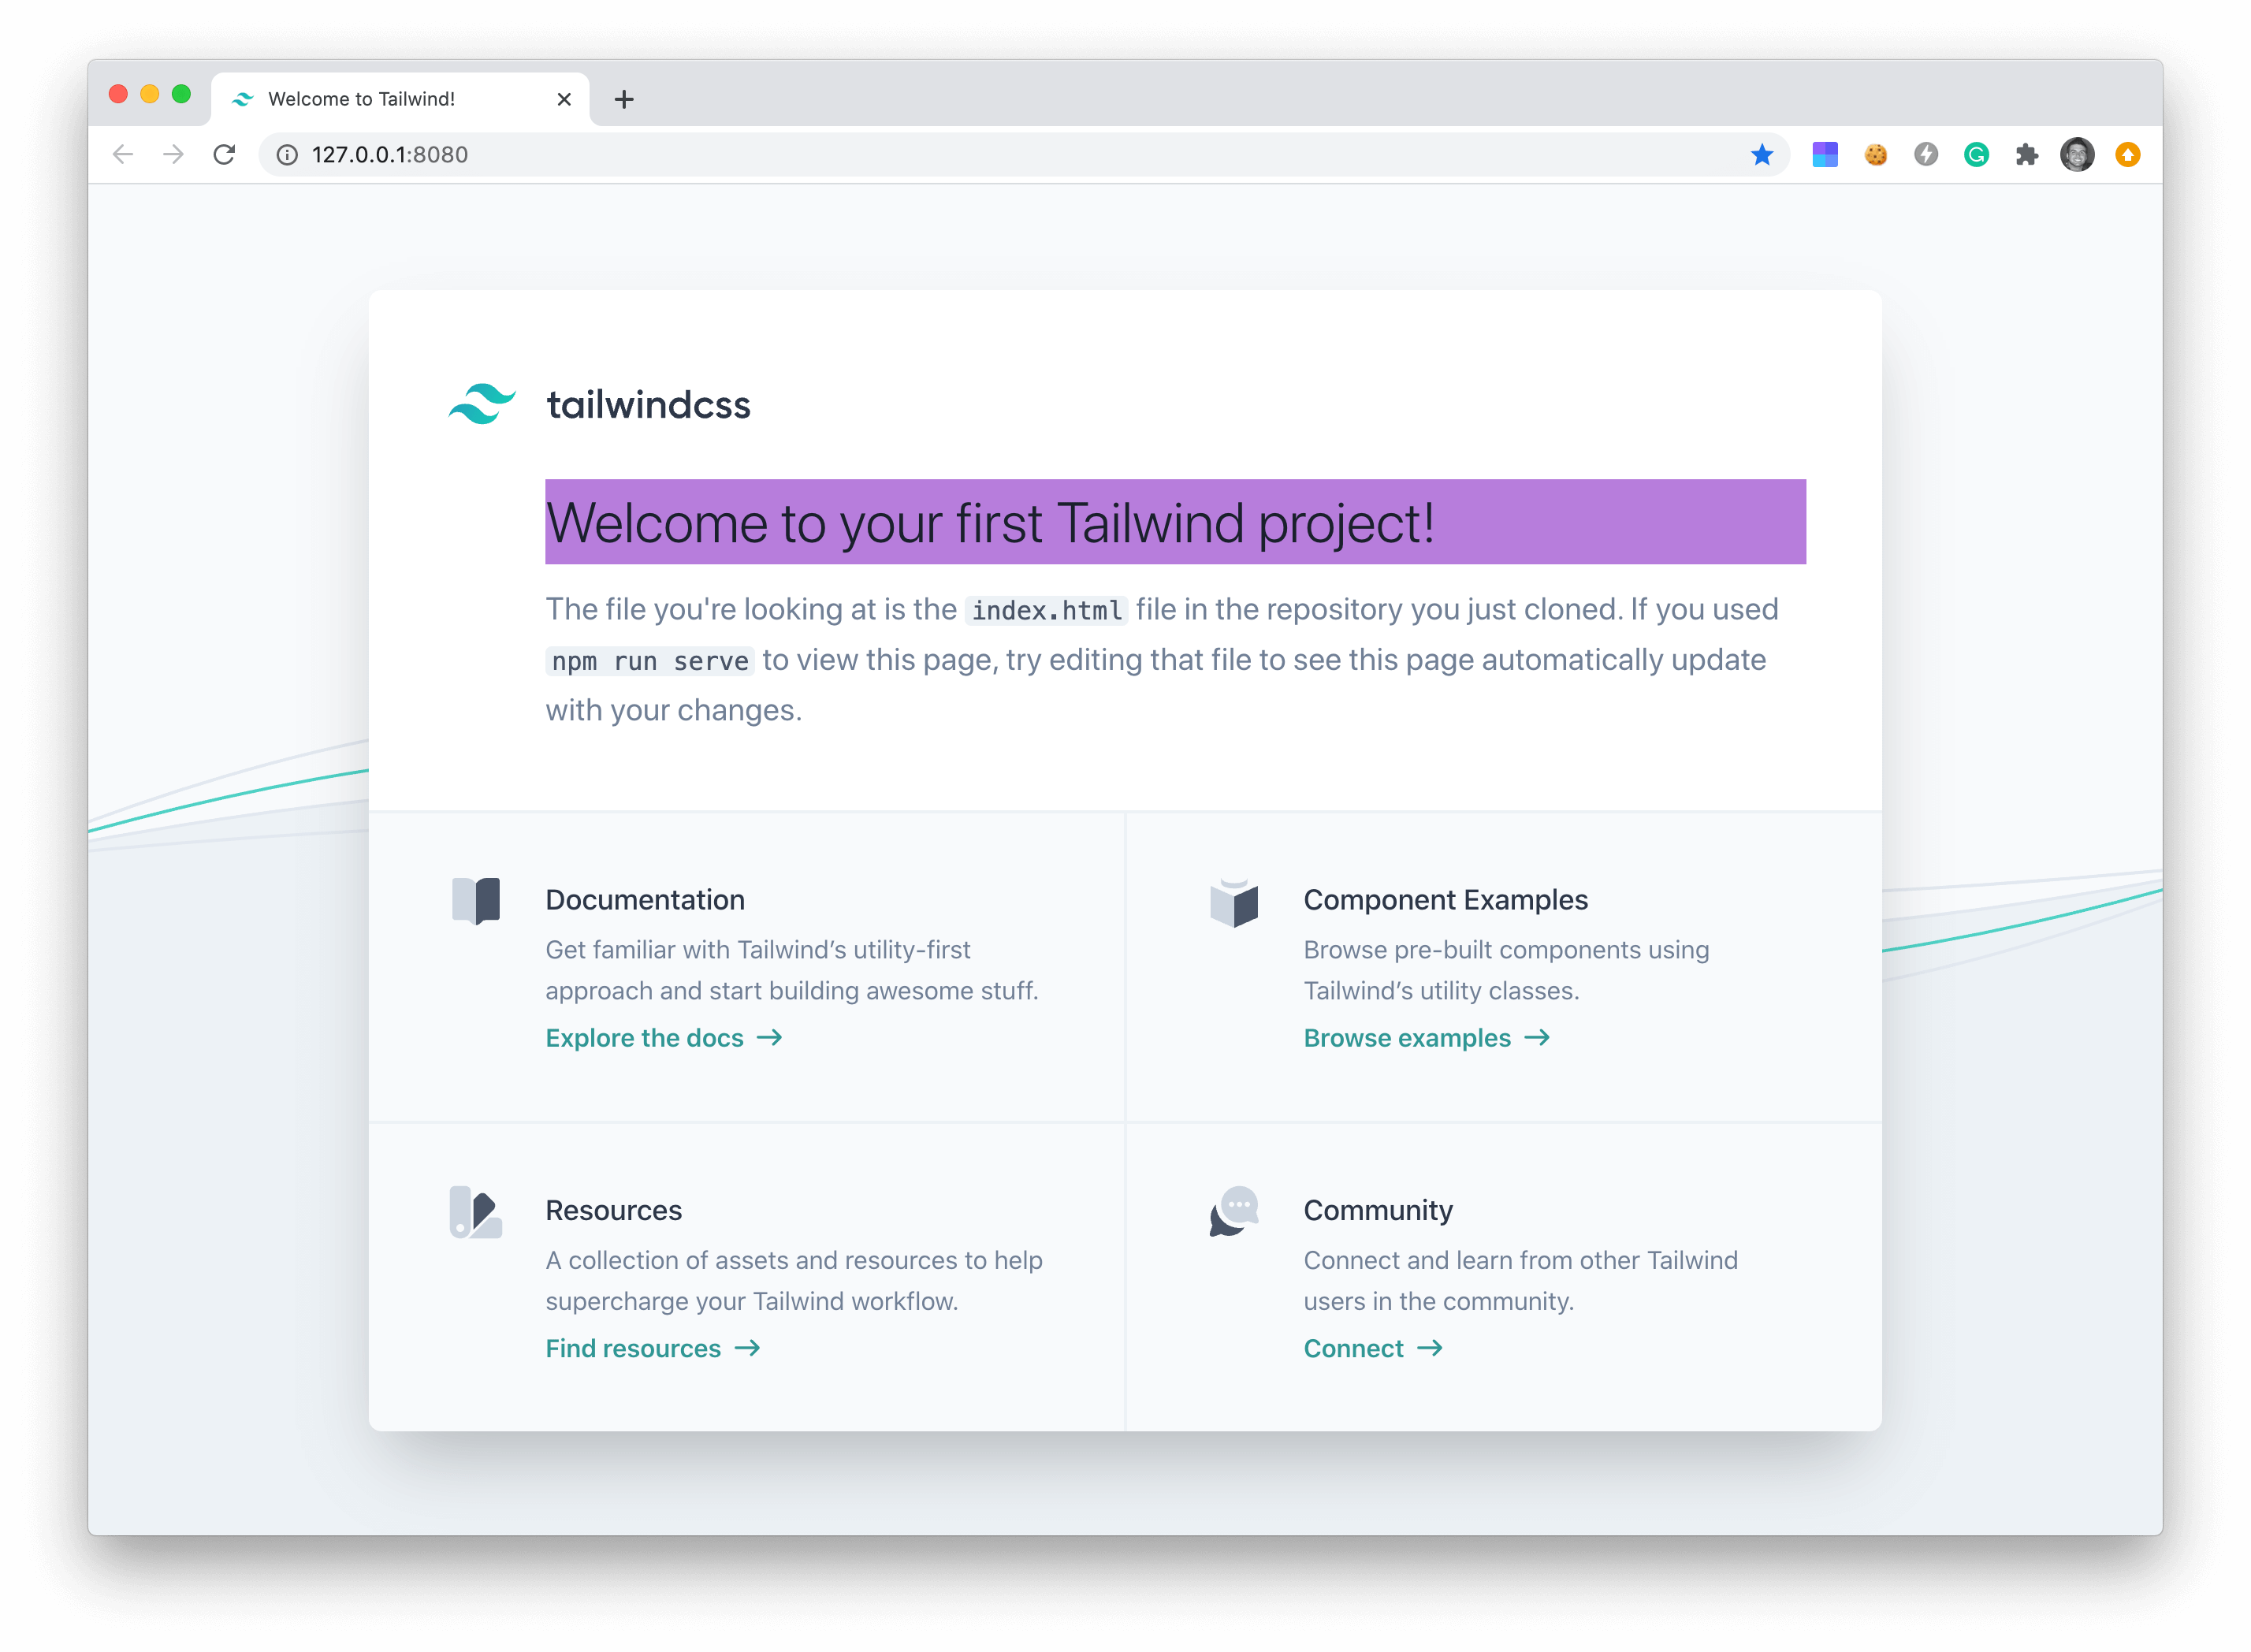
So, if we were to open up our index.html file in our application and then add the class .lavender to our h1:
<h1 class="sm:font-light text-2xl sm:text-3xl md:text-4xl text-gray-900 mt-6 lavender">Welcome to your first Tailwind project!</h1>
We can reload our page and see that .lavender, class in action.
Next, let's elaborate more on this plugin function().
Tailwind Plugin Function
The plugin function can take in an object of multiple helper functions:
plugins: [
    function({ addUtilities, addComponents, e, prefix, config }) {
        // add your plugin functionality here
    }
],
The most common are the addUtilities, addComponents, e, prefix, and config helper functions. However, here is a full list of all helper functions you can use in your plugin:
addUtilities(), registers new utility classesaddComponents(), registers new component stylesaddBase(), registers new base stylesaddVariant(), registers custom variantse(), escapes strings used in class namesprefix(), allows for prefix selectorstheme(), looks up user's theme configurationvariants(), looks up user's variant configsconfig(), looks up user's tailwind configspostcss, low-level manipulation with PostCSS
You can learn more about utilizing all these helper functions from the Tailwind plugin documentation.
Create an NPM tailwind plugin
Typically when you include a plugin inside of tailwind, it will look something like this:
// tailwind.config.js
module.exports = {
  theme: {
    // ...
  },
  plugins: [
    require('@tailwindcss/typography'),
    // ...
  ],
}
You can see that we are using the require function because we are pulling our plugin through NPM.
Converting our plugin into an NPM package is super simple. Inside of a new folder, we'll create a new file called index.js with the following contents:
const plugin = require('tailwindcss/plugin')

module.exports = function () {
    function({e, addUtilities}) {
        addUtilities({
            '.lavender': {
                'background': '#b67edc'
            }
        });
    }
}
Notice that we pulled in the tailwindcss/plugin, so we will also need to run the following command:
npm install tailwindcss/plugin
Now, we can initialize our npm package:
npm init
After publishing our new plugin:
npm publish
If we named our plugin, example\lavender, we would then be able to include our plugin inside of any future projects, like so:
// tailwind.config.js
module.exports = {
  theme: {
    // ...
  },
  plugins: [
    require('example/lavender'),
    // ...
  ],
}
Pretty cool, right?
Conclusion
This tutorial showed you the simplest example of creating a Tailwind plugin. Your plugin will probably have more variants, components, and classes. I hope that this tutorial was enough to teach you the basics of creating a Tailwind Plugin.
To learn more advanced functionality in your Tailwind Plugin, be sure to visit the official Tailwind Plugin Documentation. Additionally, here is another great article showing you how to create a plugin for percentage heights.
Now, go forth and create some awesome TailwindCSS plugins.