The Tall Stack is a full-stack development solution which combines a set of tools as a way of easily and quickly building applications. The Tall Stack consists of the following:
Utilizing the Tall Stack will make it easy to build some awesome applications. In this tutorial, I'll show you how you can set it up, so you can start building some incredible apps.
Prerequisites
You must first have Laravel installed on your machine and all the system requirements necessary to run a Laravel application. To learn more, check out this article on Installing Laravel.
After you have installed Laravel, we can create a new Tall Stack application.
Create a New Laravel App
The first step in creating our application will be to create a new Laravel application, so let's go ahead and do that with the Laravel Installer:
laravel new tallstack
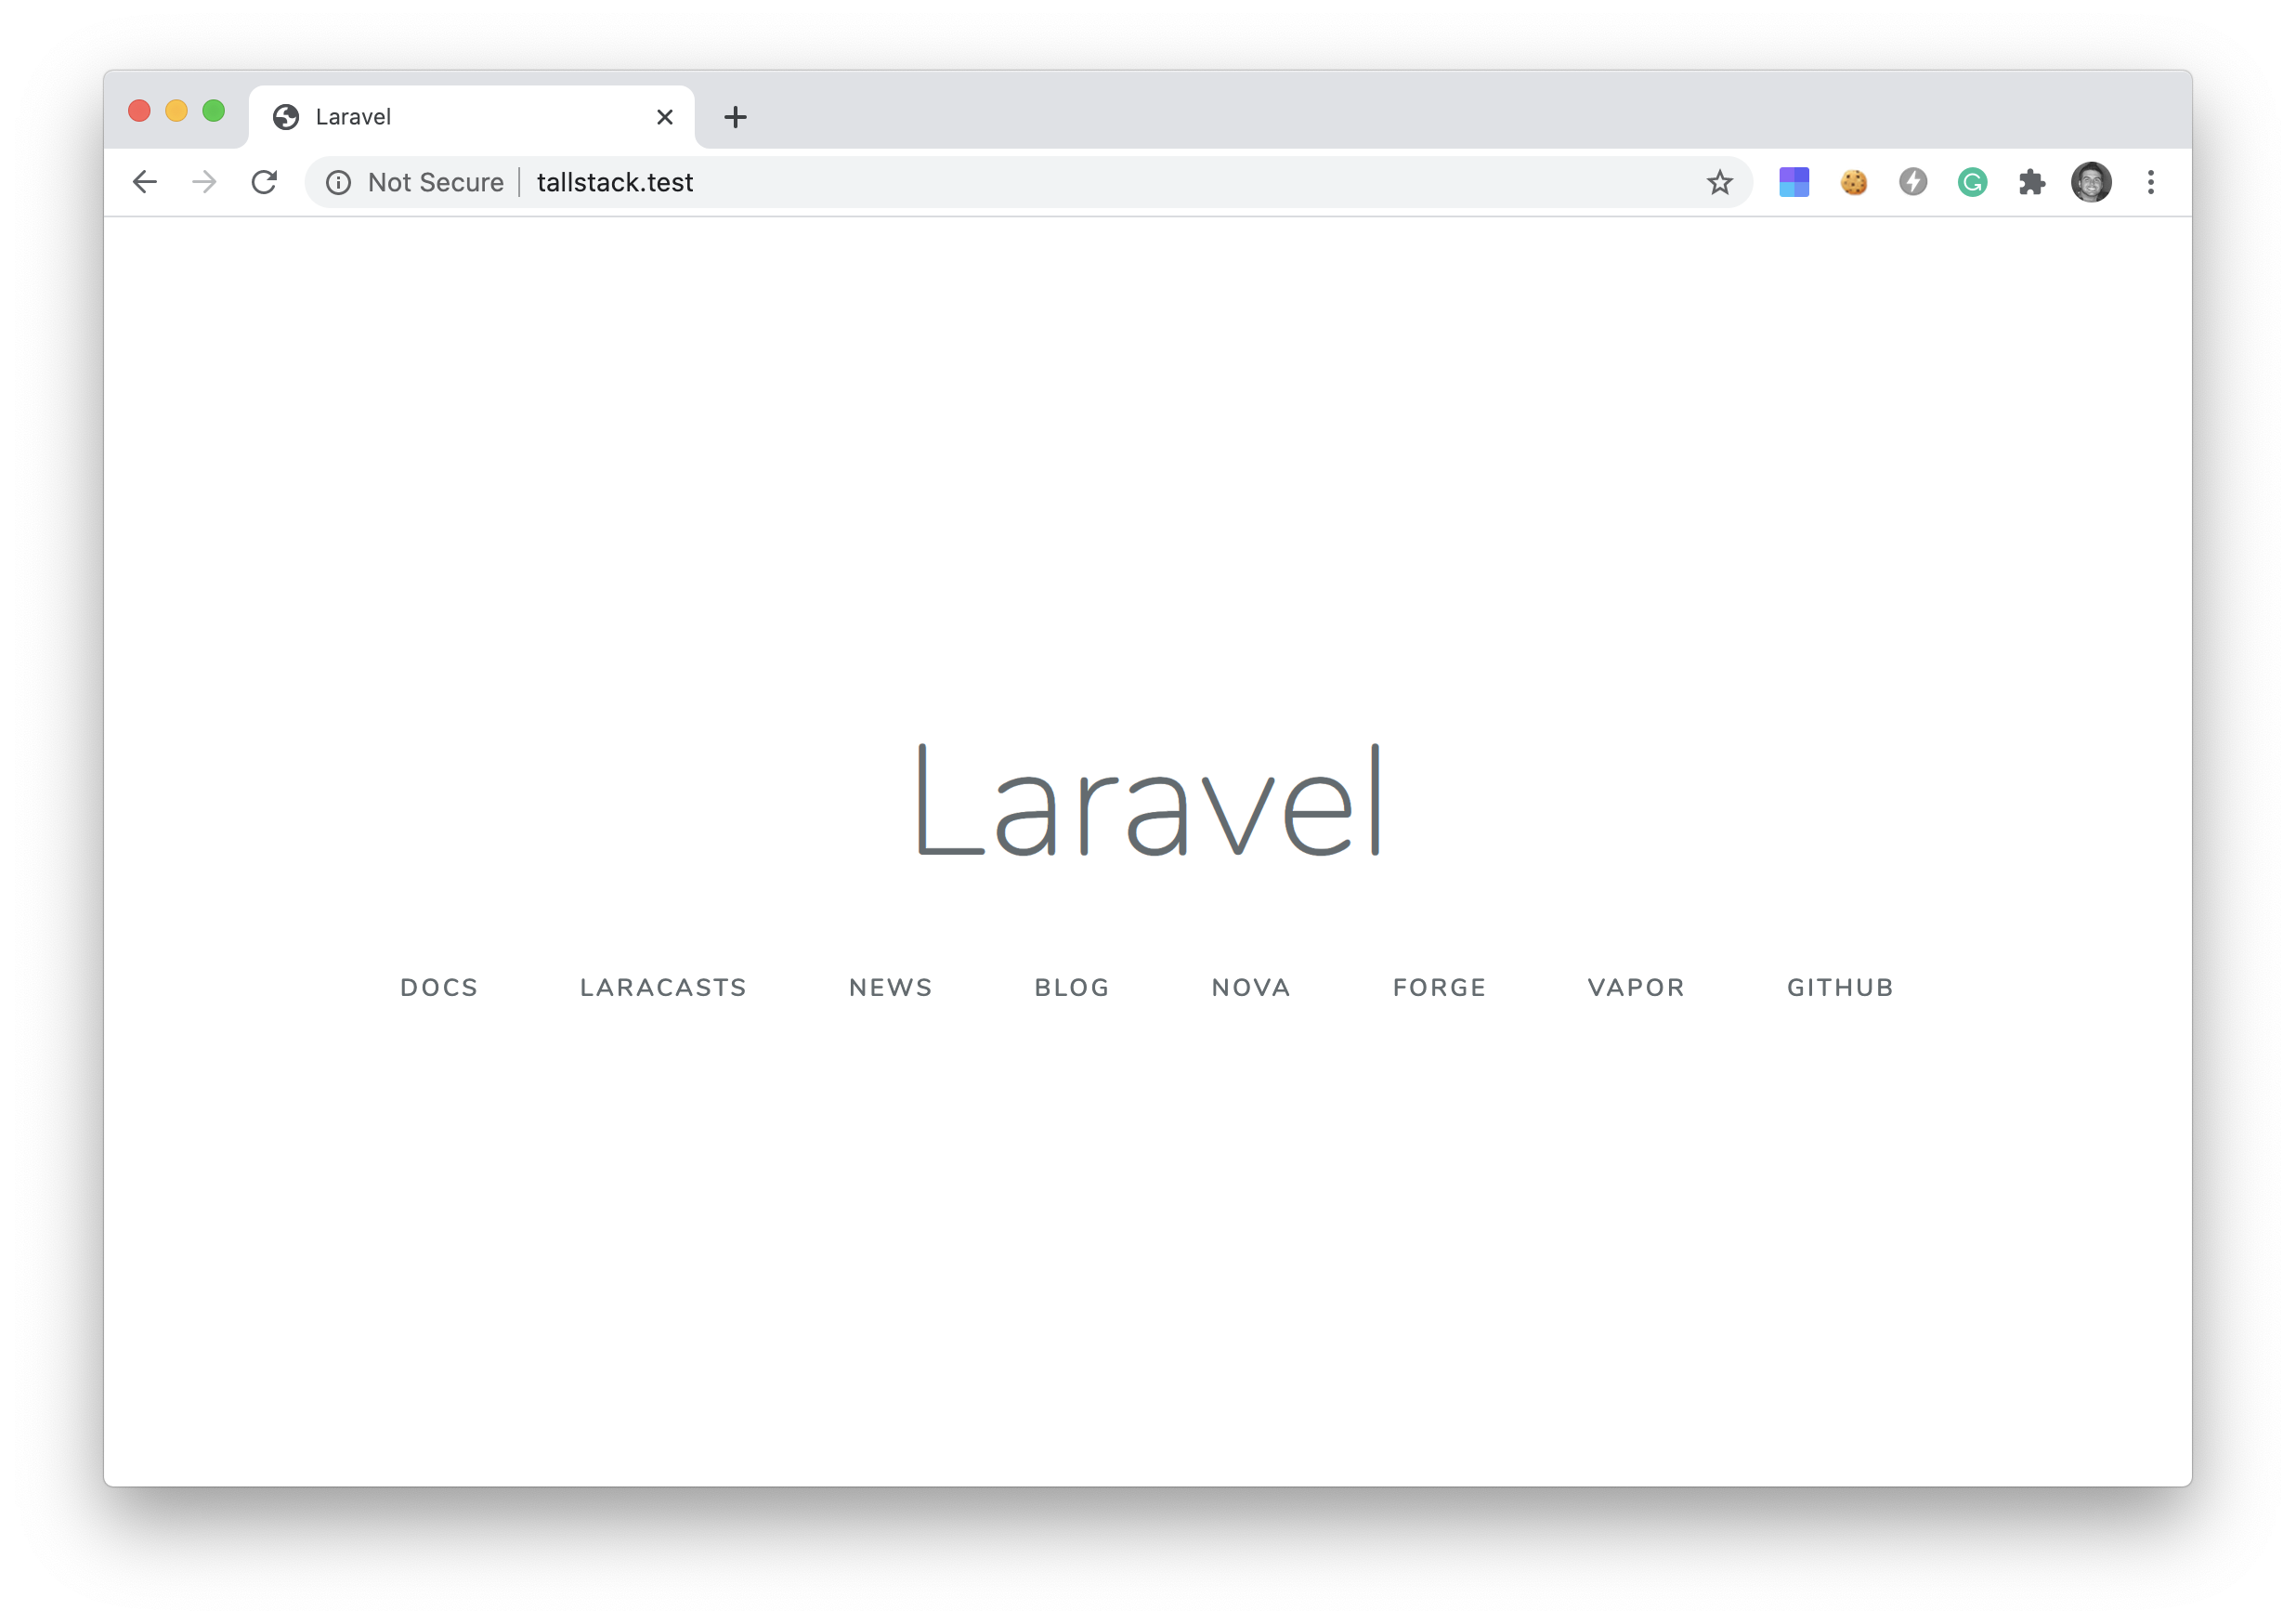
After we set that up, we should be able to visit our new Laravel application in a browser.
Install the Tall Stack preset
A preset is a set of UI elements you can add to your Laravel application to get you up and running quickly. There are a handful of presets available on the Laravel Frontend Presets page. Among those presets, is the Tall Preset. Inside of our newly created laravel app, we can include the preset by running the following command:
composer require livewire/livewire laravel-frontend-presets/tall
After we've added the preset above we can now install it by running:
php artisan ui tall --auth
Notice the --auth flag at the end of this command; if we do not wish to include the auth scaffolding, we can simply remove that flag.
Next, inside of our application folder, we need to compile our assets with the following commands:
npm install
npm run dev
And that's it! We've just created the Tall Stack application, and we're ready to start building.
Testing it all out
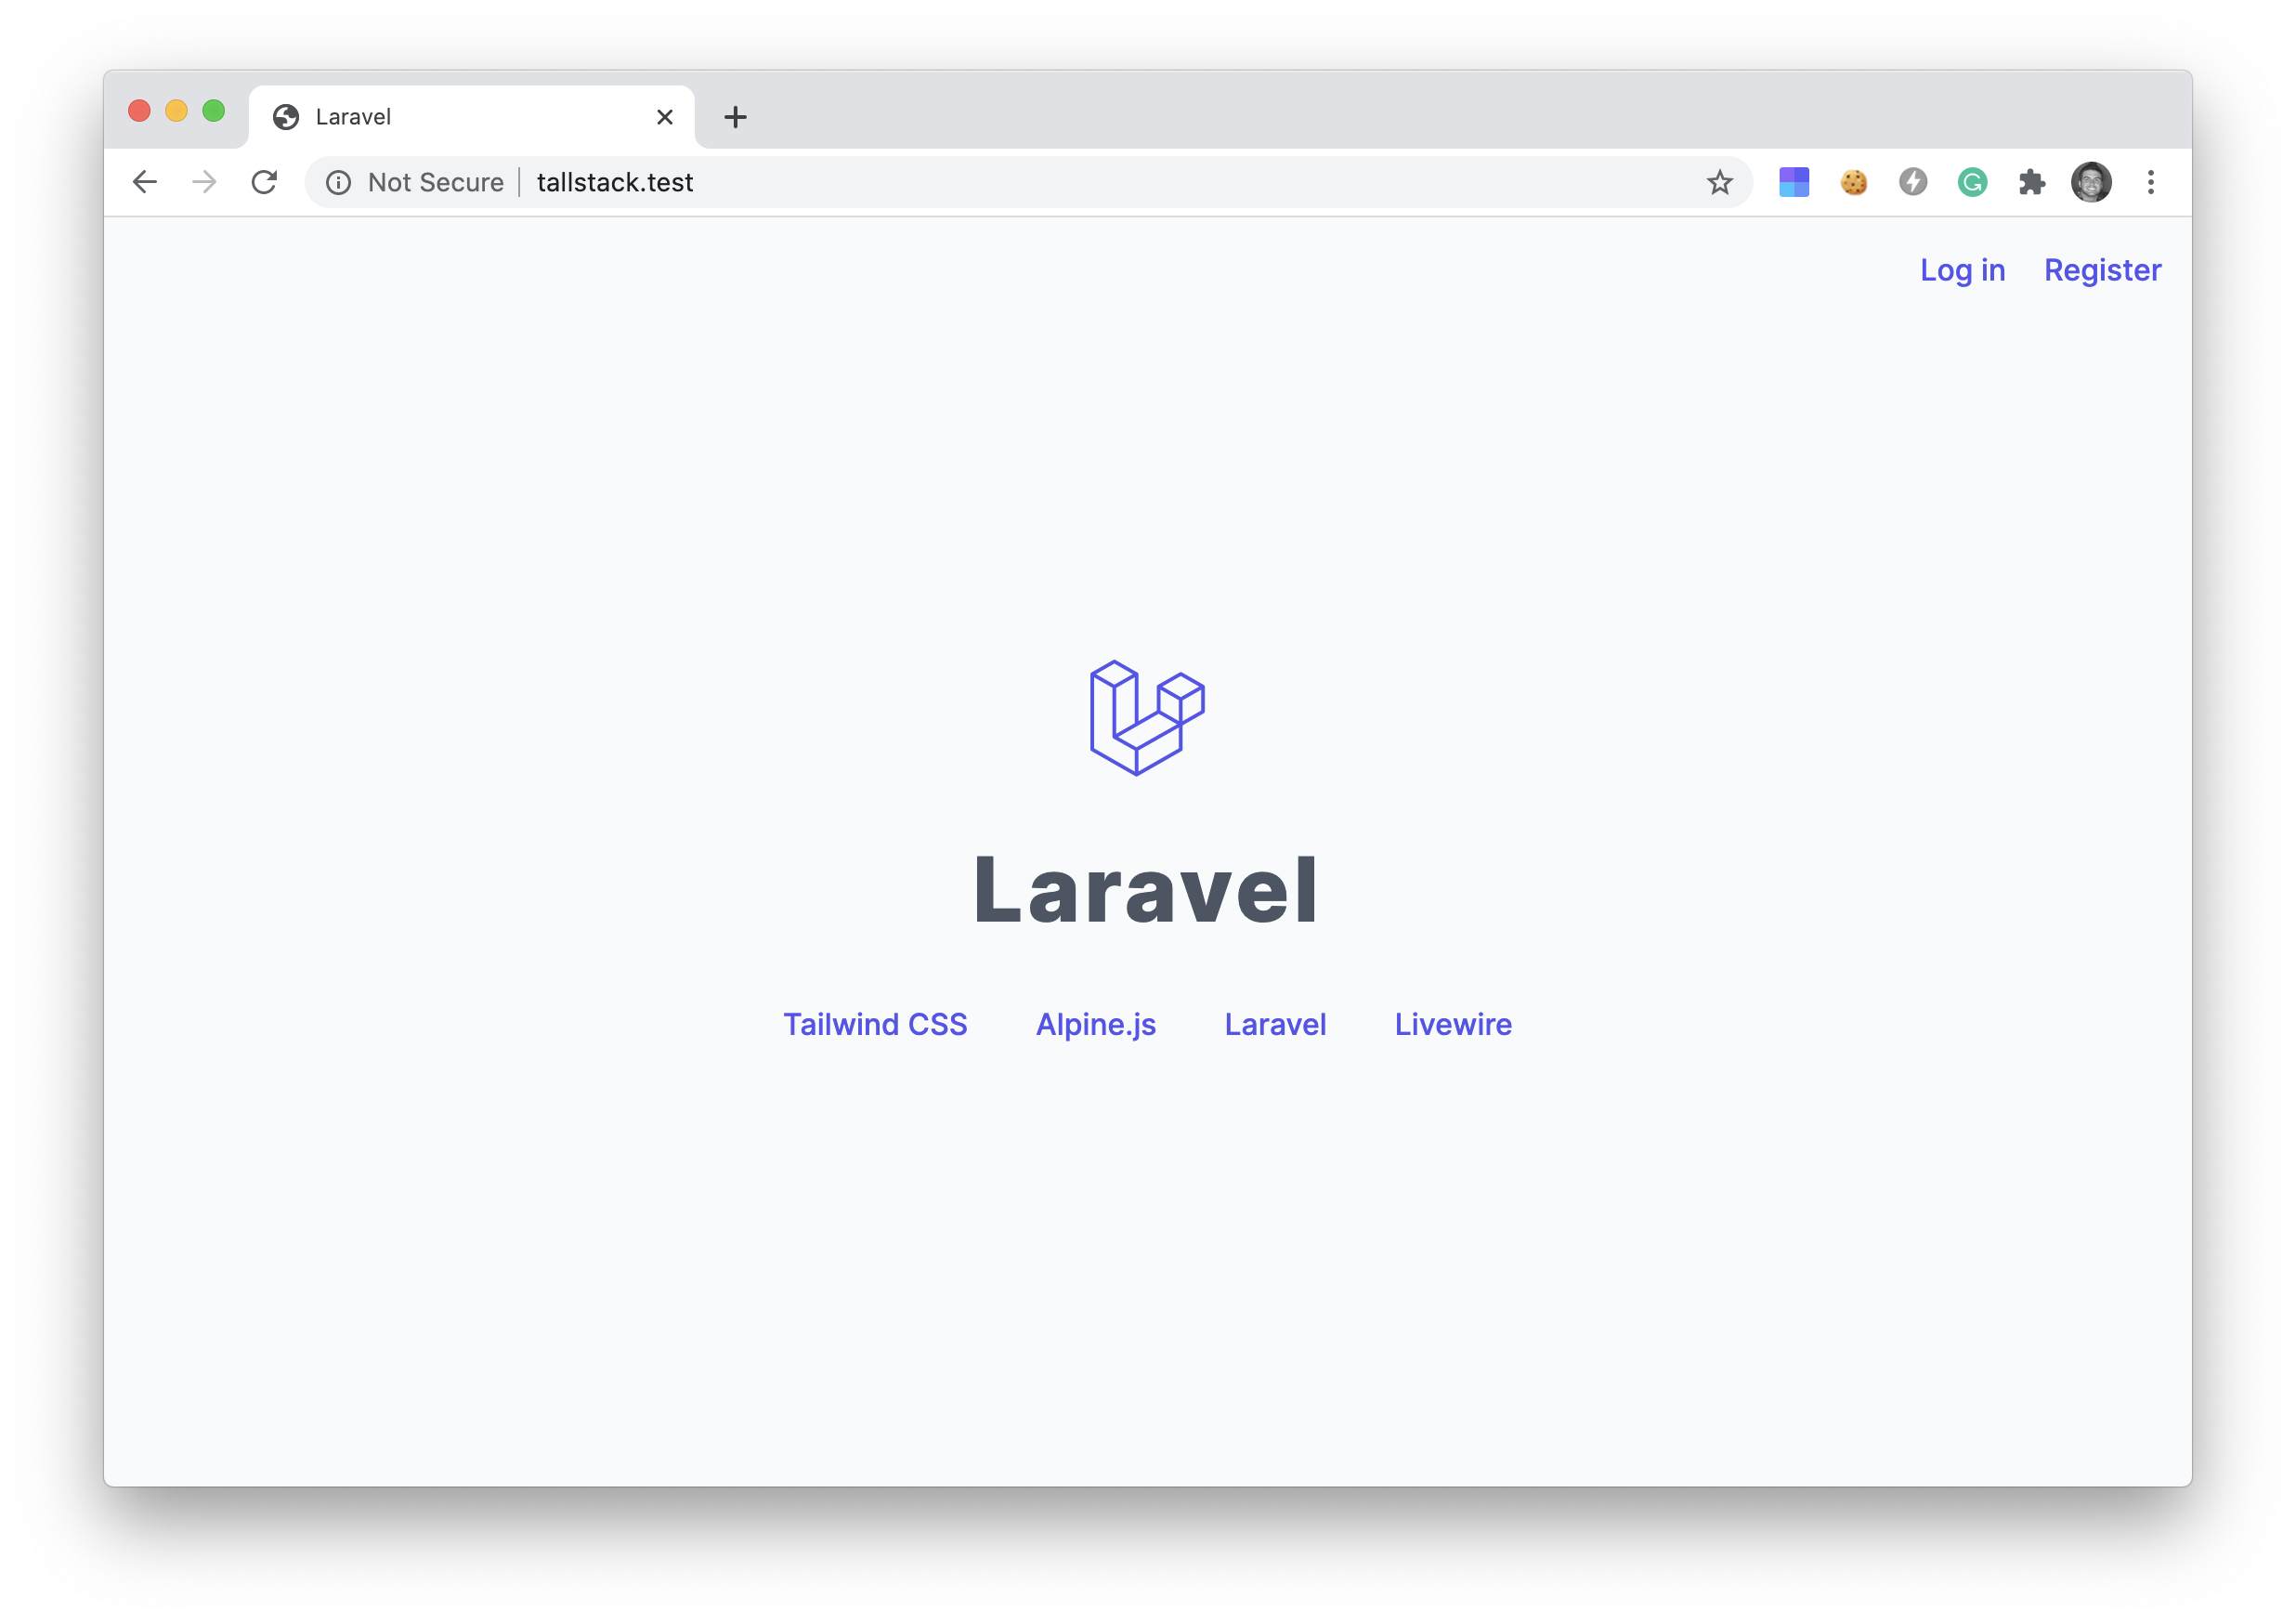
After installing our new Tall Stack application, we should be able to visit our application in our browser, and we'll see the following screen:
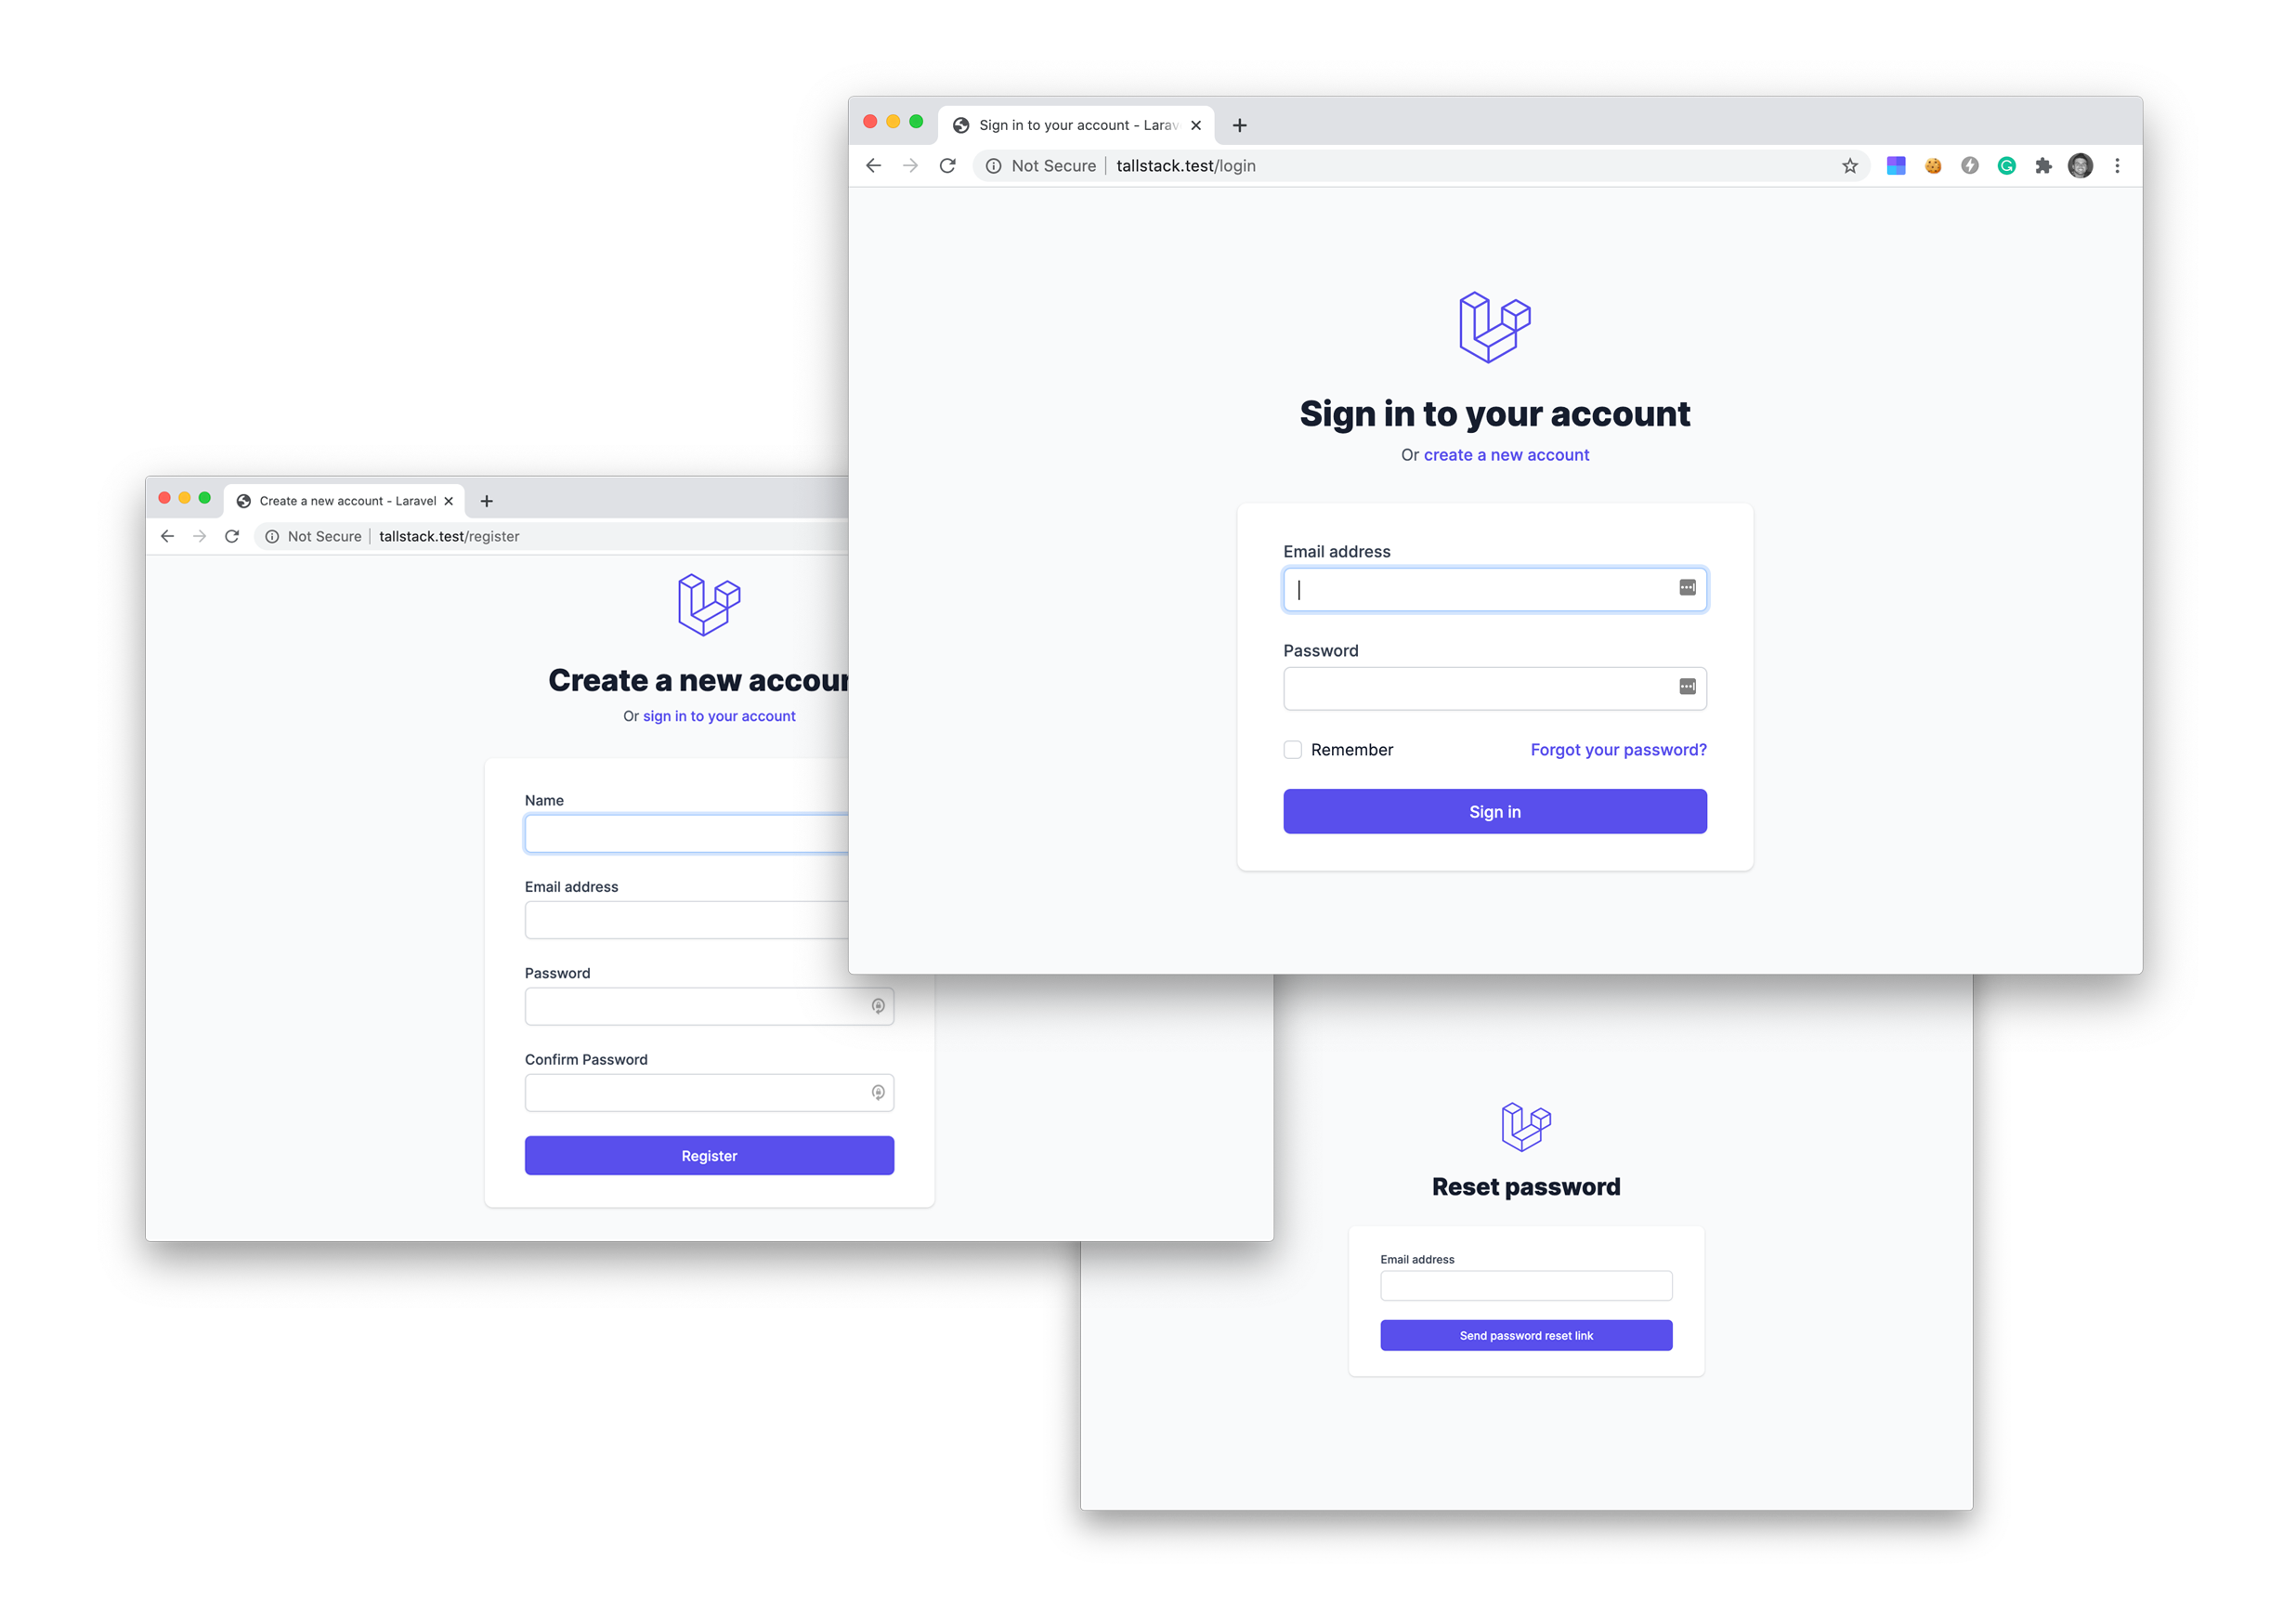
Now, we can visit a few pages, including the login, register, and forgot password pages of our application.
Before we can log in or register for an account, we'll need to connect a database to our application.
Create a new database and then open up the .env file in your Laravel application and add the database credentials:
DB_CONNECTION=mysql
DB_HOST=127.0.0.1
DB_PORT=3306
DB_DATABASE=tallstack
DB_USERNAME=root
DB_PASSWORD=
Next, we can run our migrations:
php artisan migrate
Now, you'll be able to register for a new account in your new Tall Stack application.
Conclusion
Building full-stack applications used to be cumbersome. It became easier with VueJS. But, it still felt like we were missing something. The Tall Stack!
Thanks to the Tall Stack, building Laravel applications is fun again! Our front-end can talk to back-end effortlessly thanks to Livewire. Adding simple javascript interactions is super simple thanks to Alpine. And lastly, designing beautiful interfaces is easier than ever before, thanks to Tailwind CSS.